

Paint, timber panelling, gallery framing and removable panels are the four fastest ways to make a TV wall feel intentional rather than accidental. If you’re renting, skip anything involving drills or filler holes and lean towards peel-and-stick wallpaper, freestanding shelving or a modular option like DwellForms™, which installs with adhesive pads and comes off clean at lease end. The twelve approaches below cover every budget and every landlord clause.
TL;DR:
- Dark matte backgrounds, such as charcoal or navy, help the TV blend into the wall in bright rooms but should be lighter or textured in dim spaces.
- Removable peel-and-stick wallpaper, modular felt panels, and freestanding shelving are renter-friendly options that do not require drilling or leaving holes.
- Anchoring the TV with a wider console and leaving 4 to 6 inches of space around the screen prevents the wall from feeling cluttered or underwhelming.
- Larger TVs can handle bolder colours and textured effects, but art or panels should be around 80% of the console width for balanced proportions.
- Testing adhesive-backed panels on smooth drywall for 48 hours before full installation avoids issues related to wall texture or incompatible surfaces.
Table of Contents
- 12 TV wall background ideas for every room and every lease
- Installing a renter-friendly TV wall without losing your bond
- How to choose the right TV wall treatment for your space
- Fast dos and don’ts for a TV wall that actually works
- Why the TV should never be the whole plan
- Get the look with DwellForms™
- Sources
- FAQ
12 TV wall background ideas for every room and every lease
A TV wall only looks considered when the screen stops being the loudest thing in the room. Colour, texture and framing do the quiet work of pulling focus away from the black rectangle and onto the wall as a whole. Here’s the full run of approaches, from paint through to no-drill panel systems.
1. Dark or colour-block paint to make the TV recede
A deep charcoal, forest green or navy block behind the television lets the bezel blend into the wall instead of sitting on top of it. Dark backdrops suit bright, well-lit rooms where the paint won’t feel like a cave. In a dimmer space, keep the wall lighter and let a rug or cushions carry the moody colour instead, since matte or eggshell finishes reduce screen glare far better than anything glossy.
2. Timber slats or VJ panelling for warmth and texture
Vertical slats add height and a sense of architecture to an otherwise flat wall, while horizontal VJ panelling reads more classic and cottage. Renters can get a near-identical look with adhesive slat-effect panels or lightweight, pre-finished slat boards that lean against the wall rather than screw into it.
3. Peel-and-stick or removable wallpaper
Wallpaper behind a TV works best when the pattern scale matches the wall size. Small prints disappear on a large feature wall; go bold or go home. Peel-and-stick wallpaper is one of the most reliable renter-friendly upgrades going, and it lifts away without stripping paint underneath.
4. Gallery wall that frames the TV
Treat the television as one frame in a larger grid, not the centrepiece. Leave 4 to 6 inches of breathing room around the screen, then let the framed pieces around it extend past the TV’s edges. This spacing rule is what stops a gallery wall from feeling like an afterthought.
5. Floating shelves and a wide media console
A console that runs 8 to 12 inches wider than the television on each side is the single fastest way to make the whole wall look planned. A media console wider than the TV anchors the entire arrangement and gives you somewhere to hide the cable mess too.
6. Built-in niche or framed inset
A recessed alcove or a timber-framed inset gives the “it was always meant to be here” look that renovation shows love. This is genuine construction work, not a weekend project, so bring in a builder or joiner if you’re chasing this one.
7. Tile or textured panels as a partial feature
Stone-look tile or a 3D textured panel behind just the TV, rather than across the whole wall, adds tactile interest without swallowing the room. Keep it to a partial section so the texture reads as a deliberate accent.
8. Backlit or concealed LED lighting
A soft LED strip behind the TV or along a shelf edge softens the harsh contrast of a screen in a dark room and adds real depth to the wall once the television goes to standby. Indirect lighting is one of the simplest ways to make a TV blend into its surroundings instead of sitting there like an appliance.
9. Large textile or tapestry backdrop
A woven hanging or oversized textile behind the TV softens hard edges and adds warmth fast. It’s fully renter-friendly, hangs from a tension rod or a couple of adhesive hooks, and rolls up for the next move.
10. Trailing plants and shelf greenery
A trailing pothos or a row of small planters on a floating shelf breaks up the TV’s straight edges without competing for attention. Greenery is cheap, forgiving, and it’s the easiest fix if a wall feels flat.
11. Mirrored or reflective panels, used sparingly
A slim mirrored panel to one side of the TV can widen a small room, but go easy. Reflective surfaces near a screen risk bouncing glare straight back at the couch, so keep them off to the side rather than directly behind the TV.
12. Removable modular felt panels
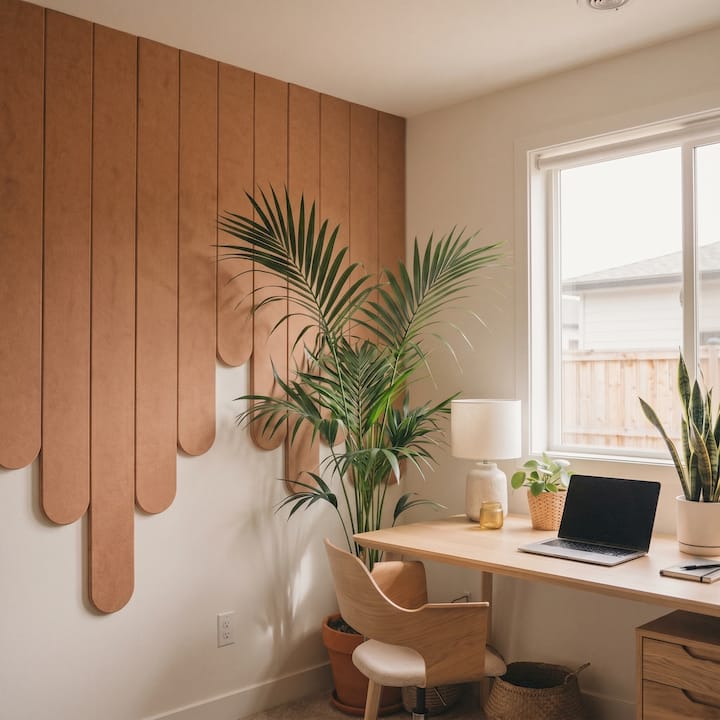
DwellForms™ panels give you colour and sculptural texture behind the screen with adhesive-pad installation and no drilling involved. They’re modular, so you can run a partial accent block behind the TV, arrange them in a slat-like linear pattern, or colour-block a full feature wall, then rearrange or take them with you when you move.
Installing a renter-friendly TV wall without losing your bond
Before you buy anything, check the wall itself. Run your hand across the paint. Smooth, painted drywall takes adhesive well; a textured “orange peel” finish often doesn’t, because the bumps stop full adhesive contact and cause panels or shelves to peel away over time. On textured walls, lean on freestanding consoles or tension-pole shelving instead.
Get your measurements sorted next:
- Measure your TV’s width, then choose a console 8 to 12 inches wider on each side so it anchors the screen properly.
- Mark the TV’s true centre on the wall before you place anything else, including panels or wallpaper.
- Leave 4 to 6 inches of clear space directly around the screen so decor doesn’t crowd it.
Install in this order: mark the centre point, place the media console, add panels or wallpaper behind it, then finish with lighter shelving and decor on top. Adhesive-backed mounts and suction fittings aren’t reliable for heavy TVs, so the television itself still needs a proper floor stand, a tension pole, or a stud-anchored bracket if your lease permits drilling.
DwellForms™ panels are designed around this exact renter problem. The kits arrange modularly, sample kits let you test a colour before committing to a full wall, and everything installs with tested adhesive pads rather than screws or construction adhesive.
Pro Tip: Buy a sample kit first and stick a test panel on the wall for 48 hours before ordering the full arrangement. It saves you finding out on installation day that your particular wall texture won’t cooperate.
How to choose the right TV wall treatment for your space
- Check the light first. Bright, sunny rooms handle dark matte colours without feeling closed in; dim rooms usually need a lighter backdrop to avoid looking like a cave.
- Test the wall surface. Smooth painted drywall suits adhesive panels and peel-and-stick wallpaper; textured or plastered walls do better with freestanding or tension-mounted solutions.
- Match the treatment to your screen size. Larger TVs can carry bolder colour-blocking or panelling; keep any art cluster around 80% of the console’s width so nothing looks squeezed.
- Weigh your lease against your budget. Renters get the most value from sample kits and removable panels; homeowners ready to commit can go straight to paint or a built-in niche.
- Know when to call a professional. A recessed niche or hidden cable routing through the wall is builder territory, not a weekend fix.
Fast dos and don’ts for a TV wall that actually works
Do:
- Leave 4 to 6 inches of negative space directly around the screen.
- Choose matte finishes over gloss to cut down on glare.
- Anchor the TV with a console or shelf that’s wider than the screen itself.
Don’t:
- Hang small frames right up against a large TV. They’ll look lost.
- Load heavy items onto adhesive shelving on a textured wall.
- Paint high-gloss finishes directly behind the screen.
Quick fixes: swap a heavy ornament for something lighter, add a strip of backlighting to soften screen contrast, or replace a wall-mounted shelf with a freestanding ladder shelf if drilling is off the table.
Why the TV should never be the whole plan
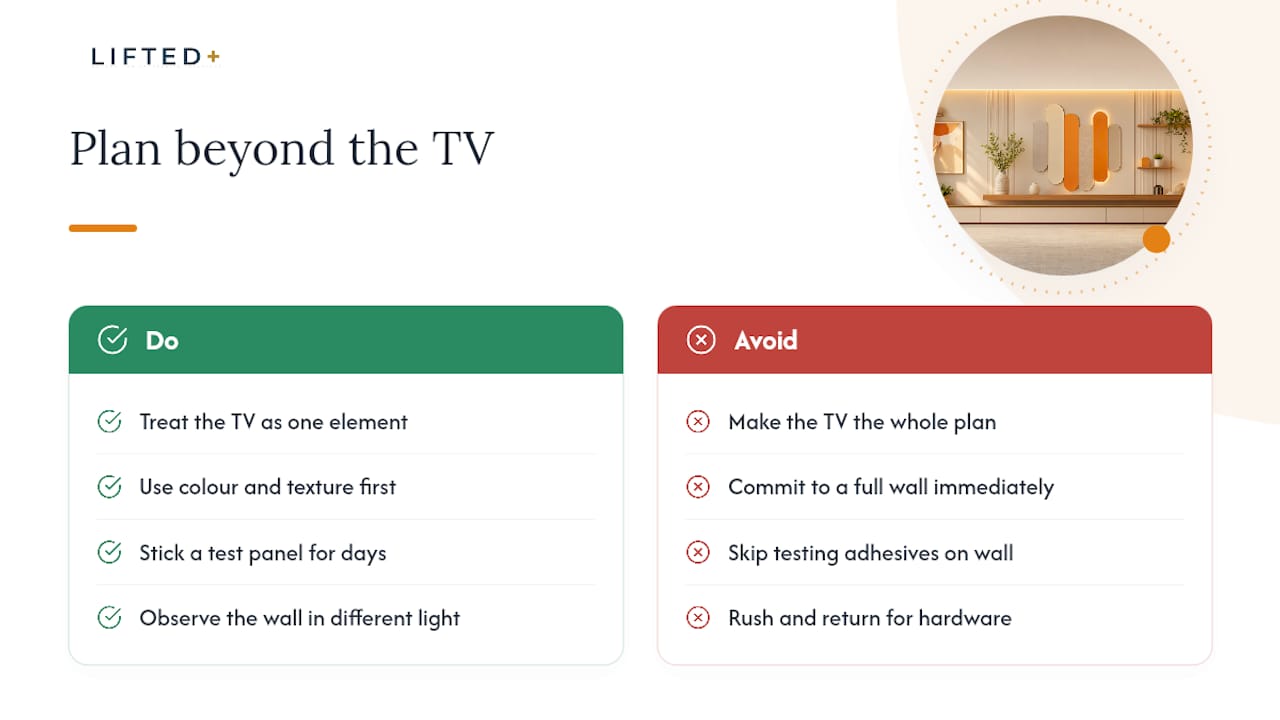
Too many TV walls get treated as a mounting problem instead of a design opportunity, and that’s backwards. The screen is one element in a composed wall, not the reason the wall exists. Colour and texture are what make a rental feel like your home rather than a waiting room, and neither requires touching the lease agreement.
Before you commit to a full wall, sample the colour and stick a test panel up for a few days. Walls change under different light at different hours, and adhesive behaves differently depending on what’s underneath it. A little patience here saves a second trip to the hardware store.
— Michelle
Get the look with DwellForms™
DwellForms™ is the practical route to a bold TV feature wall when you can’t paint, can’t drill, and don’t want to commit to a full renovation. The panels are modular, made from recycled PET felt, and go up with tested adhesive pads, so you get colour and sculptural texture without a single hole in the wall.

Match the kits to a few of the ideas above: run a partial colour-block behind the TV instead of covering the whole wall, arrange panels in a slat-like linear pattern for a timber-look effect, or go full feature wall if your lease and your nerve both allow it. Because sample kit purchases credit towards a full order, you can test a colour on your actual wall before spending on the whole arrangement, which matters given how differently panels can read under a room’s natural light.
Start with the DwellForms™ Skyline Kit if you want a ready-made colour-block layout, or browse removable wall panel ideas for renters for layout inspiration before you order.
Sources
- TV wall ideas
- How to style a blank wall behind a TV: 7 effortless, damage-free ideas for a beautiful rental setup
- 9 Apartment TV Wall Ideas That Require Zero Drilling (Renter Safe!)
- Renter-Friendly TV Mounts for Apartments | Express Mounting
- TV wall ideas: 15 stylish and practical ways to display your TV
FAQ
How do you style the wall behind a TV?
Anchor the screen with a console wider than the TV, leave 4 to 6 inches of negative space around it, and add texture through paint, panelling, wallpaper or removable panels like DwellForms™.
What’s a good background colour for a TV wall?
Dark, matte colours help the screen recede in bright rooms, while lighter tones work better in dimmer spaces. Matte finishes cut down glare far more effectively than gloss paint.
How do you make a TV wall look good without renovating?
Removable options such as peel-and-stick wallpaper, freestanding shelving and modular panel systems like DwellForms™ add colour and texture with no drilling and no landlord approval needed.
Should the wall behind the TV be light or dark?
It depends on the room’s natural light: dark colours work in bright spaces because they won’t feel heavy, while low-light rooms generally look better with a lighter backdrop.