
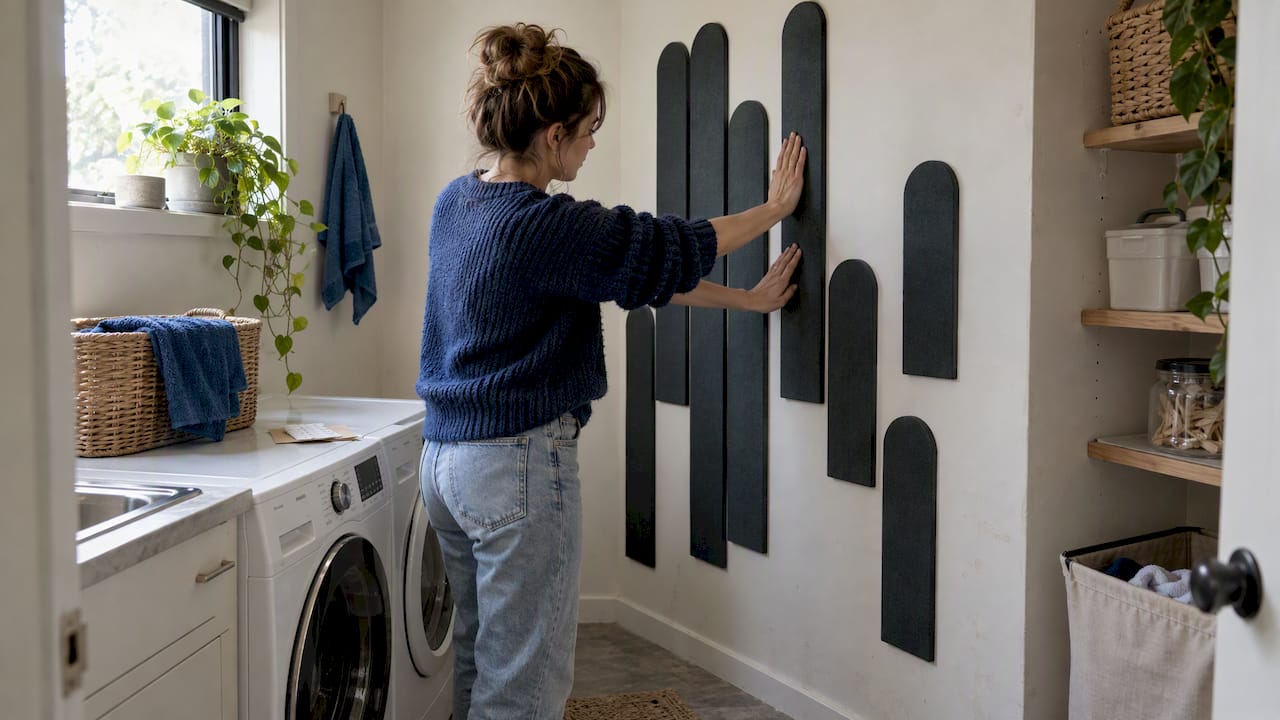
Removable adhesive pads can hold reliably in humid rooms, but only when the wall is dry and the air stays within a sensible range. The single condition that decides success is surface dryness at the moment of application, not the room’s general humidity level. Keep indoor relative humidity between 35 and 65%, avoid applying to a cool or condensation-prone wall, and a renter-friendly feature wall can be installed with confidence.
TL;DR:
- Applying adhesive pads in humid rooms requires the wall to be dry at the time of installation, with indoor humidity kept between 35 and 65%.
- Condensation forms on cool surfaces and can cause adhesive failure even if the room feels only mildly damp, especially in external or unheated walls.
- Proper preparation involves warming, drying, and cleaning the wall thoroughly before application, and staged mounting to allow curing under light load.
- Water-resistant adhesive pads perform well in ventilated rooms with controlled humidity but are not suitable for direct water exposure or damp exterior walls.
- Reapplication after failure should focus on drying and warming the wall to eliminate condensation, with seasonal checks especially after winter heating is turned on.
Table of Contents
- Why humidity and condensation matter for adhesive pads
- Step by step prep and application for humid rooms
- Where water-resistant pads work well, and where they don’t
- Diagnosing failures and fixing them without drilling
- Why we design DwellForms™ panels around adhesive installs
- Where to find DwellForms™ kits, samples and installation help
- FAQ
- Sources
Why humidity and condensation matter for adhesive pads
Relative humidity describes how much moisture the air holds compared with what it could hold at that temperature. Building science points to a practical target: keep indoor relative humidity between 35 and 65%, because humidity that sits above 65% for long stretches invites mould and makes a dependable bond far harder to achieve.
The trouble usually isn’t the humidity reading on a app or gauge. It’s condensation, the thin film of moisture that forms the instant warm, humid air meets a cooler wall surface. That film acts like a lubricant between the wall and the adhesive, and because you often can’t see it, it becomes the quiet reason a strip that looked perfectly applied peels away days later.
- Relative humidity above 65% for sustained periods raises both mould risk and adhesion failure risk.
- Cooler wall surfaces, particularly on external walls or in unheated bathrooms, condense moisture even when the room feels only mildly damp.
- A wall can look dry to the eye while still carrying an invisible film that blocks proper contact.
Indoor humidity above 65% is a recognised driver of damp and reduces the odds that an adhesive forms a secure bond, according to building science guidance on condensation and damp homes. The practical upshot: warm the wall, ventilate the room, and treat temperature as seriously as cleanliness.
Step by step prep and application for humid rooms
A reliable install in a steamy bathroom or a coastal apartment comes down to sequence. Skipping a step rarely causes an immediate failure, it just shortens how long the bond lasts.
- Check the room first. Note the relative humidity and how the wall feels to the touch. If it’s cool or clammy, treat that as a signal to wait.
- Warm and dry the space. Run an extractor fan, open a window, use a heater or a dehumidifier until the wall itself feels warm and genuinely dry, not just the air around it.
- Clean with isopropyl alcohol. Household detergents can leave a residue that gets between the adhesive and the wall, so manufacturer instruction sheets recommend isopropyl alcohol for a residue-free surface, wiped until there’s no visible or felt moisture left.
- Apply within the stated temperature range. Manufacturer technical data sets application temperature limits and a press time, usually around 30 seconds of firm, even pressure, then a waiting period before any weight goes on the strip.
- Stage the install. Mount and load panels in sequence rather than all at once, so each strip cures under light load before the next panel adds its share of weight.
Pro Tip: Press each pad for longer than feels necessary. The extra ten seconds of firm contact does more for long-term hold than any amount of cleaning afterwards.
This staged approach matters more in humid rooms than anywhere else in the home, because a strip that’s still curing under full load in a moist environment has far less margin for error. Our own guide to no-drill wall transformations walks through the same logic for other wall types, and the principle holds everywhere: dry first, clean second, apply third, load last.
Where water-resistant pads work well, and where they don’t
Removable adhesive pads are genuinely well suited to a surprising range of rooms, but they’re not a universal fix, and pretending otherwise sets renters up for disappointment.
- Good candidates: painted plaster, tiled splashbacks, bathrooms with working extractor fans, kitchens away from direct steam, and any ventilated room that sits within the 35 to 65% humidity band.
- Poor candidates: inside an active shower enclosure facing direct spray, exterior walls with existing damp issues, wallpaper, some vinyl finishes, and unpainted porous timber.
- Manufacturer cautions worth respecting: stated temperature limits at the point of application, the waiting period before loading, and a general caution against hanging anything heavy or irreplaceable from a removable strip.
Product guidance for water-resistant strips notes they’re tested to outperform suction cups in humid and wet-adjacent areas, but the same guidance stops well short of recommending them for constant direct water exposure. That distinction matters for a feature wall built from DwellForms™ by Lifted+ panels: the job is colour and texture without renovation, not waterproofing a shower recess. One more thing worth flagging from building science: older, poorly bound paint can delaminate under repeated moisture cycling, so a small test patch before a full layout is cheap insurance.
Diagnosing failures and fixing them without drilling
When a panel lifts, the cause usually falls into one of two camps, and telling them apart takes about thirty seconds.
- Condensation failure shows up as a damp or cold patch behind the panel, often in a bathroom corner or an external wall that never fully warms up.
- Adhesive fatigue or wrong surface looks different: the strip itself has lost grip evenly, often on wallpaper, vinyl or a surface that was never quite right for an adhesive pad.
Where condensation is the culprit, remove the strip following the manufacturer’s method, let the wall dry and warm fully, then reapply a fresh strip rather than reusing the old one. Build in a seasonal check, particularly after you switch on winter heating, since a warmer room against a still-cold external wall is exactly when condensation risk spikes.
Pro Tip: Keep a spare pack of adhesive strips on hand. Reapplying immediately after a failure, rather than living with a loose panel, prevents a small issue becoming a repeat one.
For the full removal technique, our guide on removing adhesive wall panels without wrecking the wall covers the safe sequence in more detail.
Why we design DwellForms™ panels around adhesive installs
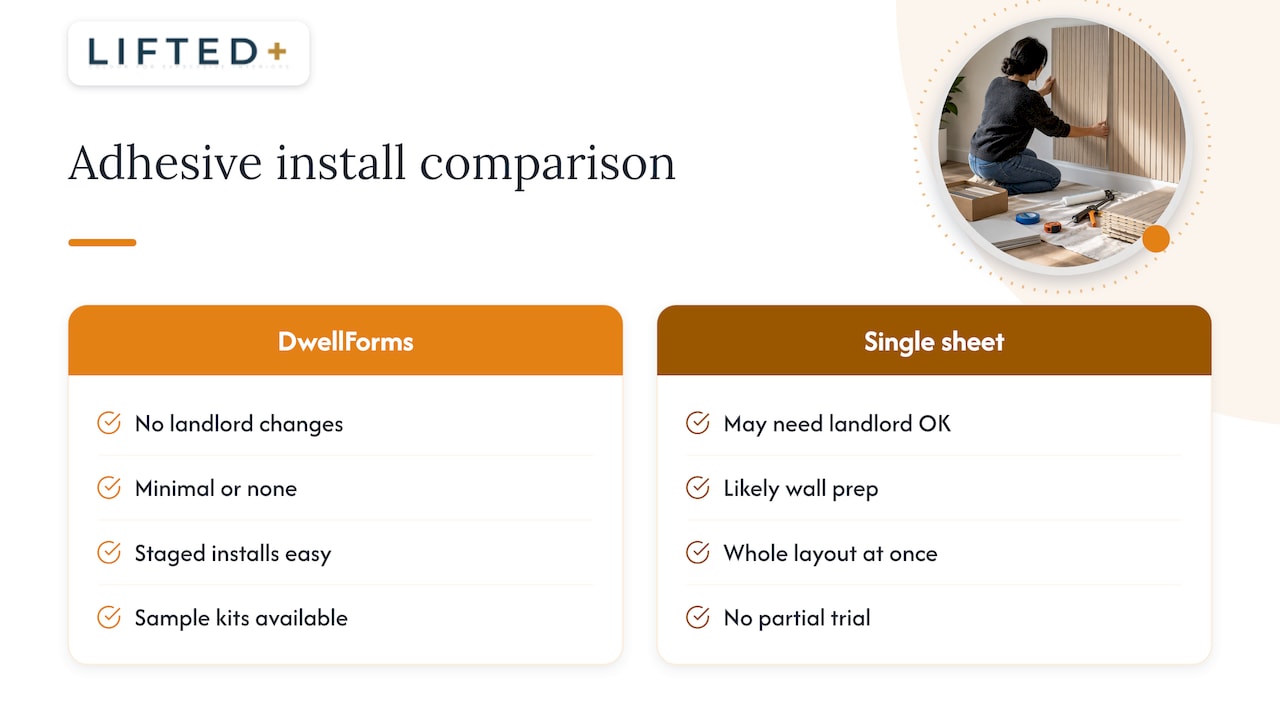
We built DwellForms™ as a New Zealand-designed system precisely because renters needed a feature wall that asked nothing of the landlord and nothing of the wall itself. Every kit is precision-cut PET felt made from recycled plastic, sized and arranged so each panel carries its own adhesive strip rather than relying on one oversized sheet to hold the whole design.
That modularity is what makes staged installs practical in a humid bathroom or a steamy kitchen. Sample kits let you trial a shade and test adhesive performance on your actual wall before you commit to a full layout, which takes the guesswork out of exactly the condition this article has been walking through.
— Michelle
Where to find DwellForms™ kits, samples and installation help
A feature wall shouldn’t come with the cost or mess of a renovation, and that’s the gap DwellForms™ was built to close: colour and shape you control, with nothing permanent left behind if you move. For a first project, a sample pack is the lowest-risk way to see how a shade sits in your light and how the adhesive performs on your particular wall before you order a full layout.

- Start with DwellForms™ Colour Samples to test colour and adhesive hold in your own room.
- Move up to a DwellForms™ Core Kit once you’re confident in the layout and the wall conditions.
- Add an Extension Kit later to grow the design without starting over.
Whichever kit you choose, follow the humidity and surface checks above alongside the installation checklist that ships with every order. It’s the combination of a dry wall and a careful sequence, not the product alone, that gets you a feature wall that stays put.
FAQ
Can I use removable adhesive pads in a bathroom?
Yes, in most ventilated bathrooms, provided the wall is dry, warm and outside the direct spray zone of a shower. Keep the room’s relative humidity between 35 and 65% and run an extractor fan before and after use.
Why did my adhesive strip fail after a few weeks?
The most common cause is invisible condensation at the point of application, often on a cool external wall, rather than the adhesive itself failing. Check whether the wall felt cold or damp when you applied it, then dry and warm it fully before reapplying a fresh strip.
What surfaces should I avoid with water-resistant adhesive pads?
Manufacturer instructions advise against wallpaper, some vinyl finishes and unpainted porous timber, since these surfaces don’t give the adhesive a stable layer to grip. Painted plaster and tile remain reliable choices.
How long should I wait before loading a panel onto an adhesive strip?
Manufacturer sheets specify a waiting period after pressing the strip firmly for around 30 seconds before any weight is applied, so check the instructions that come with your specific product. For multi-panel layouts, stage the install so each strip cures under light load first.
Does DwellForms™ work in humid rooms?
DwellForms™ panels use the same water-resistant adhesive principles covered above, so they suit ventilated bathrooms and kitchens when the wall is dry and warm at the time of installation. For colour and adhesive testing before committing to a full room, our Colour Samples are the lowest-risk starting point.
Sources
- Why new homes can be damp — and what we can do about it
- Command™ water resistant strips product information sheet
- Command™ medium hooks instruction sheet