

TL;DR:
- Creating a feature wall without renovation involves using removable or low-impact materials like paint, peel-and-stick wallpaper, or textural panels. Choosing the right wall, scale, and art placement enhances room harmony while renters can opt for non-permanent options like decals or fabric hangings. Proper planning, light layering, and decision-making ensure an impactful, affordable focal point.
A living room feature wall without renovation is a non-structural design technique that uses removable or low-impact materials to create a bold focal point on a single wall. No builder required, no lease broken, and no deposit lost. Whether you rent or own, the right approach adds texture, colour, and architectural presence to a room that currently feels flat or forgettable. The methods range from a $30 paint project to $200 peel-and-stick panels, and most install in an afternoon. This guide covers every practical step, from choosing the right wall to styling it with confidence.
What tools and materials do you need for a no-renovation feature wall?
The right materials make the difference between a feature wall that holds a room and one that looks like an afterthought. Three main methods suit renters and budget-conscious homeowners: paint, peel-and-stick wallpaper, and temporary textural panels.
Paint is the most affordable entry point. You need a roller, painter’s tape, a drop sheet, and a quality primer. A single accent wall costs as little as $30 in paint and takes one afternoon. The limitation for renters is that you must return walls to their original colour before vacating, which adds a repainting step at the end of your tenancy.
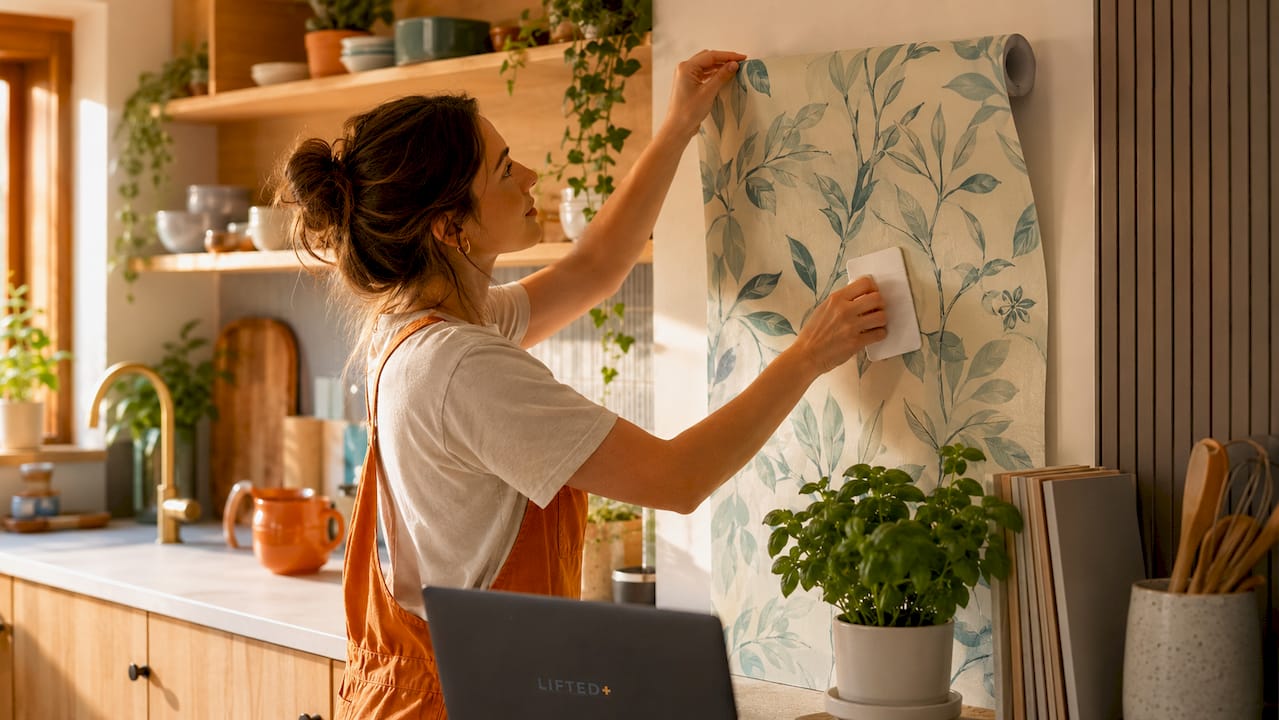
Peel-and-stick wallpaper sits in the $100–$200 range for a standard wall and requires no special tools beyond a squeegee, a level, and a craft knife. It is fully reversible when removed carefully, which makes it the most renter-friendly option available. That reversibility is the reason it has become the dominant no-reno method in 2026.
Temporary textural panels, including wood-look acoustic tiles and foam-backed battens, attach with removable adhesive strips or tension mounts. They sit at the higher end of the budget but deliver the most architectural result. The 2026 trend toward textural depth and dimensional surfaces makes these panels particularly relevant right now.
| Method | Approx. cost | Install time | Renter-friendly | Skill level |
|---|---|---|---|---|
| Bold paint | $30–$80 | 3–5 hours | Conditional | Beginner |
| Peel-and-stick wallpaper | $100–$200 | 2–4 hours | Yes | Beginner |
| Textural panels | $150–$300 | 4–6 hours | Yes (with strips) | Intermediate |
| Removable decals | $20–$60 | 1–2 hours | Yes | Beginner |
Pro Tip: Before committing to peel-and-stick wallpaper, test the adhesive in an inconspicuous corner for 24–48 hours. Some adhesives lift paint, particularly on older or poorly sealed walls.
How do you select and position your feature wall for maximum impact?
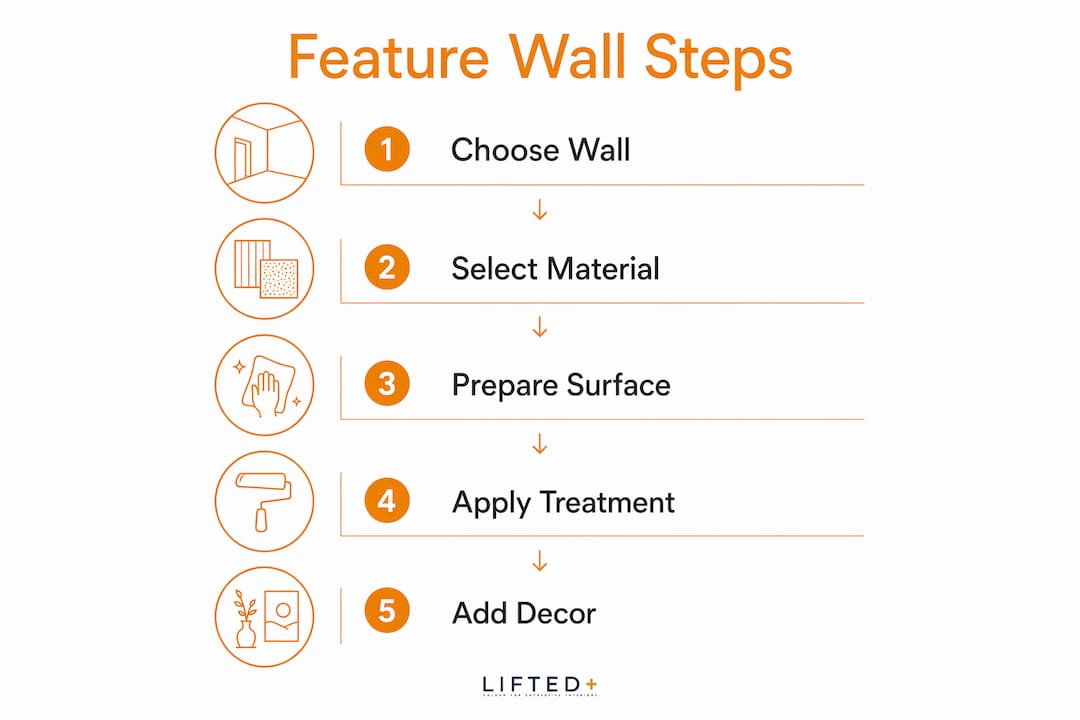
The wall you choose matters as much as what you put on it. The most common mistake is treating every wall as a candidate. A feature wall works because it is singular. Competing focal points flatten a space visually, so the goal is to commit to one wall and let everything else support it.
Choose a wall that is not immediately visible when you walk through the entry door. The wall you see first as you settle into the room, typically the one behind a sofa or opposite the main seating, is the natural anchor. Avoid entrance-facing walls and maintain 30–36 inches of walkway clearance around the focal area so the wall reads as a considered backdrop rather than an obstacle.
Scale and proportion govern how the wall relates to your furniture. Wall art or a decorative treatment should span roughly two-thirds the width of the furniture sitting below it. This ratio creates visual balance without making the wall feel crowded or the furniture feel abandoned.
Hanging height is where most people go wrong. The 57-inch rule centres art at eye level, approximately 57–60 inches from the floor. Above a sofa, leave 6–10 inches of clearance between the top of the cushions and the bottom of the artwork. Art hung too high creates the “floating” effect that makes a room feel disconnected and unresolved.
Pro Tip: Balance a dark or heavily textured feature wall by placing a large mirror or a bold art piece on the opposite wall. This distributes visual weight evenly and stops the feature wall from pulling the room off-centre.
Explore living room focal point ideas from Liftedplus for detailed guidance on anchoring open-plan and compact spaces alike.
Step-by-step methods to create a feature wall without renovation
Each method below suits a different budget, skill level, and tenancy situation. Choose one and commit fully rather than combining techniques on the same wall.
1. Paint a bold accent wall
Select your colour and buy a small sample pot first. Test the colour at morning, noon, and evening to see how natural and artificial light change its character. Apply painter’s tape along all edges, prime if switching from a light to a dark colour, then roll in overlapping W-shaped strokes for even coverage. Two coats produce a clean, saturated result.
For a textural variation without extra cost, dilute flat latex paint 4:1 with water and apply it in overlapping, irregular strokes. This creates a faux limewash effect that adds subtle depth and suits earthy, autumnal palettes particularly well.
2. Apply peel-and-stick wallpaper
Clean the wall thoroughly and let it dry for 24 hours before starting. Use a level to draw a faint vertical guideline. Peel the backing in sections rather than all at once, smoothing each panel downward with a squeegee to release air bubbles. Trim excess at the skirting board and ceiling with a craft knife and straight edge. For a broader range of wallpaper styles, look for options that specify removable adhesive on the label.
3. Add textural panels or tape-on battens
Acoustic panels in wood-look finishes attach with heavy-duty removable adhesive strips. Measure and mark a grid before applying any panels so the layout stays symmetrical. Battens, which are thin timber strips arranged in a grid or herringbone pattern, create an architectural feel for a fraction of the cost of real panelling. Use a spirit level at every step. The result reads as a structural feature even though nothing is permanently fixed.
4. Use removable decals, large art, and mirrors
A single oversized artwork or a curated gallery wall can function as a feature wall without any surface treatment at all. Use removable adhesive hooks rated for the weight of your pieces. Large floor-leaning mirrors achieve a similar effect with zero wall contact. For renters who want zero risk, this is the most deposit-safe approach available. Liftedplus offers large-scale wall art designed specifically to hold a lounge without overwhelming it.
Pro Tip: Never hang art by guessing. Use the 57-inch rule every time: measure from the floor, mark the centre point of the artwork, and hang from there. It takes two minutes and eliminates the floating-art problem permanently.
What are the best renter-friendly feature wall ideas beyond paint?
Renters who cannot paint have more options than most realise. The key is choosing materials that add visual mass and texture without touching the wall surface in any permanent way.
Fabric panel hangings, tapestries, and macramé pieces introduce warmth and organic texture. A large woven piece hung from a dowel rod and two removable hooks reads as a deliberate design choice rather than a workaround. The softness of fabric also absorbs sound, which improves the acoustic quality of the room.
Floating shelves installed with removable adhesive systems create a dynamic focal point that changes with the objects displayed on them. A curated arrangement of ceramics, trailing plants, and small framed prints gives the wall a layered, gallery-like quality. The display can be refreshed seasonally without touching the wall treatment itself.
Removable wall murals and large-format photographic decals are a step up from standard peel-and-stick wallpaper in terms of visual drama. A single mural panel covering the full wall height creates the impression of a painted feature without the permanence. For renters seeking more ideas, the Liftedplus guide to decorating without painting covers nine approaches that work in any tenancy.
Lighting is the most underused tool in feature wall design. A picture light mounted above a large artwork, or a pair of wall-wash sconces positioned to graze a textured surface, brings the wall to life after dark. The light creates shadow and depth that flat surfaces simply cannot produce on their own. For guidance on pairing lighting with wall treatments, the Liftedplus acoustic wall decor guide covers textured surfaces and their interaction with light in detail.
Pro Tip: When removing peel-and-stick products, warm the surface gently with a hairdryer on a low setting. Heat softens the adhesive and dramatically reduces the risk of paint lifting or surface damage.
Renter-friendly decor ideas from Liftedplus offer a broader range of approaches for tenants who want style without risk.
Key takeaways
A feature wall without renovation works because the right material, placed on the right wall at the right scale, anchors the entire room without a single structural change.
| Point | Details |
|---|---|
| Choose one focal wall | Avoid entrance-facing walls and maintain 30–36 inches of walkway clearance around the feature area. |
| Match scale to furniture | Wall treatments and art should span roughly two-thirds the width of the furniture below. |
| Hang art at eye level | Centre artwork 57–60 inches from the floor and leave 6–10 inches above furniture for a grounded look. |
| Test before committing | Sample paint colours at different times of day and test adhesives in a hidden spot for 24–48 hours. |
| Layer with light | Add a picture light or sconce to bring texture and depth to the feature wall after dark. |
What I have learned from years of watching feature walls succeed and fail
The rooms that stay with me are never the ones with the most expensive finishes. They are the ones where someone made a clear decision about what the wall should do and then followed through without second-guessing it.
The most common failure I see is hesitation expressed as compromise. A homeowner chooses a colour that is almost bold, or hangs art that is almost large enough, and the wall ends up doing nothing. Feature walls serve as a stage for furniture. They are meant to anchor and harmonise, not to compete or apologise for themselves.
Texture is the element most people underestimate. A flat painted wall in a strong colour reads differently from a limewashed or panelled wall in the same tone. The textured version interacts with light throughout the day, shifting from warm to cool, from flat to dimensional. That interaction is what gives a room its sense of life.
My honest advice for anyone starting out: pick the simplest method that genuinely excites you, and do it properly. A well-executed paint wall beats a poorly installed panel system every time. Commit to the scale, follow the placement rules, and resist the urge to add a second focal point. One wall, done with conviction, pulls a room out of the safe, polite middle and gives it something worth looking at.
— Michelle
Liftedplus and the art of the considered feature wall
Choosing the right decor to sit alongside your feature wall is where the real work begins. The wall sets the stage. What you place in front of it, and how you light it, determines whether the room feels finished or still searching for itself.
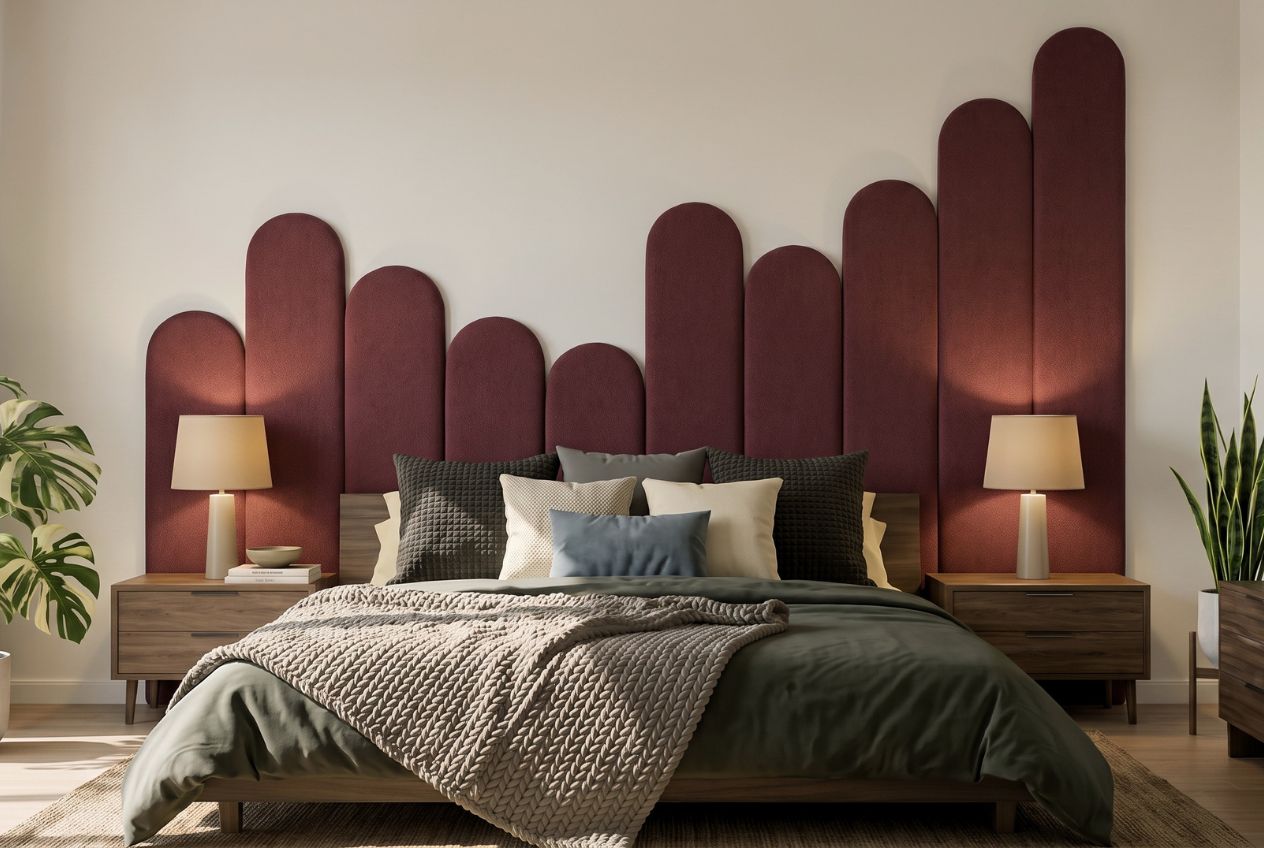
Liftedplus curates wall art, lighting, and decorative objects designed to work with colour-led interiors rather than against them. The collections are grounded in sculptural form and seasonal palettes, which means they hold their own against a bold feature wall without flattening it. Whether you are working with a limewashed accent wall or a peel-and-stick mural, the right piece in front of it completes the composition. Explore how decor shapes mood and style in your living room, or browse the full wall art collection to find a piece that holds your space with presence.
FAQ
What is the cheapest way to create a feature wall without renovation?
Paint is the most affordable option, with a single accent wall costing as little as $30 in materials. Peel-and-stick wallpaper and removable decals are the next most affordable and suit renters who cannot paint permanently.
Can renters create a feature wall without losing their deposit?
Yes. Peel-and-stick wallpaper, removable decals, fabric hangings, and adhesive-mounted art all leave walls undamaged when removed correctly. Testing adhesives in a hidden spot for 24–48 hours before full installation protects the paint surface.
Which wall in a living room should be the feature wall?
Choose the wall your eye naturally settles on when seated, typically the wall behind the sofa or opposite the main seating area. Avoid entrance-facing walls and ensure at least 30–36 inches of walkway clearance around the focal area.
How high should art be hung on a feature wall?
Centre artwork 57–60 inches from the floor, which aligns with average eye level. Above a sofa, maintain 6–10 inches of clearance between the top of the cushions and the bottom of the frame to avoid the floating-art effect.
What are the 2026 trends for no-renovation feature walls?
The dominant trend is textural depth, achieved through wood-look acoustic panels, dimensional wallpaper, and limewash paint effects. These materials interact with light throughout the day and create architectural presence without any structural work.