

TL;DR:
- Shiplap wall panels use overlapping wooden boards to create textured, shadowed grooves that add depth to interior walls. Proper acclimation and secure fastening are essential to prevent warping and achieve a professional finish. In 2026, design trends favor strategic placement, dark shades, and architectural use for shiplap to define and modernize spaces.
Shiplap wall panels are wooden boards joined with a rabbeted edge, creating the distinctive overlapping grooves and shadow lines that give interior walls immediate depth and character. The technique is a recognised form of decorative wall panelling, and its appeal has grown well beyond farmhouse kitchens into contemporary New Zealand and Australian homes. Pine board costs range from around $1.50 to $3.50 per square foot, while prefabricated panel sizes of approximately 11.8 in by 23.6 in make accent walls achievable in a single weekend. Whether you are planning a feature wall in a living room or a moody bedroom alcove, this guide covers materials, installation, styling, and maintenance in full.
What materials are available for shiplap wall panels?
The right material shapes every outcome, from cost and durability to how the finished wall holds paint. Pine is the most popular choice for interior accent walls because it is affordable, easy to cut, and takes paint beautifully. Cedar offers natural resistance to insects and moisture, making it a strong candidate for covered outdoor areas or rooms with mild humidity. MDF delivers a smooth, consistent surface that suits painted finishes, though it swells when wet and belongs only in dry rooms.
PVC shiplap is the clear winner for bathrooms and laundries. It resists moisture completely, never warps, and cleans easily. Reclaimed wood brings unmatched character and texture, though it requires more preparation time to straighten and seal before installation.
Prefabricated interlocking panels speed up the process considerably. Standard boards run 8–16 feet long and suit walls where you want to control every cut. Panels suit accent walls where speed matters more than customisation.
| Material | Cost per sq ft | Durability | Paintability | Best application |
|---|---|---|---|---|
| Pine | $1.50–$3.50 | Moderate | Excellent | Dry living areas, bedrooms |
| Cedar | $3.00–$6.00 | High | Good | Covered outdoor, humid rooms |
| MDF | $1.00–$2.50 | Low (moisture) | Excellent | Dry feature walls |
| PVC | $2.00–$5.00 | Very high | Good | Bathrooms, laundries |
| Reclaimed wood | $4.00–$10.00 | Variable | Moderate | Rustic feature walls |
Pro Tip: Match your material to the room’s moisture level first, then consider aesthetics. Choosing pine for a bathroom to save money will cost you far more in repairs within two years.
How to install shiplap wall panels: step-by-step DIY guide
Installation is straightforward when you follow the right sequence. Rushing any step, particularly wall preparation, produces gaps, sagging, and a finish that looks amateur from across the room.
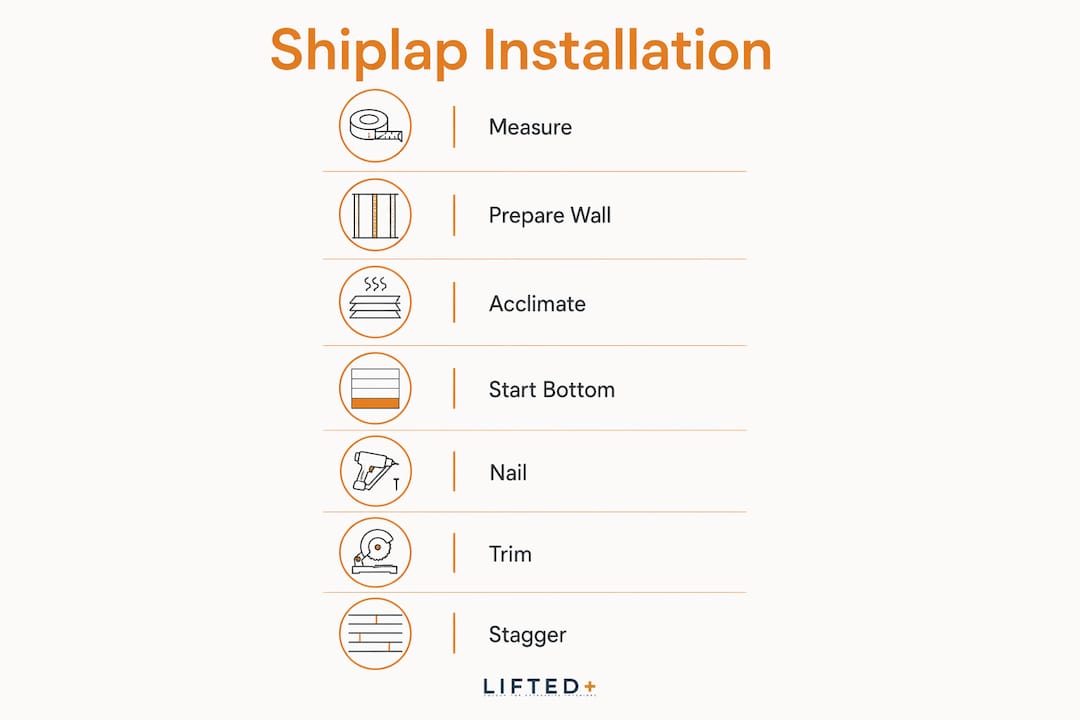
Step 1: Measure and calculate
Measure the wall’s height and width, then calculate the total square footage. Add 10% for waste from cuts and mistakes. Standard boards are 8–16 feet long, so plan your layout to minimise joins.
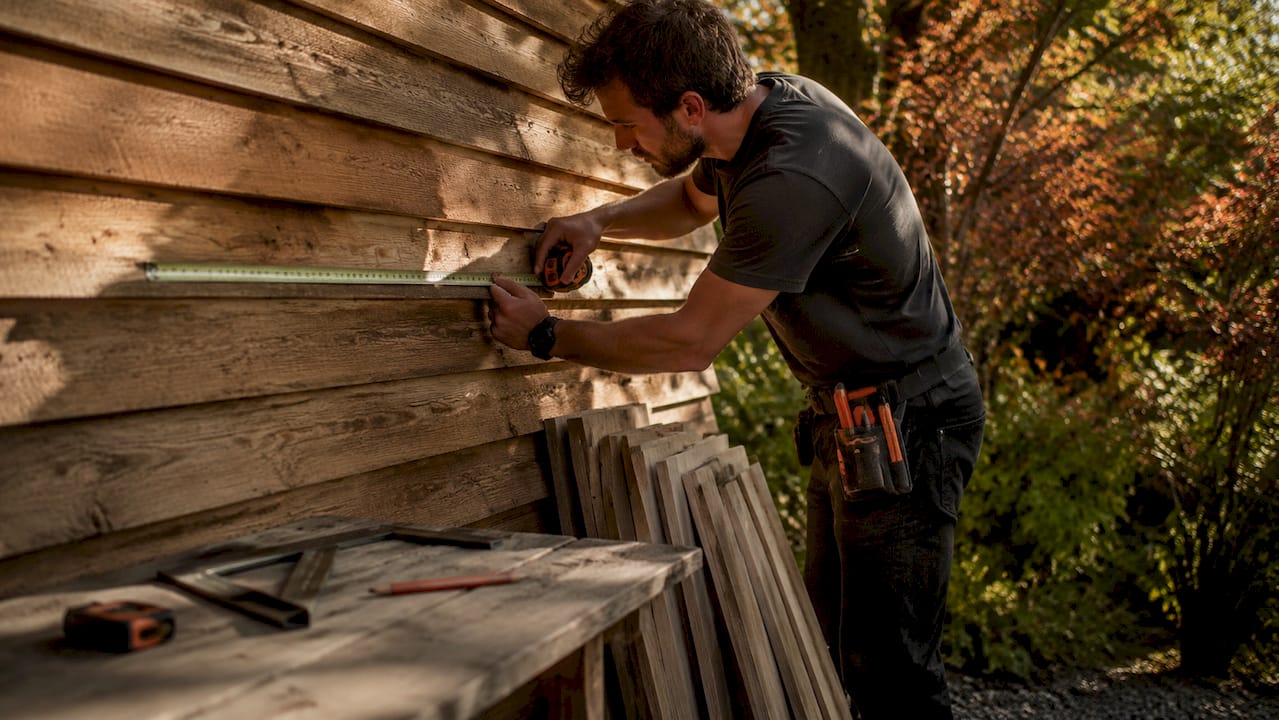
Step 2: Prepare the wall
Locate and mark every stud with a pencil line from floor to ceiling. Proper stud marking is the single most important preparation step. Remove any skirting boards or architraves that will interfere with the panel run.
Step 3: Acclimate the timber
Stack your shiplap wood panels flat in the room where they will be installed. Wood panels need 48–72 hours to adjust to the room’s humidity before installation. Skipping this step causes boards to expand or contract after fixing, leaving unsightly gaps or buckled seams.
Step 4: Start from the bottom
Begin at the floor or skirting line with a level board. Use a spirit level on every row. Spacers cut from offcuts maintain consistent gaps between boards as you work upward.
Step 5: Fix with finish nailers
Use finish nailers rather than adhesive alone to secure each board into the studs. Adhesive alone causes sagging on heavy or exposed walls over time. Drive nails at a slight downward angle through the tongue of each board for a clean, concealed fix.
Step 6: Scribe and trim for imperfect walls
Australian homes, particularly older ones, rarely have perfectly plumb walls. Use a scribing tool to trace the wall’s contour onto the board’s edge, then trim with a jigsaw. This closes gaps that would otherwise collect dust and look unfinished.
Step 7: Stagger the seams
Offset joins between rows by at least 600mm so no two vertical seams align. Staggered seams distribute stress and look far more considered than rows that line up like brickwork.
Pro Tip: Pre-engineered nickel gap boards have a precise 1/8-inch reveal built in, which eliminates the need for manual spacers and guarantees consistent shadow lines across the entire wall.
What are the 2026 styling trends for shiplap walls?
The dominant shift in 2026 is away from full-room coverage and toward strategic feature placements. Designers now treat shiplap as an architectural tool rather than a surface treatment. The boards define zones, guide the eye, and give rooms a sense of considered structure without adding furniture.
Orientation matters enormously. Horizontal boards make narrow rooms feel wider by drawing the eye across the wall. Vertical boards push the ceiling upward visually, which suits rooms with standard 2.4m ceilings that feel compressed. Diagonal installation is a bolder choice that suits contemporary spaces where the wall is meant to be a statement.
Current placement ideas that work particularly well include:
Fireplace surrounds, where the boards frame the hearth and create a natural focal point. Bed alcoves, where a feature wall behind the bedhead anchors the room without requiring artwork or paint. Entry zones, where a panelled wall sets the tone for the entire home the moment a guest walks in. TV walls, where the boards provide a textured backdrop that makes the screen feel intentional rather than just mounted. Built-in shelving surrounds, where shiplap lines the back and sides of a niche to add depth.
Colour choices in 2026 have moved decisively toward darker, moodier shades. Charcoal, black, and deep green transform the same boards that once read as rustic into something sophisticated and contemporary. Paired with warm timber furniture and sculptural lighting, a dark shiplap wall holds a room with real authority. For those who prefer a lighter palette, white and warm off-white remain timeless, particularly in coastal and Scandi-influenced interiors.
How to maintain shiplap panels in humid or wet areas
Moisture is the primary threat to timber wall panels, and the solution starts before a single board goes up. For bathrooms, use moisture-resistant or marine-grade timber, or choose PVC shiplap entirely. Avoid placing any timber shiplap directly behind a shower or bath where water contact is unavoidable.
Finish selection is as important as material choice. Semi-gloss and satin paints resist moisture better than flat or matte finishes and wipe clean without damaging the surface. Apply two coats minimum, sanding lightly between coats for adhesion.
Ventilation prevents the slow moisture build-up that causes mould in wall cavities. An exhaust fan rated for the room’s volume is non-negotiable in bathrooms with timber panelling. For fitted bathroom spaces where panelling meets cabinetry, seal every join with a flexible, mould-resistant silicone.
Regular cleaning is simple. Wipe boards down with a damp cloth and a mild detergent monthly. Avoid abrasive cleaners that strip the finish. Inspect the caulking around edges every six months and reseal where it has cracked or pulled away.
Pro Tip: VOC-free penetrating finishes protect timber from within rather than sitting on the surface. They do not peel, which means maintenance is a wipe-down rather than a full repaint every few years.
What design techniques push shiplap into modern, architectural territory?
Shiplap’s real power in contemporary interiors lies in how it shapes space rather than just decorning a surface. Pre-engineered nickel gap boards deliver the precision that makes this possible. The consistent 1/8-inch shadow line between each board creates a rhythm across the wall that reads as architectural detail rather than DIY cladding.
“Shiplap is no longer a farmhouse signature. In 2026, it is an architectural line tool. The boards guide the eye, define the zone, and give a room its structure. Used with intention, a shiplap wall does the work of a built-in without the cabinetmaker’s bill.” — 2026 shiplap design trend
The techniques that produce the most considered results include:
Blending shiplap with floating shelves so the boards become the backdrop to a curated display. Framing a niche or alcove entirely in shiplap, including the ceiling of the recess, to create a sense of depth that reads almost like a room within a room. Using the boards to wrap a built-in bed frame, so the panelling and the furniture read as one continuous element. Painting the shiplap the same colour as the ceiling to dissolve the boundary between wall and overhead plane, which makes a room feel taller and more considered.
Natural wood texture and painted finishes serve different purposes. Raw or lightly oiled timber brings warmth and organic character, which suits living rooms and bedrooms where comfort is the priority. Painted shiplap, particularly in deeper, moody tones, suits spaces where you want the wall to hold visual weight. The texture remains visible under paint, which is what separates shiplap from flat plasterboard. That texture catches light differently across the day, and a wall that shifts with the light is one that holds your attention.
For a broader view of how wall panelling fits into the current design moment, the Liftedplus guide to decorative wall panel options covers the full range of materials and finishes available to homeowners in 2026.
Key takeaways
Shiplap wall panels deliver the most impact when material, placement, and finish are chosen together rather than as separate decisions.
| Point | Details |
|---|---|
| Material matches the room | Use PVC or marine-grade timber in wet areas; pine suits dry living spaces. |
| Acclimate before installing | Leave timber panels in the room for 48–72 hours to prevent post-install warping. |
| Nail into studs, not just adhesive | Finish nailers into studs prevent sagging on heavy or exposed walls over time. |
| Placement over coverage | Feature walls, alcoves, and fireplace surrounds outperform full-room shiplap in 2026. |
| Dark paint expands design range | Charcoal, black, and deep green turn shiplap into a sophisticated, modern focal point. |
My honest view on shiplap after years of watching it go up
I have seen shiplap installed beautifully and I have seen it installed badly, and the difference almost always comes down to two things: acclimation and fastening. Homeowners skip the 48-hour rest period because they are eager to get started. Then the boards move, the gaps open up, and the wall looks like it was done in a hurry. That impatience costs far more to fix than the time it would have saved.
The other mistake I see constantly is relying on construction adhesive alone. Adhesive works on small, light panels in low-traffic areas. On a full feature wall, especially one near a fireplace or in a room with temperature swings, it fails. Finish nailers into studs are not optional. They are the reason the wall is still flat in five years.
What genuinely surprises people is how much a single shiplap wall changes the feeling of a room. It is not just texture. The shadow lines create a rhythm that the eye follows, and that rhythm makes a room feel more considered, more settled. A plain painted wall holds colour. A shiplap wall holds light. That is a meaningful difference when you are trying to make a space feel like it was designed rather than just furnished.
My advice for anyone starting out: choose your placement carefully, understand why accent walls work, and do not try to cover every surface. One well-executed wall beats four mediocre ones every time. Experiment with colour. The dark shades feel intimidating on a paint chip and extraordinary on a finished wall.
— Michelle
How Liftedplus helps you style beyond the wall
A shiplap wall sets the tone. What you place in front of it determines whether the room sings or stalls.
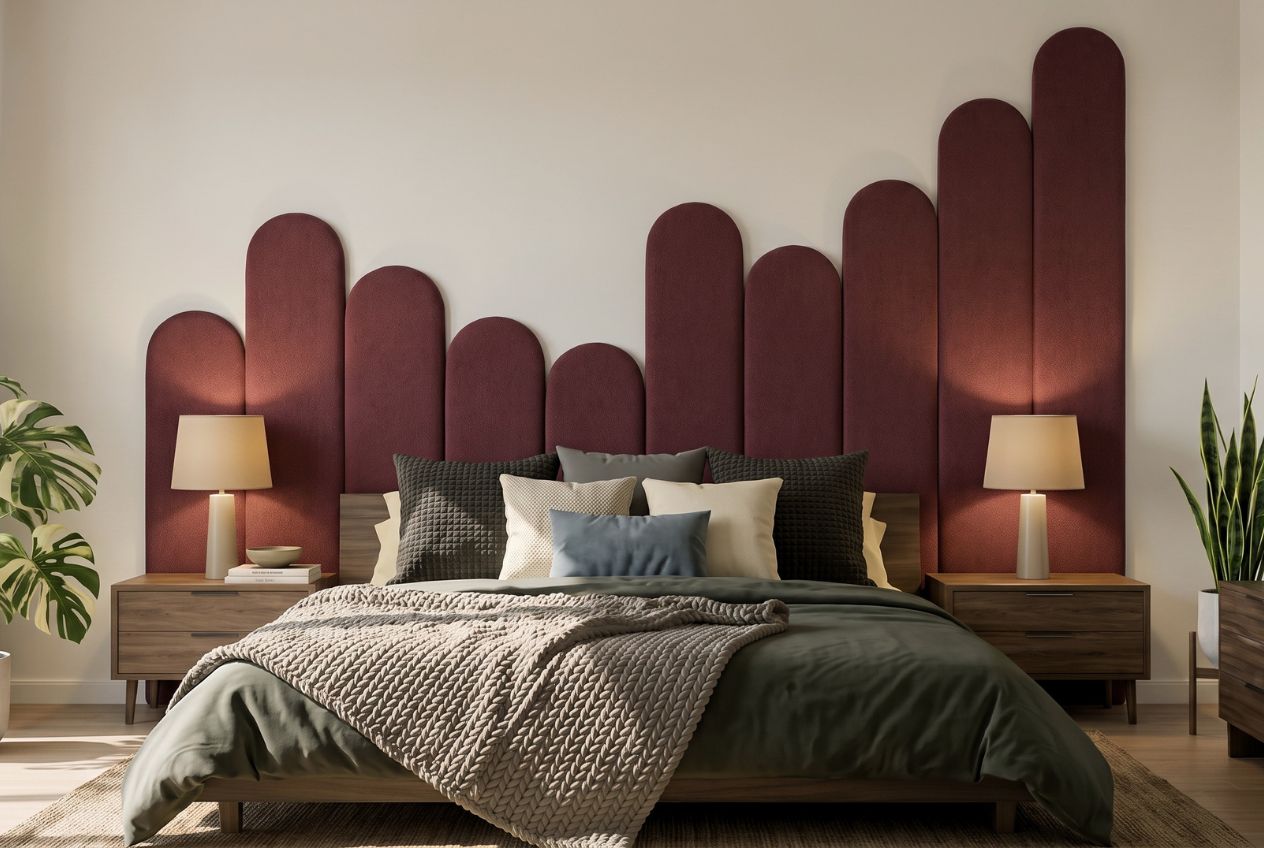
Liftedplus curates furniture, lighting, and wall art designed specifically for modern New Zealand and Australian interiors, with a focus on colour, sculptural form, and pieces that hold presence in a room. A charcoal shiplap wall paired with the right statement light or a piece of limited edition wall art creates a space that feels genuinely designed rather than assembled. If you are working out how decor shapes mood and style in your home, the Liftedplus editorial library is a strong place to start. The collections are seasonal and limited, which means the pieces you choose stay rare.
FAQ
What is shiplap and how does it differ from regular wall panelling?
Shiplap is a type of wooden board with a rabbeted edge that creates an overlapping joint and a visible shadow line between boards. Standard flat wall panelling sits flush, while shiplap’s grooves add depth and texture that flat panels cannot replicate.
Can shiplap wall panels be used in a bathroom?
Yes, provided you choose the right material. PVC shiplap or marine-grade timber with a semi-gloss finish handles bathroom humidity well. Avoid standard pine in areas with direct water exposure, and seal all joins with mould-resistant silicone.
How do I keep shiplap boards from warping after installation?
Acclimate timber panels in the installation room for 48–72 hours before fixing them. This allows the wood to adjust to the room’s humidity level and prevents post-install movement that causes gaps and buckling.
What is the best orientation for shiplap: horizontal or vertical?
Horizontal boards widen a room visually by drawing the eye across the wall. Vertical boards create the illusion of height, which suits rooms with lower ceilings. Choose orientation based on the proportions you want to correct or emphasise.
Are there shiplap alternatives that achieve a similar look?
Tongue-and-groove panelling and nickel-gap boards are the closest alternatives. Nickel-gap boards offer a more precise shadow line than traditional shiplap and suit contemporary interiors where consistency matters more than a handcrafted feel.