
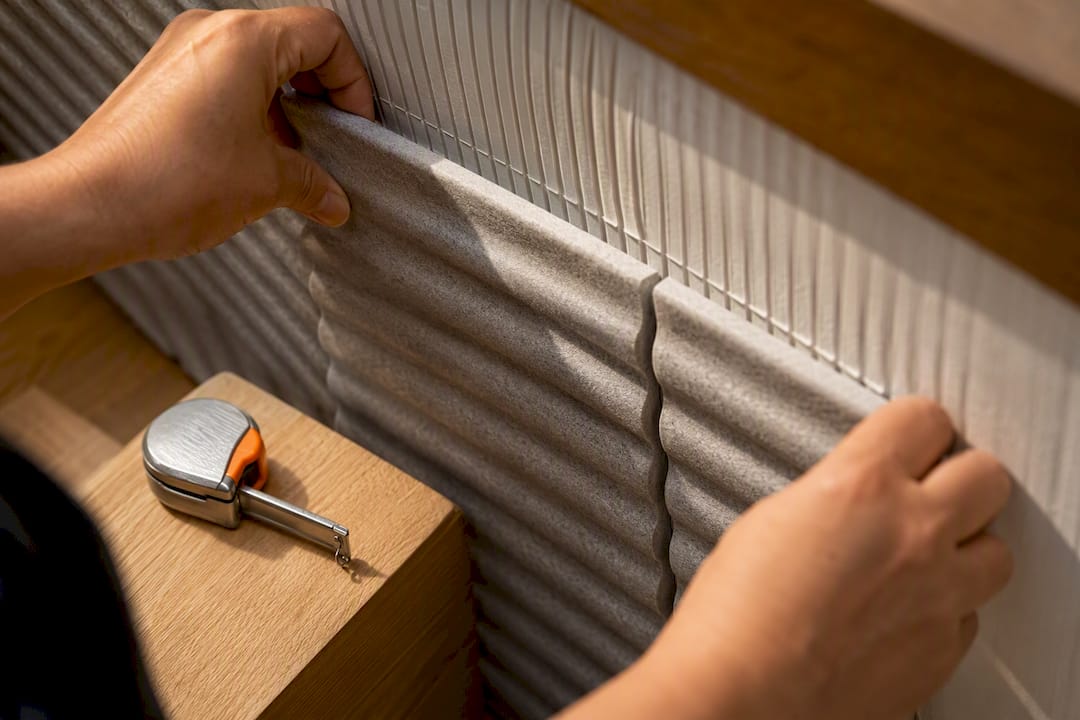
Yes, you can extend a modular, no-drill wall panel feature wall, and the process is genuinely simple: measure your existing layout, choose a matching extension kit like DwellForms™, dry-fit before committing, apply tested adhesive pads, press firmly, then trim and finish the joins. Get the colour and nap matched at the start and the rest falls into place.
TL;DR:
- Using matching extension kits like DwellForms™ ensures seamless alignment with the original panels, provided the shade and nap are verified through samples.
- Precise measurements of existing panels, including seam width and nap orientation, are crucial to avoid crooked or mismatched finishes over multiple panels.
- Applying tested adhesive pads evenly and performing a dry-fit before sticking guarantees better seam alignment and minimizes the risk of panels lifting or shifting.
- Leaving small gaps or v-grooves at joints, rather than forcing tight seams, creates a deliberate look and accommodates minor shade variations.
- Carefully warming and peeling panels during removal reduces paint damage, especially on smooth, non-flaking surfaces, and prevents noticeable wall damage.
Table of Contents
- How do you plan and measure a wall panel extension?
- Which extension kits and materials actually work here?
- What’s the step-by-step process for installing the extension?
- How do you trim and finish the joins?
- What if a panel lifts, or you need to take the whole thing down?
- Why removable extensions matter more than the instructions suggest
- Extending your feature wall without the guesswork
- Where to go for more on installation and finishing
- Sources
- FAQ
How do you plan and measure a wall panel extension?
Get the measurements right before anything touches the wall. Most mismatched extensions trace back to one thing: someone skipped the layout stage and started sticking panels straight from the box.
Start by measuring your existing panel module, including seam width and any small gaps already showing on the current run. Record these in millimetres, not rough estimates. Every extra centimetre compounds across a run of six or eight panels, and that’s how a “close enough” wall ends up crooked by the time it hits a corner.
Check which way the panel nap or fibre runs before you open a new box. Box order and nap orientation are easy to overlook but they’re the difference between an extension that reads as one wall and one that visibly seams halfway across the room.
Mark your intended layout directly on the wall in pencil before you peel a single backing sheet.
- Note the position of power points, switches, mouldings and skirting boards
- Locate studs if you’re working near a heavier fixture, even though the panels themselves don’t need them
- Decide now whether you need whole panels, halves, or custom cut pieces to reach a doorframe or corner
- Dry-fit the run against the wall (unstuck) to catch layout problems while they’re still free to fix
Getting this stage right is what separates a feature wall that looks designed from one that looks like an afterthought.
Which extension kits and materials actually work here?
Buy the extension kit that was built to match your existing panels, not a generic lookalike. DwellForms™ makes this straightforward with a dedicated linear wall panel extension kit and a skyline extension option, both designed to sit flush with the original module size and colour run. Order a sample pack first if you’re at all unsure about the shade. Dye lots vary slightly between production batches, and a sample against your existing wall in daylight tells you more than any product photo.
The adhesive matters more than most people expect. Tested adhesive pads made for PET felt hold differently to generic double-sided tape, and they’re rated for the actual weight of a felt panel rather than a vague “sticks to most things” promise.
- A spirit level, for keeping seams honest across a run
- A tape measure and straightedge
- A snap-off blade for clean cuts
- A hairdryer, kept handy for later repositioning or removal
Pro Tip: Stick one test panel in an inconspicuous corner for 24 hours before committing the whole extension. If it holds clean on your specific wall surface, you’ve confirmed the adhesive suits your paint, not just the panel.
What’s the step-by-step process for installing the extension?
Work through this in order and resist the urge to skip the dry-fit. It’s the single step that catches problems before they’re permanent.
- Clean the wall. Wipe the surface with isopropyl alcohol and let it dry fully. Skip painted walls with flaking or chalky finish, and be cautious on heavily textured surfaces, which don’t give adhesive pads a flat, reliable bond.
- Dry-fit the new panels against the existing run before sticking anything down. Check colour and nap against your original wall in natural light.
- Keep panels in box order. Installing panels in the same sequence they were packed keeps colour and fibre direction consistent across the join, which matters more than any single panel’s individual shade.
- Apply adhesive pads evenly across the back of each panel rather than clustering them in the centre. Spreading the load across the full panel surface stops one corner bearing all the weight, which is usually where lifting starts.
- Press firmly and hold. Repositioning is possible in the first few minutes with adhesive-backed felt systems, but full bond strength typically takes around 24 hours to set. Use a straightedge or a temporary spacer to hold seams tight while you work along the run.
- Check level constantly, not just at the start and end. A lean of a couple of millimetres per panel becomes obvious over a six-panel extension.
- Stagger seams where colour variation is unavoidable. A slightly offset joint disguises a minor shade shift far better than a dead straight seam does.
Press panels tightly against their neighbours as you go rather than leaving gaps to close up later. Once the adhesive grips, shifting a panel even a few millimetres becomes a genuine job.
How do you trim and finish the joins?
A clean cut is what makes an extension look intentional rather than improvised. Use a snap-off blade against a straightedge, scoring the felt in one confident pass rather than sawing back and forth, which tends to fray the edge.
Where panels meet at a corner or run into a doorframe, leave a small service gap rather than forcing a tight butt join. A 1 to 2mm gap, or a v-groove where the design calls for one, actually reads as more deliberate than a seam jammed edge to edge. Lifted+’s guide to no-drill wall panel corners covers the groove technique in more detail if you’re working around an external corner.
- Cut with the factory edge facing outward wherever possible; save the trimmed edge for the side against ceiling or floor
- Mitre corners where two runs meet at an angle, or butt-join and trim if the design is simpler
- Leave clearance around switches and skirtings rather than cutting panels flush against them
- Reorder a panel from later in the box if a visible seam shows more shade variation than expected
What if a panel lifts, or you need to take the whole thing down?
A lifting edge usually means the adhesive didn’t get full contact, not that the whole system has failed. Press again with even pressure across the panel, and if a corner still won’t sit, add an extra tested adhesive pad rather than piling on more pressure alone. Heavier panel arrangements sometimes benefit from a little extra support while the adhesive cures fully.
- Warm the edge gently with a hairdryer on medium heat
- Peel slowly at roughly a 45 degree angle rather than pulling straight off the wall
- Work steadily along the panel rather than yanking one corner
- Clean any residue with a gentle adhesive remover suited to painted surfaces
Warming the adhesive before peeling genuinely reduces the risk of pulling paint with it, but the same source found this only holds true on prepared, smooth surfaces. Flaky paint, crumbly plaster, or heavily textured render are the walls where adhesive-only systems struggle, and where it’s worth flagging the surface to a landlord before you start rather than after something’s already stuck.
Pro Tip: Never rush a removal on a rental inspection deadline. A slow 45 degree peel with warmed adhesive takes minutes longer than tearing it off, and it’s the difference between getting your bond back in full or not.
Why removable extensions matter more than the instructions suggest
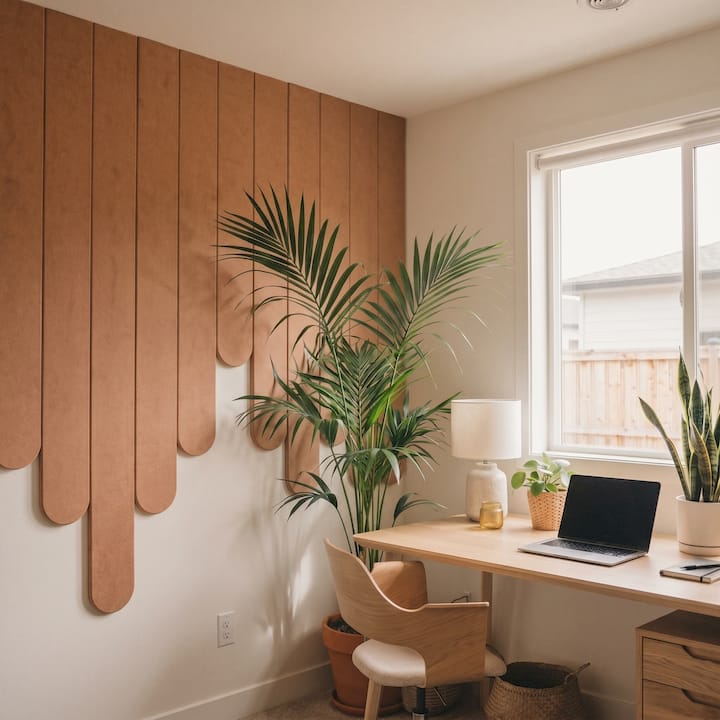
Renters don’t get many chances to make a wall feel like theirs, and that’s the real reason this process matters beyond the mechanics of pads and seams. A feature wall you can extend, reshape, or take with you when you move is colour without commitment, not colour as a gamble against your bond. I’ve seen enough rental interiors treated as blank waiting rooms to know that a considered wall changes how a whole room feels to live in. If you want to see how other renters have approached their own colour-led extensions, Lifted+’s site carries layout ideas and styling examples worth browsing before you commit to your own.
— Michelle
Extending your feature wall without the guesswork
There’s a real gap between generic PET felt panels bought as separate pieces and a kit actually engineered to extend. DwellForms™ closes that gap: extension kits are built to the same module size, colour run and adhesive system as the original range, so you’re not hunting for a compatible match or hoping a different supplier’s felt happens to line up.

The linear extension kit suits a straightforward run, while the skyline extension kit adds a more sculptural, staggered edge if your original wall used that profile. Both come with the same tested adhesive pads covered above, so there’s no separate adhesive to source or guess at. If you’re not certain your existing wall colour will match, order a sample kit first and hold it against the wall in daylight before buying the full extension. Ready to add to your wall? Browse the DwellForms™ Skyline Kit and get your extension moving this week.
Where to go for more on installation and finishing
For deeper detail beyond this guide, Lifted+ publishes dedicated installation guidance covering layout, colour matching and styling. For corner and edge techniques specifically, the no-drill corner guide and removal guide are worth bookmarking before you start.
Sources
- I Tried 6 Rental-Friendly Wall Paneling Hacks — 2 Failed, 3 Stayed, and 1 My Landlord Actually Loved – Stealthedecor
- ACOUSTIC PET FELT PANELS installation guide (refelt)
- StickyFelt™ – Welcome in DeFelt!
FAQ
Can I extend wall panels without drilling?
Yes. Modular PET felt kits like DwellForms™ use tested adhesive pads rather than screws or drilling, which is what makes them suitable for rental walls with landlord restrictions.
Do I need my landlord’s permission to add extension panels?
Most rental agreements are fine with no-drill adhesive systems since they don’t penetrate the wall, but check your specific lease and flag any textured or previously damaged paint before starting.
How much weight can adhesive pads hold?
Tested adhesive pads are rated for the weight of a standard felt panel when the load is spread evenly across the full panel surface; heavier or oversized arrangements benefit from extra pads and a longer cure period.
Can I cut DwellForms™ panels to fit around switches or corners?
Yes, PET felt cuts cleanly with a snap-off blade and a straightedge, and leaving a small 1 to 2mm service gap around fixtures gives a neater finish than a forced tight cut.
Will removing the panels damage my paint?
Damage risk is low on smooth, well-prepared walls when you warm the adhesive edge and peel slowly at a 45 degree angle, though flaky paint or heavily textured surfaces carry more risk regardless of technique.