
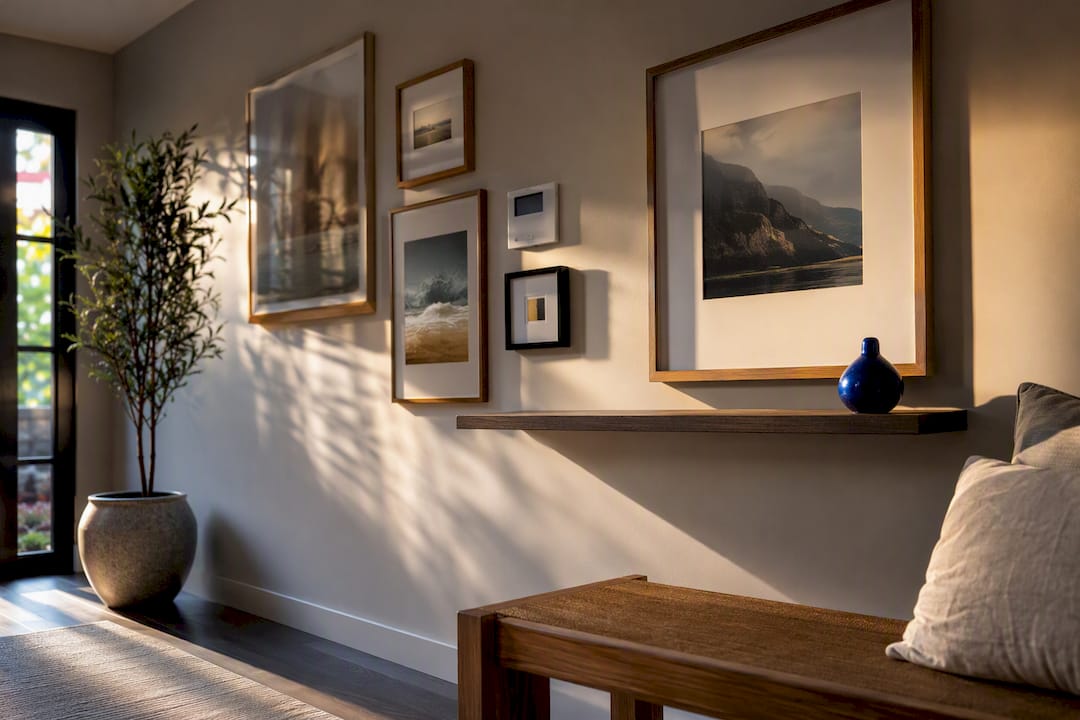
The simplest ways to hide a thermostat on the wall are a gallery wall, a styled floating shelf, a ventilated hinged cover, or removable wall panels. Each works because it distracts the eye rather than sealing the device away. The one rule that overrides every design choice: the thermostat still needs airflow and quick access, so nothing goes over it that traps heat or blocks the sensor. Renters have genuinely good, no-drill options here too.
TL;DR:
- Making the thermostat part of a gallery wall with varied frames or an empty frame centering on the device keeps it visible without blocking airflow.
- Building a vented, hinged cover at least 1/4 inch deeper than the thermostat and ensuring at least 30% open area prevents heat buildup and sensor interference.
- Renters can effectively conceal thermostats using non-damaging options like leaning canvases, adhesive frames, or removable panels that do not require wall modifications.
- It is essential to verify that any cover or panel does not cause temperature reading deviations larger than one degree and that open space remains around the device.
- Choosing distraction over concealment transforms the wall into a visual feature, allowing effective camouflage without sacrificing functionality or risking damage.
Table of Contents
- Visual integration: gallery walls, frames and styled shelves
- Building a ventilated cover that won’t confuse the thermostat
- No-drill options for renters who can’t touch the wall
- Testing your cover so you don’t lose accuracy
- Materials and time: what each approach actually takes
- A renter-first take on hiding a thermostat well
- Sources
- FAQ
Visual integration: gallery walls, frames and styled shelves
Designers call this approach “distraction over concealment.” Instead of hiding the thermostat, you make it part of a composition so the eye reads the whole wall, not the beige box in the middle. It’s a smarter starting point than any cover, because nothing touches the device and nothing can interfere with its sensor.
The empty-frame trick is the fastest version. Take the glass and backing board out of a frame, centre the empty frame around the thermostat, and fix it with non-damaging picture hangers or mounting tape. The thermostat sits inside the frame like a piece of the display, fully exposed, fully readable.
Building a full gallery wall takes more planning but pays off visually. A few rules keep it from looking cluttered:
- Choose one anchor piece, usually the largest print or mirror, and build outward from it.
- Vary frame sizes and orientations so the thermostat doesn’t stand out as the odd shape in the grid.
- Lay the whole arrangement out on the floor first, or mark it with painter’s tape on the wall, before you commit to any fixing point.
A floating shelf mounted just below or beside the thermostat gives you a third option. Lean a small print, a vase, or a plant on the shelf so the eye lands there first. Shelves work well precisely because they don’t block the front or back of the unit, which means full airflow stays intact while the decor does the visual heavy lifting. For renters, this whole category is low risk. Every option here removes cleanly, which matters more than most people think when a lease is on the line. If you want more layout ideas before committing to a design, our guide to gallery wall alternatives is worth a look.
Building a ventilated cover that won’t confuse the thermostat
A sealed glass front or an airtight timber box is the most common mistake in DIY thermostat covers. Enclose the unit in a solid, unvented case and you create a small greenhouse: heat builds up inside the cover, the thermostat reads that trapped air instead of the room, and your heating or cooling starts short-cycling to chase a temperature that isn’t real.
Follow these design rules and that problem doesn’t happen:
- Build the interior at least 1/8 to 1/4 inch deeper than the thermostat housing, so nothing brushes against buttons or a touchscreen when the door closes.
- Leave a vent gap at both the top and bottom of the cover, not just one side, so air moves through rather than pooling.
- Aim for at least 30% open area on the front panel using slats or a fine mesh instead of a solid face.
- Fit the door with side or top hinges and a magnetic catch, so it opens and closes without needing to press against the thermostat itself.
A hinged, open-backed wooden frame or shadow box is the classic version of this build, and it works precisely because the open back and vented front let the device keep reading true room temperature.
Pro Tip: Before you screw or stick anything into place, hold the unfinished cover over the thermostat for a day and watch how it behaves. If the display lags, jumps, or the heating cycles oddly, fix the ventilation before you finish the build, not after.
No-drill options for renters who can’t touch the wall
Not every solution needs a saw or a drill. If your lease says no holes, or you just don’t want to commit to a permanent fixture, several options give you the same visual effect with zero wall damage.
- Leaned canvases and open-backed frames rest against the wall or on a shelf, so nothing touches the thermostat and everything comes down in seconds.
- Adhesive strips and picture ledges hold light frames well, but check the weight rating first. Overloaded adhesive strips fail, usually at the worst moment.
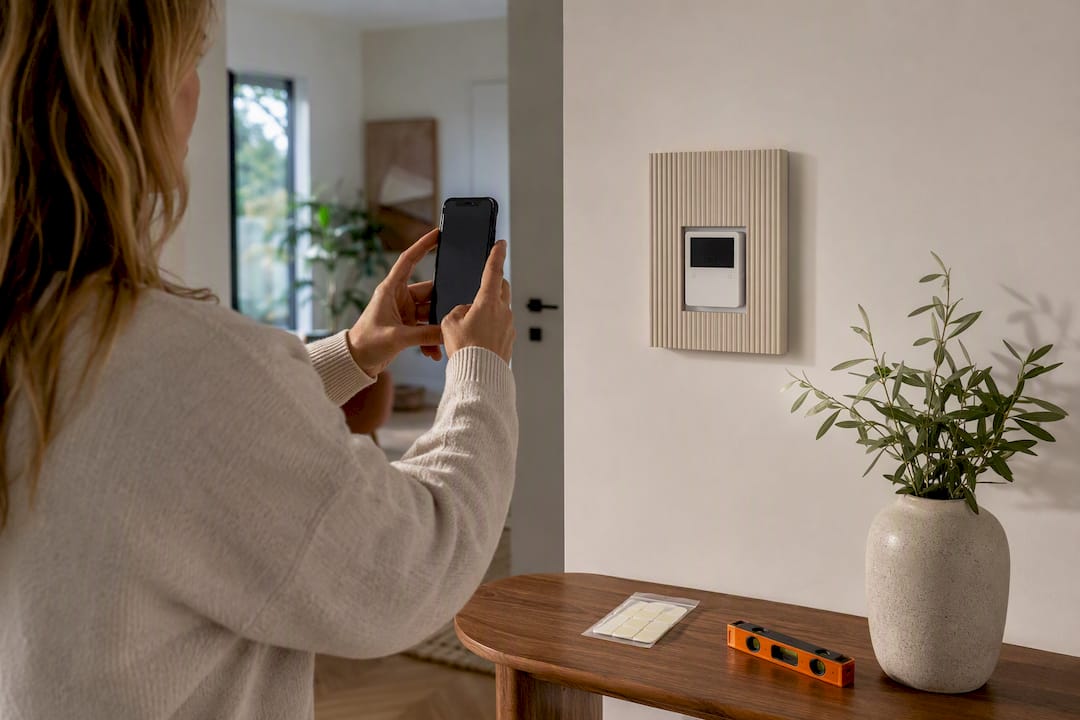
- Removable panel systems solve a different problem: they give you colour and texture across a bigger stretch of wall, which pulls attention away from the thermostat without covering it at all.
This is where a colour-led, renter-friendly wall design approach like DwellForms™ earns its place in the conversation. The modular panel kits use tested adhesive pads instead of screws or nails, so they go up without drilling, painting, or any permanent change to the wall, and they come off cleanly if you move. Positioned around a thermostat rather than over it, a panel arrangement turns the whole wall into the feature, which does more for the room than any single cover ever could.
If you’re renting, document what you install anyway. A quick photo of the wall before and after, plus a note to your landlord that the pads are removable, saves an argument later. It’s a five-minute step that protects your bond and your design choice.
Testing your cover so you don’t lose accuracy
Once anything goes up near the thermostat, verify it hasn’t changed how the device reads the room. This takes less time than most people expect.
- Place a handheld thermometer at the same height as the thermostat, a few centimetres away, and leave it for 30 to 60 minutes.
- Compare the two readings. A gap of a degree or less is normal; anything larger points to trapped heat or blocked airflow.
- Check clearance: aim for at least 5cm of open space in front of the thermostat, with nothing pressed against the casing.
- If the offset is small and consistent, some smart thermostats let you enter a calibration offset in settings to correct for it, but treat that as a backup, not a fix for poor ventilation.
Smart thermostats add one more wrinkle. If a cover or frame blocks the motion sensor, automatic “away” detection stops working reliably, and you’ll need to switch schedules manually through the app instead. If you ever notice short cycling, a lag before heating kicks in, or a setpoint that won’t hold, that’s your sign to open the cover back up and check for blocked vents before you blame the thermostat itself.
Materials and time: what each approach actually takes
Here’s roughly what each method demands in tools, materials, and time.
- Leaned canvas or print: no tools needed, 15 to 30 minutes, beginner friendly.
- Gallery wall with empty frame: frames, painter’s tape for layout, adhesive hangers, 1 to 2 hours.
- Floating shelf styling: shelf, brackets or adhesive mounts, decor items, 30 to 45 minutes.
- Hinged ventilated cover: timber or plywood, small hinges, magnetic catch, mesh or slats, saw and drill, 1 to 3 hours.
- Removable panel system: panel kit, tested adhesive pads, no drill required, roughly an afternoon for a full wall.
A renter-first take on hiding a thermostat well
Most guides treat a thermostat cover as a carpentry problem. It’s really a composition problem. The wall around a thermostat is doing nothing until you give it a job, and a cover that only conceals wastes that opportunity.
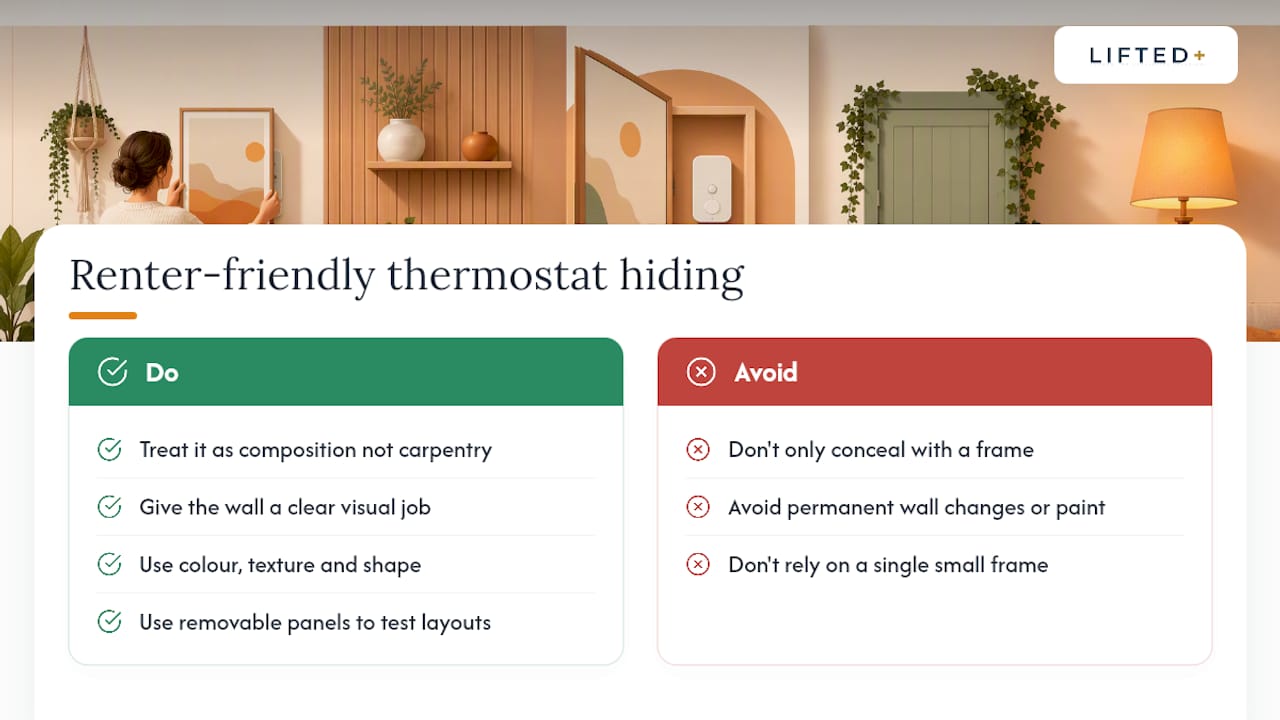
Colour changes how a wall reads far more than a single frame ever will. A wall with texture and shape draws the eye across the whole surface, and the thermostat simply stops registering as the focal point. That’s the logic behind DwellForms™: removable panels let you test a bold layout without touching the lease, and if it doesn’t work, it comes off as cleanly as it went up.
If you’re weighing up your first attempt, our layout and colour sample guidance is a reasonable place to start before you commit to a full kit.
— Michelle
Sources
- How to Hide Your Thermostat So It Doesn’t Clash With Your Decor
- DIY thermostat cover – at home with Ashley
- Your gallery wall is actually the best hack for hiding your thermostat
FAQ
How do you disguise a thermostat on the wall?
Build the disguise around visual distraction rather than a solid cover. A gallery wall, an empty frame centred on the unit, or a styled floating shelf all hide the thermostat without touching or enclosing it.
How do you camouflage a wall thermostat without drilling?
Lean a canvas nearby, use adhesive-mounted frames, or install a removable panel system such as DwellForms™, which relies on tested adhesive pads rather than screws or nails.
Is it a bad idea to cover your thermostat?
It’s only a problem if the cover is airtight.
Where should you avoid placing a thermostat cover or nearby decor?
Keep covers and decor away from direct sunlight, heat vents, doorways, and draughts, and leave roughly 5cm of clearance in front of the unit so nothing blocks airflow or the motion sensor on smart models.
The ventilated hinged cover is a smart renter-friendly solution because it hides the thermostat while preserving airflow and quick access. I also like the idea of using removable wall panels to make the device blend into the room without risking damage to the wall.
The ventilated hinged cover is a clever renter-friendly option because it hides the thermostat while keeping airflow and quick access intact. I also like the idea of using removable wall panels to make the fix feel intentional rather than temporary.