
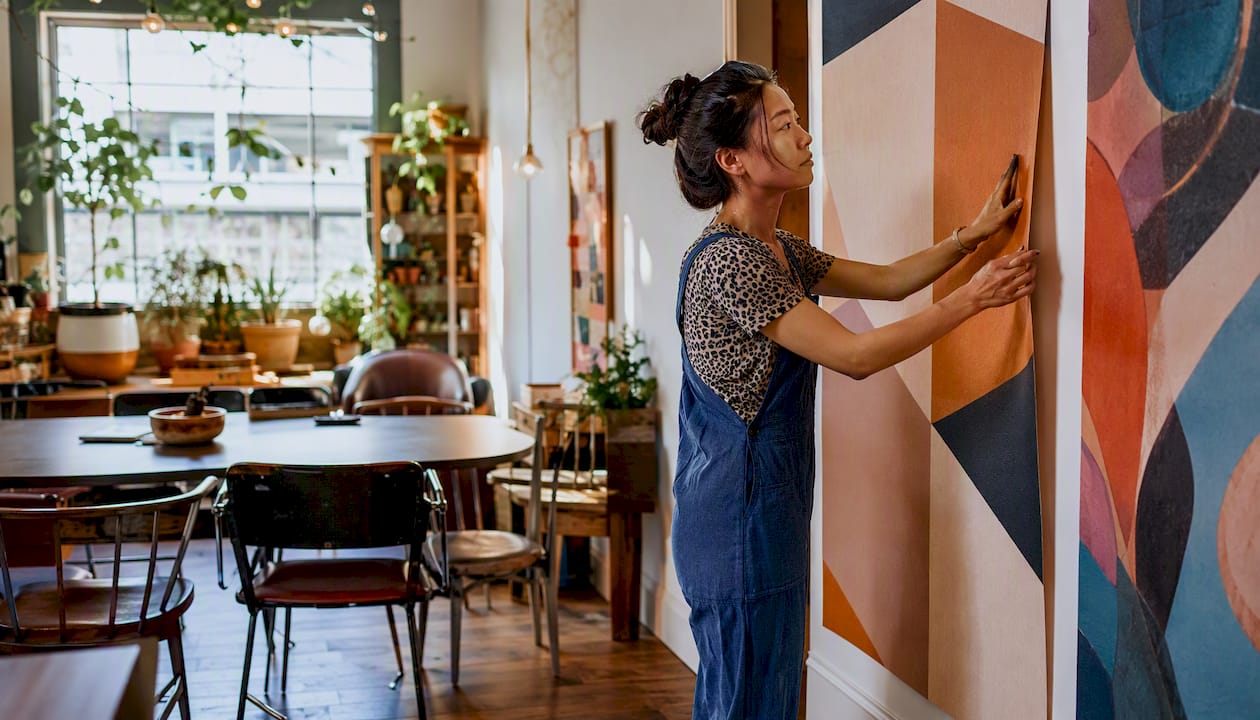
For renters who want colour without commitment, the single strongest approach is a modular removable panel kit, and the recommended pick is DwellForms™ by Liftedplus: colour-led, no-drill, reconfigurable, and available with sample kits so you can test before you commit. Here is the shortlist of the best renter feature walls, matched to who each suits best:
- DwellForms™ modular PET felt panels — best for renters who want sculptural texture, bold colour, and a wall they can reconfigure or take to the next home.
- Peel-and-stick removable wallpaper — best for smooth-walled rentals where a graphic or textured pattern is the goal and the budget is tight.
- Oversized leaning art or floor mirrors — best for short-term renters or anyone who wants zero wall attachment and maximum visual scale.
- Tapestry or textile panels — best for a textured, warm look using a single hook or Command strip, with minimal marks on removal.
- Large-format decals and wall stickers — best as a budget update or graphic accent on a smooth, freshly painted wall.
Table of Contents
- Which wall in your rental makes the best feature wall?
- Your options for a renter-friendly feature wall, compared
- How to install and remove the most popular renter-safe options
- What does each option cost, and how long does it take?
- How to remove treatments safely and protect your bond
- Why DwellForms™ is built for renters, not just marketed to them
- Key takeaways
- A designer’s note on colour-led temporary walls
- DwellForms™ kits: where to start for your rental
- FAQ
Which wall in your rental makes the best feature wall?
The wall opposite the entry door is almost always the right choice. It is the first surface your eye lands on, which means even a modest treatment reads as intentional. Behind the bed in a bedroom and behind the sofa in a living room are close seconds: both anchor the room’s primary furniture and give the feature wall a natural frame.
Surface type matters as much as position. Smooth, latex-painted walls accept peel-and-stick products and adhesive pads far more reliably than orange-peel plaster or heavily textured render. If your rental has textured walls, modular panels or leaning art sidestep the problem entirely because they sit against the wall rather than bonding to it.
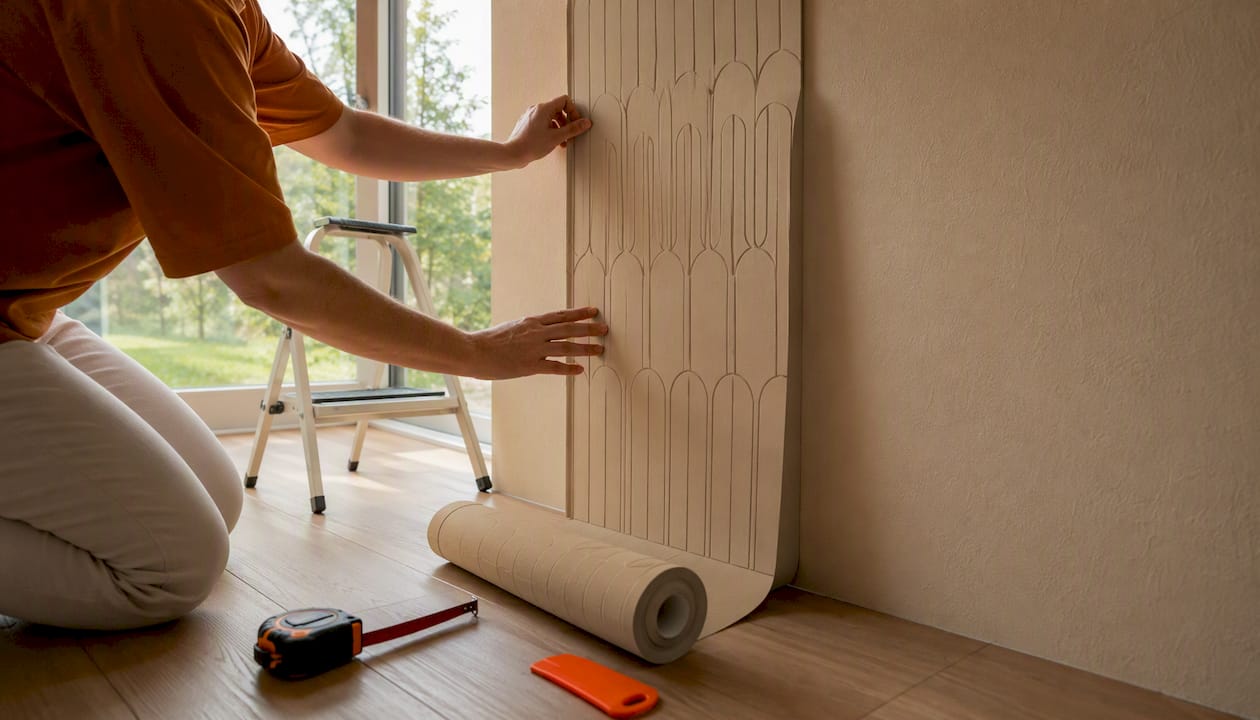
Traffic level is worth a thought too. Removable wallpaper and peel-and-stick panels perform best in lower-traffic rooms; seams and edges can lift under constant abrasion in tight hallways or busy corridors. A bedroom or living room feature wall will hold up far longer than one in a narrow entry.

When a full wall feels too much, a partial accent above the bed head or sofa achieves the same focal-point effect at lower cost and with less adhesive contact. Think of it as a considered frame rather than a complete transformation.
Pro Tip: Before committing to a full wall, order a sample kit or lean a large piece of card in the chosen colour against the wall for 24 hours. You will see how the colour shifts through the day and whether the scale feels right before a single panel goes up.
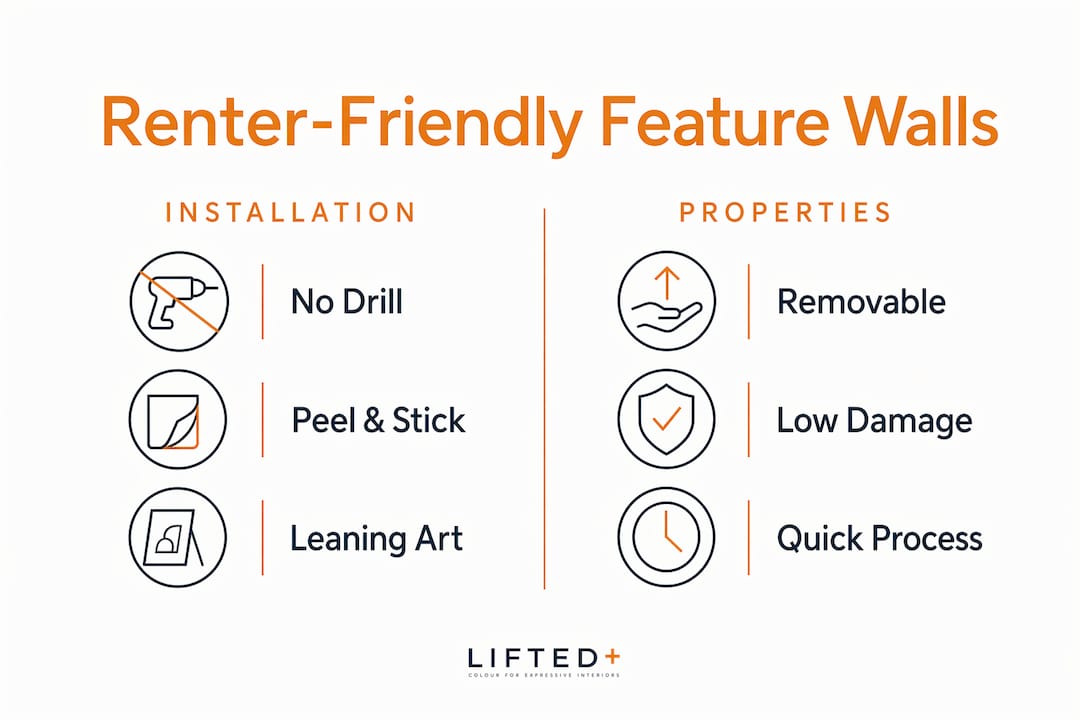
Your options for a renter-friendly feature wall, compared
DwellForms™ modular PET felt panels
DwellForms™ are precision-cut panels made from 100% recycled PET felt, installed with tested adhesive pads and no drilling. The modular format means you can rearrange the layout, add extension packs, or take the whole kit to your next rental.
- Pros: sculptural 3D texture, bold colour range, reconfigurable, no screws or battens, made from recycled materials, sample kits available.
- Cons: higher upfront cost than decals or wallpaper; adhesive pads work best on smooth to lightly textured paint.
- Typical cost: higher than decals or wallpaper, varying by kit size.
- Install difficulty: low to moderate; layout planning takes the most time.
- Surface compatibility: smooth and lightly textured painted walls.
- Visual impact: high-texture, sculptural, 3D.
Peel-and-stick removable wallpaper
Contemporary peel-and-stick wallpaper has improved considerably. Designers note that quality products now rival traditional wallpaper aesthetics for accent walls when applied correctly. Graham & Brown and Gioia both offer renter-targeted removable collections available in Australia, with install and removal guidance included.
- Pros: wide pattern range, relatively affordable, no tools required.
- Cons: textured walls remain problematic; seams can show; limited reusability once removed.
- Typical cost: moderate price range, depending on brand and pattern.
- Install difficulty: moderate; seam alignment requires patience.
- Surface compatibility: smooth latex-painted walls only.
- Visual impact: flat graphic to subtle texture.
Oversized leaning art and floor mirrors
A large-format artwork or a six-foot leaning mirror creates a focal point with zero wall attachment. Design guidance recommends pieces at least 40×60 cm for a standard room, though genuinely impactful leaning art tends to run much larger. A floor mirror also improves perceived room size and light, which is a practical bonus in smaller apartments.
- Pros: zero attachment, portable, works on any wall surface, doubles as functional decor.
- Cons: requires floor space; large pieces can be awkward to move.
- Typical cost: varies widely based on size and framing quality.
- Install difficulty: none.
- Surface compatibility: any.
- Visual impact: high scale, flat graphic.
Fabric and tapestry panels
Textile wall hangings cover large areas with a single hook or a pair of Command strips, making them one of the lowest-risk strategies for renters. Fabric also adds warmth and acoustic softness that flat treatments cannot replicate. For a feature wall without paint, a large woven tapestry or stretched canvas panel is hard to beat on ease of removal.
- Pros: single-hook installation, warm texture, wide size range, very low removal risk.
- Cons: can look informal if not well-chosen; limited pattern precision.
- Typical cost: ranges broadly depending on size and quality.
- Install difficulty: very low.
- Surface compatibility: any.
- Visual impact: medium texture, organic warmth.
Large-format decals and wall stickers
Quality vinyl decals are a cost-effective way to introduce a graphic or botanical motif to a smooth wall. They go up in minutes and usually come down without residue on well-maintained paint. The best wall stickers for apartments are those with a matte finish and a repositionable adhesive.
- Pros: very affordable, fast to apply, no tools.
- Cons: limited to smooth walls; not reusable; flat graphic only.
- Typical cost: generally affordable and varies by size and design.
- Install difficulty: very low.
- Surface compatibility: smooth painted walls.
- Visual impact: flat graphic.
Temporary slat and wood-look panel kits
Slat-style panels create an architectural, textured look that reads as high-end. Lightweight options, such as slat wall panels in PVC or MDF, can be mounted with heavy-duty removable adhesive strips on smooth walls, though heavier kits may need one or two small screws that require patching on exit.
- Pros: strong visual impact, architectural feel, variety of finishes.
- Cons: heavier kits may need minor fixings; limited colour range; not reconfigurable.
- Typical cost: mid-range, depending on coverage and material.
- Install difficulty: moderate.
- Surface compatibility: smooth walls preferred.
- Visual impact: high texture, linear 3D.
How to install and remove the most popular renter-safe options
DwellForms™ modular panel kit
Installation:
- Clean the wall with a damp cloth and allow it to dry fully (at least one hour).
- Lay the panels on the floor in your chosen layout before touching the wall.
- Mark the starting point lightly with a pencil at the top-centre of the planned area.
- Attach the adhesive pads to each panel as directed in the kit guide.
- Press each panel firmly against the wall for 30 seconds and work outward from the centre.
- Allow the adhesive to cure for the time specified before hanging anything nearby.
Removal:
- Peel each panel away slowly at a low angle, working from one corner.
- Remove any residual adhesive pad material with a clean cloth and warm water.
- Photograph the wall immediately after removal.
Peel-and-stick wallpaper
Installation:
- Perform a 4–48 hour test patch on a hidden section of the wall before full application.
- Clean the wall thoroughly and let it dry; apply in temperatures between 15°C and 25°C.
- Align the first strip to a plumb line, not the ceiling edge.
- Smooth each strip from the centre outward using a flat squeegee or credit card.
- Overlap seams by 2–3 mm and trim at the ceiling and skirting.
Removal:
- Peel from a top corner at a 45-degree angle, slowly and steadily.
- Use a hairdryer on low heat to soften stubborn sections; never scrape.
- Wipe any adhesive residue with a damp cloth.
Oversized leaning art, mirrors, and tapestries
Installation:
- Measure the wall and choose a piece that fills at least two-thirds of the height.
- For leaning art or mirrors: position against the wall at a slight angle and ensure the base cannot slip (a non-slip mat underneath works well).
- For tapestries: use a Command strip rated for the textile’s weight, following the strip’s own weight guidelines.
- Step back and check alignment from the room’s entry point.
Removal:
- Lift leaning pieces straight up and away from the wall.
- For Command strips: pull the tab straight down slowly to release without marking.
- Photograph the wall before and after.
Pro Tip: Keep the original packaging for any adhesive product and note the install date in your phone. If a landlord questions the wall on exit, a dated photo and the product’s removal instructions show non-permanent intent clearly.
What does each option cost, and how long does it take?
| Approach | Typical AUD cost | Install time | Removal time | Reusability |
|---|---|---|---|---|
| DwellForms™ modular panels | Mid-range (kit dependent) | 2–4 hours | 30–60 min | High — take to next rental |
| Peel-and-stick wallpaper | Moderate price range | 2–6 hours | 1–3 hours | Low — single use |
| Oversized leaning art/mirror | Variable cost, depending on size and framing | 15–30 min | 5 min | High — fully portable |
| Tapestry/textile panel | Price varies based on size and fabric quality | 15–30 min | 5 min | High — fully portable |
| Large-format decals | Generally affordable, depending on size and design | 40–45 min | 40 min | None — single use |
| Slat/wood-look panel kit | Mid-range price depending on material and size | 3–6 hours | 1–3 hours | Medium — depends on fixing |
Most options fit comfortably into a Saturday afternoon. Peel-and-stick wallpaper on a full wall and slat panel kits are the exceptions; both benefit from a full weekend, particularly if you are working alone. DwellForms™ panels typically take two to four hours for a standard feature wall, including the layout dry-run on the floor.
Costs cluster around sample kits, shipping, and any professional help for larger installs. Ordering a sample kit first is the most reliable way to avoid buying a full kit in a colour that reads differently on your wall than it did on screen.
How to remove treatments safely and protect your bond
Removal is where renters lose deposits, and the risk is almost always avoidable with a methodical approach.
For adhesive panel kits (DwellForms™ and similar):
- Peel each panel from one corner at a low angle; never pull straight off the wall.
- Remove adhesive pad residue with warm water and a soft cloth.
- Avoid aggressive solvents or abrasive pads on rental-painted walls.
- Photograph the wall immediately after removal and before any cleaning.
For peel-and-stick wallpaper:
- Start at a top corner and peel at 45 degrees, slowly.
- Use a hairdryer on low heat for sections that resist; do not use a scraper.
- Wipe residue with a damp cloth.
For tapestries and Command-strip art:
- Pull Command strip tabs straight down, not outward.
- If a small mark remains, a dab of white touch-up paint (kept from move-in) covers it.
Documentation template to keep with your tenancy records:
- Date of installation and date of removal.
- Product name, brand, and batch or order number.
- Photos of the wall before installation, during, and immediately after removal.
- Sample kit receipt or product packaging showing “removable” or “no-drill” specification.
Pro Tip: Test a single adhesive pad on a hidden patch of your rental wall (behind a door or inside a wardrobe) for 48 hours before installing the full feature wall. If the paint lifts on removal, you know to adjust your approach before committing to the main surface.
Why DwellForms™ is built for renters, not just marketed to them
DwellForms™ modular PET felt wall kits are designed from the ground up for no-drill adhesive installation. The distinction matters: this is not a commercial panel system retrofitted with a renter-friendly label. The entire kit, from panel geometry to adhesive pad specification, is built around the reality of rental walls.
Material and product specifics:
- Panels are precision-cut from 100% recycled PET felt, made from post-consumer plastic.
- Available in multiple colour options across core kits, the Skyline kit, and extension packs.
- The sculptural, layered geometry creates genuine 3D texture, not a flat graphic print.
- Kits are modular: you can start with a core kit and expand with an extension pack as your space or confidence grows.
Trust signals that matter for renters:
- Sample kits are available and credited against a full kit purchase, so you can test colour and texture on your actual wall before ordering.
- Installation guides and step photos are included with every kit.
- Removal instructions are clear and specific to the adhesive pad system used.
- The brand’s renter-focused editorial content includes before-and-after examples and practical guidance for common rental wall scenarios.
The colour range is the point. Where most renter-safe options default to neutral or graphic-only finishes, DwellForms™ offers a palette designed to lift a room rather than simply fill a wall. Colour without commitment is not a compromise; it is the whole idea.
Key takeaways
The most effective renter feature wall combines low damage risk, high visual impact, and clear removal documentation — and DwellForms™ modular panels deliver all three in a single kit.
| Point | Details |
|---|---|
| Choose the right wall first | The wall opposite the entry door, or behind the bed or sofa, gives the most visual impact for the least effort. |
| Match method to surface | Smooth latex-painted walls suit adhesive panels and peel-and-stick wallpaper; textured walls call for leaning art or tapestries. |
| Test before committing | Order a sample kit or use a large card test to check colour and scale before installing a full feature wall. |
| Document everything | Photograph the wall before, during, and after installation; keep receipts and removal instructions with your tenancy records. |
| DwellForms™ for texture and colour | Liftedplus’s DwellForms™ kits offer sculptural, no-drill feature walls in bold colours, with sample kits credited to full orders. |
A designer’s note on colour-led temporary walls
The conversation around renter-friendly decorating tends to collapse into damage avoidance, which misses the more interesting question: what do you actually want the wall to do for the room? A feature wall that holds the room, that gives the space a sense of intention and warmth, is not just about covering beige. It is about choosing a colour or texture that the rest of the room can lean into.
My advice is to start with the feeling you want, not the product. If the room needs warmth, a deep terracotta or ochre panel will do more than any graphic print. If it needs energy, a sculptural 3D surface in a saturated tone creates movement that flat wallpaper cannot. Once you have the wall sorted, layer furniture and textiles that echo the palette: a throw in a related tone, a rug that picks up the mid-tones. That layering is what makes a removable wall feel like a permanent, styled decision rather than a temporary fix. The wall anchors the room; everything else confirms it.
DwellForms™ kits: where to start for your rental
Renters who want sculptural, no-drill feature walls with genuine colour impact have a clear starting point in DwellForms™ by Liftedplus. The Skyline Kit is the strongest choice for a living room or bedroom feature wall: it delivers a full, architectural arrangement with the adhesive pad system and layout guide included. For smaller spaces or a first-time install, the DwellForms™ Core Kits offer an accessible entry point, and the Linear Extension Kit lets you expand the layout later without starting over.

Sample kits are credited against a full kit purchase, which means you can test the colour and texture on your actual rental wall before committing. Liftedplus ships to Australia, and the product pages include removal instructions and installation step photos. Order a sample kit, put it on the wall for a day, and see what the colour does to the room.
FAQ
What wall is best for a feature wall in a rental?
The wall opposite the entry door is the strongest choice because it is the first surface the eye lands on. Behind the bed or sofa works equally well, anchoring the room’s primary furniture.
Are accent walls still a relevant design choice?
Accent walls remain a strong design tool in 2026, particularly when they use texture or sculptural form rather than a flat colour block. Three-dimensional panel systems and bold removable wallpaper have made the approach feel current and considered.
Is there genuinely renter-friendly wallpaper available in Australia?
Yes. Graham & Brown and Gioia both offer removable, peel-and-stick wallpaper collections in Australia with install and removal guidance. The key condition is a smooth, latex-painted wall; textured surfaces remain problematic and require a test patch first.
How do you decorate walls as a renter without losing your bond?
Use no-drill, removable options such as adhesive panel kits, Command-rated hooks, and peel-and-stick wallpaper on smooth walls. Document the wall with photos before and after installation, and keep product receipts showing the non-permanent specification.
Can DwellForms™ panels be removed without damaging rental walls?
DwellForms™ panels are installed with tested adhesive pads designed for removal. Peeling each panel slowly at a low angle and cleaning residue with warm water minimises the risk of marks, though results depend on the wall’s paint condition and surface type.