
Last Updated: November 4, 2026
Quick Summary
To buy modular wall kits online without wasting money, first decide whether you need stick-on panel kits or freestanding partitions, then measure your wall at three points and use the smallest figure. Confirm delivery, returns and warranty details before you pay.
- Panel kits attach with adhesive pads and leave no floor footprint, suiting renters.
- Freestanding divider kits start from NZD 2,099 for a partition wall with a door.
- Test adhesive on a hidden patch and avoid freshly painted walls.
- Measure wall width and height at three points and order using the smallest figure.
- Order samples first; DwellForms sample cost comes off a future Core Kit with no expiry.
Table of Contents
- What You’re Actually Buying: Modular Wall Kit Types
- Recycled PET Felt Wall Panels: What the Material Delivers
- Modular Wall Kits for Renters: Damage-Free Rules That Hold Up
- How to Install Modular Wall Panels in an Afternoon
- Modular Room Dividers: Splitting a Space Without Building
- The Site-Measurement Checklist Before You Checkout
- Order Your DwellForms™ Kit and Plan the Wall
- Frequently Asked Questions
What You’re Actually Buying: Modular Wall Kit Types
Buying modular wall kits online comes down to one decision most product pages bury: are you buying panels that stick to a wall, or a freestanding structure that stands on its own? At Lifted Plus, we see the same confusion play out constantly. Shoppers compare a felt panel kit to a freestanding partition and wonder how they relate. They are different products solving different problems.
Here is the landscape, grouped by how the kit actually works:
- Panel kits. Flat, lightweight panels that attach to an existing wall using adhesive pads or a rail. No frame, no floor footprint. These suit renters who want colour and texture without losing floor space.
- Freestanding partition kits. Self-supporting walls built from modular sections, often with doors or L-shaped and F-shaped layouts. These divide a room rather than decorate a wall.
- Block systems. Interlocking modular blocks stacked into temporary walls. Popular in schools, offices and event spaces where layouts change often.
Most people searching for modular wall kits actually want the first type. The second type solves a different problem: privacy and space division, not wall styling.
Panels, Partitions and Freestanding Kits
A modular wall kit is a packaged set of panels or partition sections designed to be assembled, reconfigured and moved without permanent fixing. The kit format matters because it bundles the parts you need, so you are not hunting for brackets or adhesive separately.
Freestanding systems carry their own structure, while panel kits rely on your wall for structural support. Neither is better. They answer different questions.
Recycled PET Felt Wall Panels: What the Material Delivers
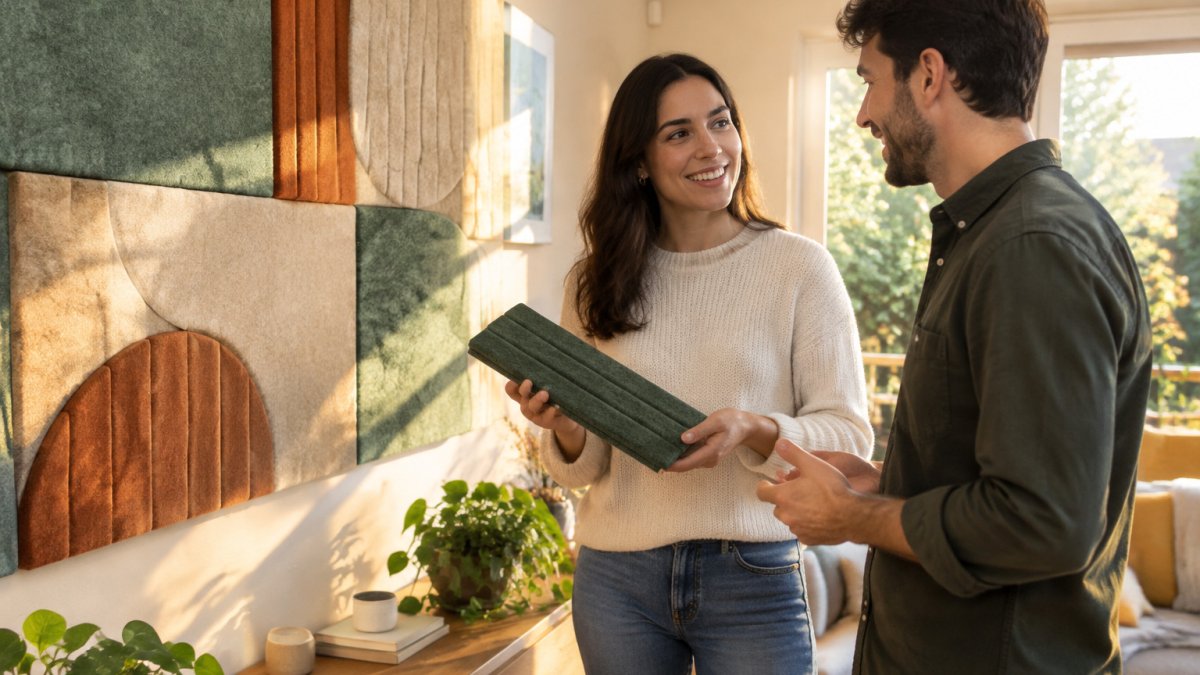
Recycled PET felt is made from recovered plastic bottles and pressed into firm panels. It brings colour and texture to a wall.
For renters, the practical appeal is the no-drill, no-patch approach that the kit is designed for.
If you want the full picture on sustainability and acoustic performance, our guide to recycled PET felt panels for interior design covers how the material is made and where it performs best.
Modular Wall Kits for Renters: Damage-Free Rules That Hold Up
Damage-free installation lives or dies on two things: the wall surface and the adhesive. Get either wrong and you get paint lifting off at move-out.
Three rules worth following before you buy modular wall kits:
- Test the adhesive on a hidden patch first. Stick a pad to a corner behind a door, leave it a few days, then peel it slowly. If paint comes with it, stop.
- Clean the wall before anything goes up. Dust and kitchen film are the main reasons pads fail.
- Avoid freshly painted walls. Paint needs time to cure fully before adhesive touches it.
Textured walls and odd angles are the tricky case. Heavy texture reduces contact area, so pads grip less. In those rooms, plan a lighter layout with more pads per panel rather than a full wall coverage.
How to Install Modular Wall Panels in an Afternoon
Installing modular wall panels is a straightforward job that needs no drill, no paint and no fixings into the wall. The sequence below is a typical approach.
What you’ll need: a tape measure, a spirit level, a pencil, a cloth, adhesive pads and your panels.
- Check the wall. Wipe it down and let it dry. Confirm the surface is sound, not flaking or damp.
- Plan the layout on paper. Sketch the wall to scale and decide your pattern before anything goes up.
- Mark your starting line. Use the level to draw a light pencil line for your first row.
- Apply pads to the panel. Follow the pad count on the instructions rather than guessing.
- Press and hold. Seat each panel firmly for the recommended time before moving on.
- Cut around sockets. Measure twice, trim carefully, and keep cut edges hidden behind the panel edge where you can.
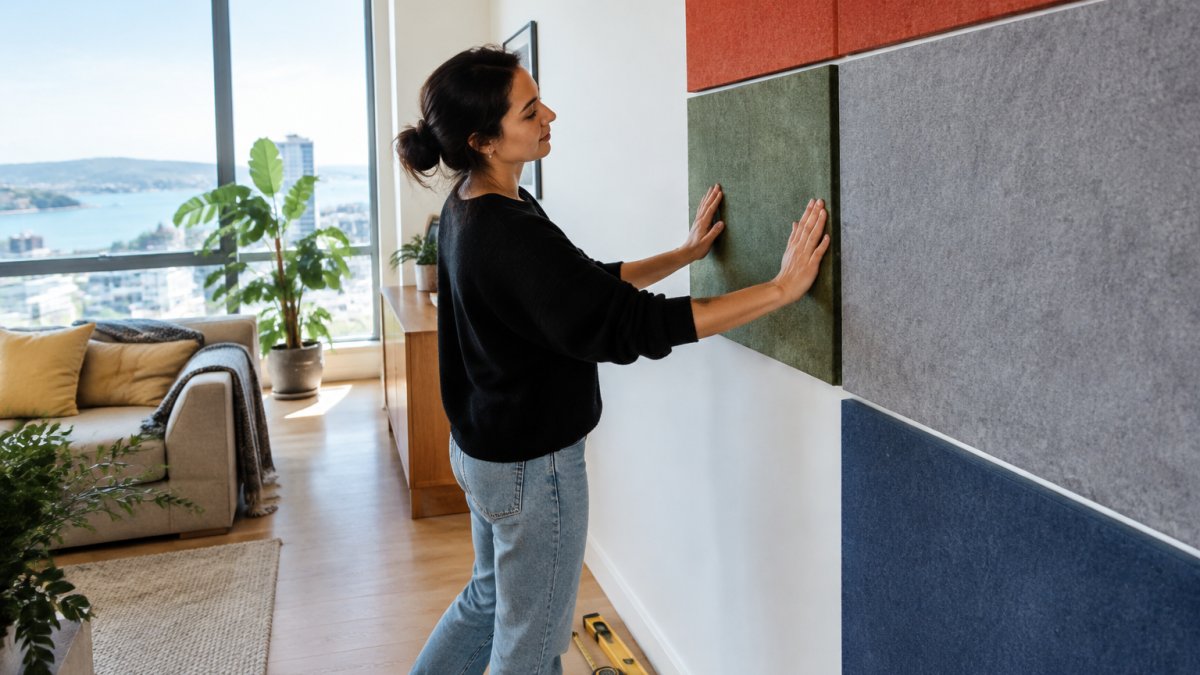
For the full walkthrough, including how to handle sockets and awkward corners, read our renter-friendly felt wall panel installation guide.
Modular Room Dividers: Splitting a Space Without Building
A modular room divider splits a space without touching the building. That distinction matters in rentals, shared offices and any room where you need privacy but cannot add a wall.
Freestanding divider kits come in configurations like straight runs, L-shapes and F-shapes, and some include a door. Sizing is usually custom, which is why you see starting prices rather than a single figure. One supplier lists a freestanding partition wall with a door from NZD 2,099 and a T-shaped partition with doors from NZD 4,499, according to DIYversify’s modular wall kit collection.
| Divider type | Best for | Floor footprint | Moves with you |
|---|---|---|---|
| Felt panel kit | Wall styling, acoustics | None | Yes |
| Freestanding partition | Privacy, zoning | Yes | Yes, with effort |
| Block system | Temporary walls, events | Yes | Yes |
Watch out: freestanding dividers need floor space and a stable base.
The Site-Measurement Checklist Before You Checkout
Measure before you buy, not after, as a wrong size can leave an obvious gap. The checklist below is the one we would work through before placing an online order, with the reasoning behind each line so you know what a wrong number actually costs you.
- Wall width and height in millimetres, measured at three points each. Walls are rarely square. Measure near the top, middle and bottom of the width, and at both ends and the centre of the height. Use the smallest figure for ordering, because a panel that overhangs looks worse than one with a small margin.
- Ceiling height at the wall, not the room centre. Sloping ceilings and bulkheads mean the usable height at the wall can be less than the room’s nominal height. If your kit is designed to run floor to ceiling, this number decides whether it fits at all.
- Socket, switch and vent positions marked on your sketch. Measure from the nearest corner to the centre of each fixture, and note the height from the floor. You will cut around these, so the sketch needs to be accurate enough to transfer to the panel.
- Skirting board height, so your bottom row sits correctly. A 100 mm skirting changes where your first row starts. Decide whether the kit sits above the skirting or is notched around it, and note the figure on your sketch.
- Wall surface type and condition. Plasterboard, masonry, tile and textured finishes all behave differently with adhesive pads. Note any flaking paint, damp patches or recent plastering, because these affect both grip and whether you should install at all.
- Door swing and furniture clearance. A freestanding divider needs room for the door to open and for people to pass. Mark the swing arc on your sketch so you do not order a configuration that blocks itself.
- Whether the layout needs to work in a future room too. That last box is the one people skip. If you move often, buy a kit that reconfigures rather than one cut for this wall only.
A common pattern is to measure once, order, then discover the wall is not quite square. The fix is simple: measure at three points, use the smallest figure, and leave a small tolerance at each end rather than trying to fill the wall edge to edge. For freestanding kits, the same discipline applies to floor space, measure the footprint you can spare, not just the wall you want to divide.
Watch out: if you are measuring a room you have not yet furnished, add the depth of any planned shelving or desk before you finalise a freestanding layout. A divider that fits an empty room can become a trip hazard once furniture arrives.
Our kit chooser walks through sizing by wall and layout if you want a second opinion before you commit.
Order Your DwellForms™ Kit and Plan the Wall
DwellForms™ wall kits are built for exactly this brief: colour, texture and architectural shape on a wall, with no drill, no paint and no renovation. The panels are 100% recycled PET felt, and the system is designed to be taken down and reconfigured when you move.
Before you order online, it helps to know what happens after checkout, including fit, delivery and what happens if something arrives damaged.
Delivery and handling. Check the package dimensions and weight on the product page against your access, a narrow stairwell or a lift with a low door can make delivery harder. Confirm delivery costs and lead times for your address before you pay.
Returns and spare panels. Ask two questions before ordering: what is the return window, and can you buy a single replacement panel later? Confirm whether returns are accepted on opened kits, and who covers return freight.
Warranty coverage. Check what the warranty covers, the panel material, the adhesive pads, or both, and how long it runs.
Samples first. If you are unsure about colour, order samples before committing to a full kit. Our DwellForms™ colour sample kits include adhesive tabs so you can see how a shade reads in your actual light, and the sample cost comes off a future Core Kit with no expiry.
Then measure, sketch, and shop the DwellForms™ wall kits with a layout you already know fits, and with the delivery, returns and warranty details confirmed before you pay.
Frequently Asked Questions
Can modular wall panels be installed without drilling?
Yes, if you choose a kit designed that way. No-drill modular wall kits for renters avoid screws and fixings that pierce the wall. Check the supplier’s removal instructions before you buy. Test one panel in a corner for a week first, especially on textured or freshly painted walls, and keep the packaging so you can move the kit to your next place.
How do you choose the right size modular wall kit?
Measure the wall’s width and height in millimetres, then subtract any skirting boards, power points and light switches from the usable area. Note ceiling height too, since it limits how tall a freestanding kit can go. Sketch your layout, including L-shaped or F-shaped configurations, and count panels per run rather than guessing from room size.
What should you check before buying modular wall kits online?
Confirm four things: the panel dimensions and coverage per kit, the fixing method and whether it suits your wall surface, the delivery cost and timeframe to your address, and the warranty and returns policy. Ask whether replacement panels are sold separately. Read independent reviews and look for customer photos in real rooms, not studio shots. Pricing depends on kit size and delivery, so request a quote for the exact coverage you need.
Can modular wall panels be moved and reused?
Reusable kits are built for exactly that. Modular kits can suit frequent movers, since the design is intended to be moved and reconfigured. Keep the original fixings and any layout guide, and clean the panels before storing them flat so they go back up straight.
The gap between a wall that feels like yours and one that feels like a rental is smaller than most people think. It comes down to choosing a kit that matches your wall, your lease and your next move. Lifted Plus built DwellForms™ around those three constraints: no-drill modular panels, 100% recycled PET felt, and a system made to move and reconfigure. Get started with Lifted Plus and turn a blank wall into something you chose.

