
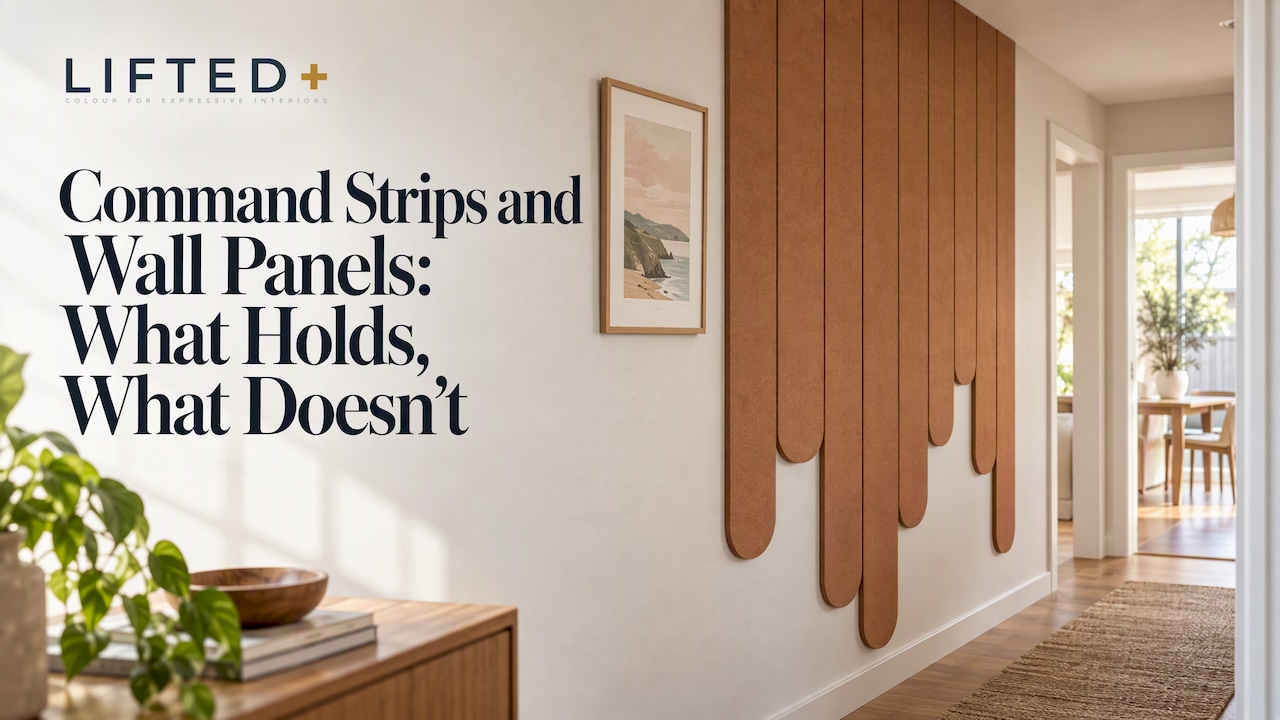
You have a blank rental wall, a landlord who frowns at nail holes, and a drawer containing a pack of Command strips. The obvious question is whether those strips can carry a wall panel. The short answer: Command strips are made for picture frames and light décor on smooth, clean surfaces, and whether they suit a panel depends on the panel’s weight, the wall’s finish and how closely you follow the pack instructions. For our own felt panels, we tested several adhesive options and chose a different one.
This guide covers what the manufacturer says about surfaces, weight and removal, where strips tend to fail, and how to get a colourful, no-drill feature wall that suits a New Zealand rental.
Key Takeaways
- Command strips work best on smooth, clean surfaces such as painted walls, finished wood, tile, glass and metal, and are not recommended for heavily textured walls, wallpaper, brick or rough concrete.
- Weight limits are set per pack. Adding extra strips beyond the instructions does not always raise the limit and can lead to failure.
- Preparation decides most outcomes: clean with rubbing alcohol, press each strip for 30 seconds, and wait at least 7 days after painting.
- Removal is a technique, not a tug: stretch the strip slowly along the wall, never out towards you.
- For DwellForms™ felt panels we use our own selected nano-adhesive pads, chosen after testing, rather than a pull-tab system off the shelf.
Table of Contents
- The real problem: you want colour, not a conversation with your landlord
- What Command strips are designed to hold
- Which walls suit strips, and which don’t
- How much weight, and how many strips
- How to apply strips properly
- Removing strips without wrecking the wall
- Quick comparison: strips and panels at a glance
- Perspective: why we didn’t reach for a pull-tab system
- Other ways to get a no-drill feature wall
- Choosing between strips and a purpose-built kit
- Start with colour before you commit to a layout
- Ready to try colour without commitment?
- FAQ
- Sources
The real problem: you want colour, not a conversation with your landlord
Most renters we speak to are not short of ideas. They are short of permission. The wall is beige, the lease says no holes, and the thought of losing part of the bond over a picture hook is enough to leave the wall blank for three years.
Adhesive strips look like the neat answer, and for a framed print they often are. A wall panel is a different proposition. It is larger, it is usually lighter than a frame of equivalent size but spreads its weight differently, and it is meant to stay put for months, not weeks. So before you buy anything, it helps to understand what a strip system is designed to do.
What Command strips are designed to hold
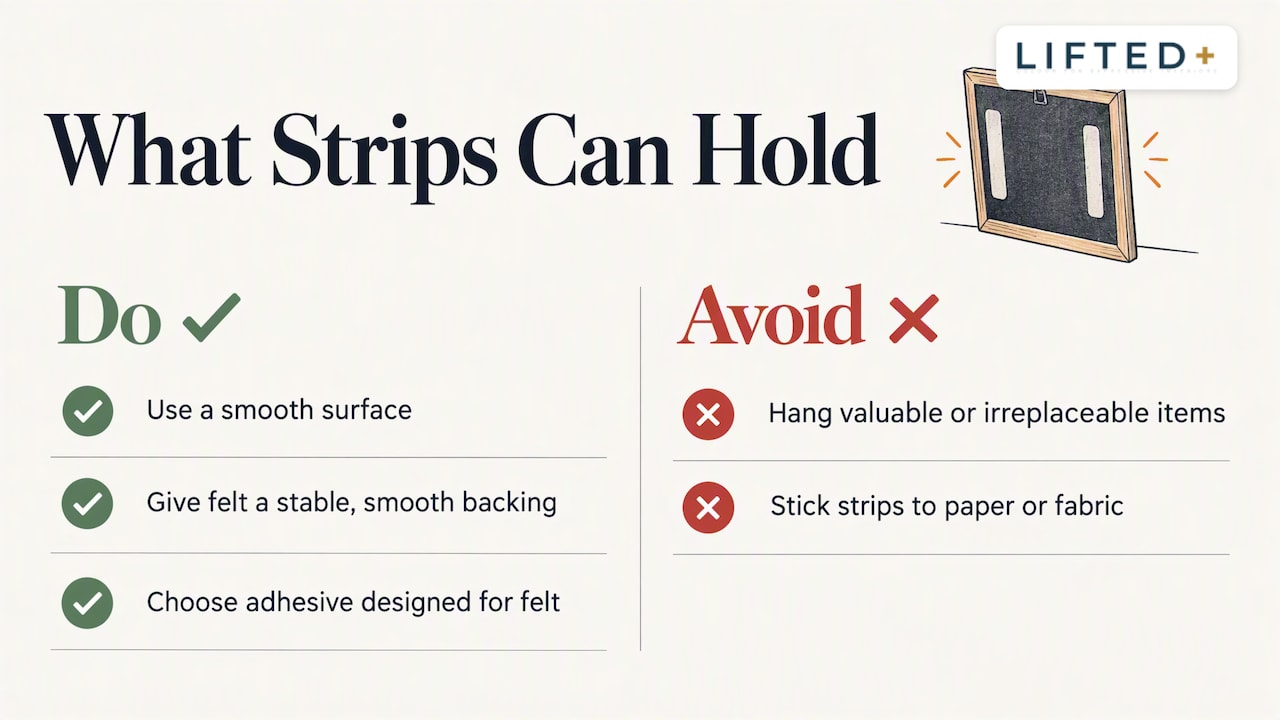
The manufacturer’s technical sheet says Command picture hanging strips can hold decorative items provided there is a smooth surface for the strip to adhere to. The same sheet advises against hanging valuable or irreplaceable items, and against sticking strips to paper or fabric on the back of a frame.
That last point matters for felt. A strip needs a firm, flat, non-porous face on the object as well as on the wall. Felt is soft and fibrous. Pressing a strip straight onto it is not what the system was built around, so a panel needs a stable, smooth backing for the strip to grip, or a different adhesive designed for the material.
In New Zealand, Bunnings describes Command strips as a way to display items without nails or screws, and notes they come in a range of sizes, with weight ratings up to 7.2kg. Treat that top figure as the ceiling for the largest pack under ideal conditions, not a number to plan a wall around.
Which walls suit strips, and which don’t
The wall is half of the equation. According to the brand’s own FAQ, Command products work best on smooth, clean surfaces such as painted walls, finished wood, tile, glass and metal. They are not recommended for heavily textured surfaces, wallpaper, brick or rough concrete.
That has real consequences in New Zealand homes. Many rentals have stippled or roughcast-style finishes, and plenty of flats have brick or block feature walls. If your wall has visible texture you can feel with your palm, a strip has little surface to bond to. The same FAQ lists textured or dirty surfaces among the common causes of failure.
A quick test before you commit:
- Run your hand across the wall where the panel will go. If it feels gritty or bumpy, a standard strip is likely to struggle.
- Check the finish. Flat, chalky paint can behave differently from a satin or semi-gloss, so try a single strip in a low-visibility spot first.
- Look for flaking, peeling or recently painted patches. Both are trouble for adhesives of any kind.
If your wall is textured, we have written a separate guide on fitting panels to textured walls without drilling.
How much weight, and how many strips
People often assume that more strips mean more strength. The manufacturer says otherwise: adding extra strips beyond what the product instructions show does not always increase the weight limit and could lead to failure. The pack is rated for a specific number of strip pairs per item, and the safest approach is to match it exactly.
For a wall panel, that creates a practical question. Work out the real weight of the panel, check it against the rating on the pack, and stay well inside it. If you are guessing, you are over the limit. A panel that falls does not only damage itself; it can mark the wall and anything below it.
A few sensible habits:
- Weigh the panel on kitchen scales before you buy strips.
- Use the pack size the instructions specify for that weight, not a bigger pack and extra strips.
- Never hang something you cannot afford to replace. That is the manufacturer’s own advice for valuable or irreplaceable items.
- Keep panels away from places that get hot, steamy or damp, because the same FAQ lists extreme temperatures and high humidity among the causes of failure.
If humidity is your concern, our piece on how renters make removable adhesive hold in humid rooms goes through it in detail.
How to apply strips properly
Most failures trace back to rushed preparation. The manufacturer’s instruction sheet for Australia and New Zealand gives a clear sequence, and it is worth following to the letter.
Prepare the surface
Clean the wall with rubbing alcohol. The instruction sheet says not to use household cleaners, which can leave a film that weakens the bond. Let the alcohol dry fully before you press anything on.
If you have just repainted, be patient. The brand advises you to wait at least 7 days after painting before applying Command products. Paint damage on removal can occur when paint was not fully cured, which is the situation renters worry about most.
Press and wait
Press each strip firmly for 30 seconds, as the same instruction sheet specifies. Count it out. Thirty seconds feels long when you are holding a panel in one hand, which is exactly why people cut it short.
The FAQ also lists not allowing the adhesive enough time to bond as a reason for failure, so avoid loading the strip immediately if the pack suggests a wait.
Align before you commit
Mark the position lightly with a removable pencil mark or a strip of low-tack tape, and check with a level. Once a strip bonds, repositioning means removing it, and each removal is a chance for something to go wrong.
Removing strips without wrecking the wall
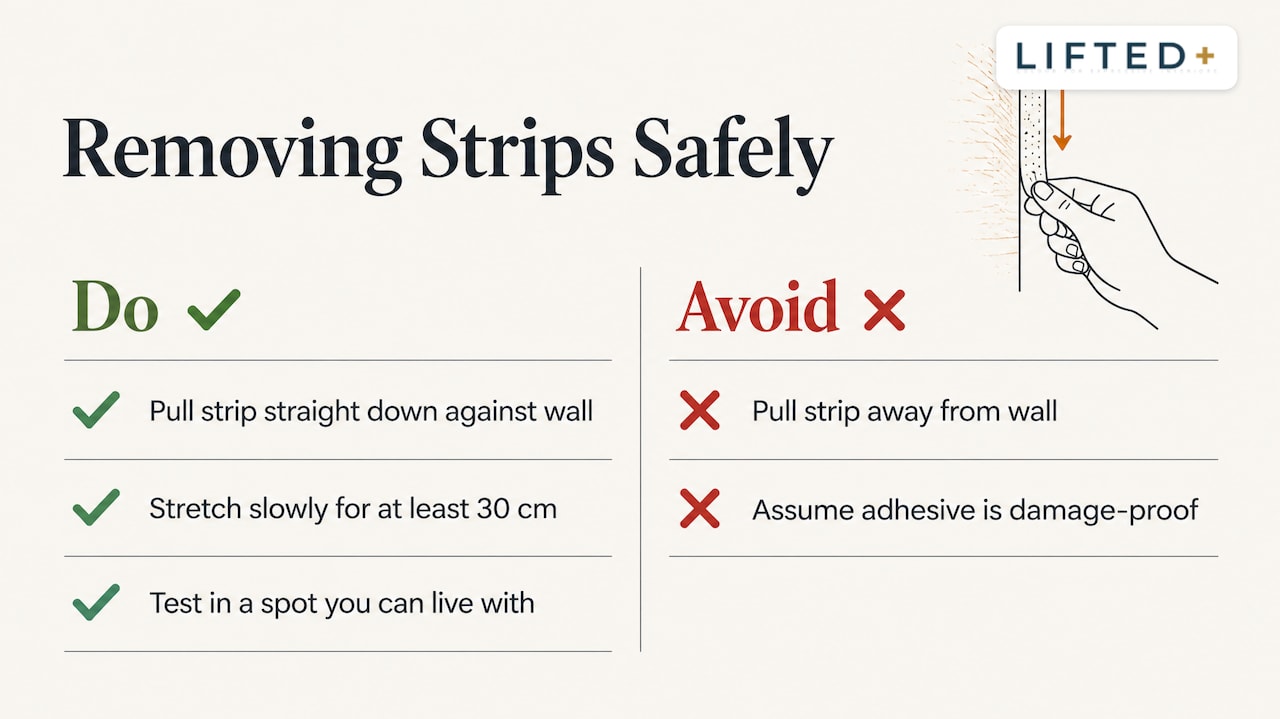
Removal is where the technique matters most. The instruction sheet says to stretch the strip slowly against the wall for at least 30 cm to release it. The Australian brand page adds that you should grab the bottom corners and peel the frame from the wall, then pull the adhesive strip straight down against the wall, not away from it.
Pull outward and you load the paint instead of the adhesive. That is the most common route to a torn paint patch. The brand also links paint damage to paint that was not fully cured and to removal instructions not being followed.
No adhesive is completely damage-proof. Wall paint quality, age, preparation and removal technique all play a part, so be realistic about the bond, and test in a spot you can live with.
Our guides on removing adhesive wall panels without wrecking the wall and whether adhesive wall panels damage paint cover the same ground for panel systems.
Quick comparison: strips and panels at a glance
| Question | Picture hanging strips | Felt wall panels on adhesive pads |
|---|---|---|
| Designed for | Frames and light décor with a smooth back | Modular, lightweight felt panels in layouts |
| Best wall finish | Smooth, clean, cured paint | Smooth, clean, cured paint |
| Textured walls | Not recommended by the brand | Needs a test patch first |
| Extra strips for extra hold | Does not always help | Follow the kit’s own instructions |
| Removal | Stretch slowly along the wall | Peel slowly, supporting the panel |
The two share the same fundamentals: a good surface, careful preparation, and respect for the stated limits.
Perspective: why we didn’t reach for a pull-tab system
We started where you probably are. A renter-friendly feature wall needs something that holds without a drill, and the obvious shelf product is a pull-tab strip.
So we tested. We tried several adhesive options on real painted walls and deliberately discounted one popular brand, because the nano-adhesive pads we selected performed significantly better in our own testing at minimising damage to walls. That is our result from our own test conditions, not a promise about every wall. We never say any adhesive is completely damage-proof, and neither should anyone selling you one.
The other reason is design. Our panels are precision-cut PET felt made from 100% recycled plastic, built as modular pieces you can arrange, remove, rearrange and take to the next home. Pull-tab strips were made for frames. A system built around felt, colour and layout needs an adhesive chosen for exactly that job.
What we care about is colour without commitment: texture without renovation, and a wall that feels like yours even when the lease says it isn’t. That is the job we built DwellForms™ to do.
Michelle
Other ways to get a no-drill feature wall
Not every problem needs a panel, and a decent renter-friendly wall can be built from several approaches. A few that work well in practice:
Lean, don’t hang
A large framed print or mirror leaning on a sideboard or a low shelf adds height and focus with no wall contact. Layer two or three at different heights for a gallery feel.
Use colour at eye level
A single saturated block of colour behind a desk or sofa does more than a dozen small frames. For ideas that skip the paint tin completely, see our feature wall ideas without paint.
Think texture, not just colour
Sculptural surfaces catch light differently across the day, so even a neutral palette feels less flat. Our guide to no-drill ways to transform blank walls walks through several of them.
Work with your room, not against it
Home-office workers need a calm but characterful backdrop for video calls. People in temporary or changing spaces need something that packs flat. Owners who simply dislike beige have more freedom, but the same low-commitment approach saves repainting later.
Choosing between strips and a purpose-built kit
Here is a plain way to decide.
Use picture hanging strips if you are hanging a light frame with a smooth, rigid back on a smooth, cured painted wall, and the weight sits comfortably inside the pack rating.
Look at a purpose-built kit if you want a multi-piece layout, a coloured sculptural feature rather than a single frame, or a design you can extend, rearrange and take with you. Our Core Kits give you a complete composition to start from, and Extension Kits let you grow it later. We explain how in extending wall panels without drilling.
We do not claim our kits suit every wall. Smooth, clean, well-cured paint gives the best chance, and textured, damp or poorly painted walls need testing first. For a deeper look at the process, our adhesive and wall care guides show what to check before you stick anything up.
Start with colour before you commit to a layout
Colour is the part people get wrong most often, because a swatch on a screen lies. Seeing a piece of felt in your own light, next to your own sofa, changes the decision.
Our Colour Samples let you try shades on the wall before you choose, and sample kit purchases are credited towards a full kit order. Hold them up in morning and evening light, and live with them for a few days.
If you want to see the whole range first, start with the DwellForms™ wall kits.
Ready to try colour without commitment?
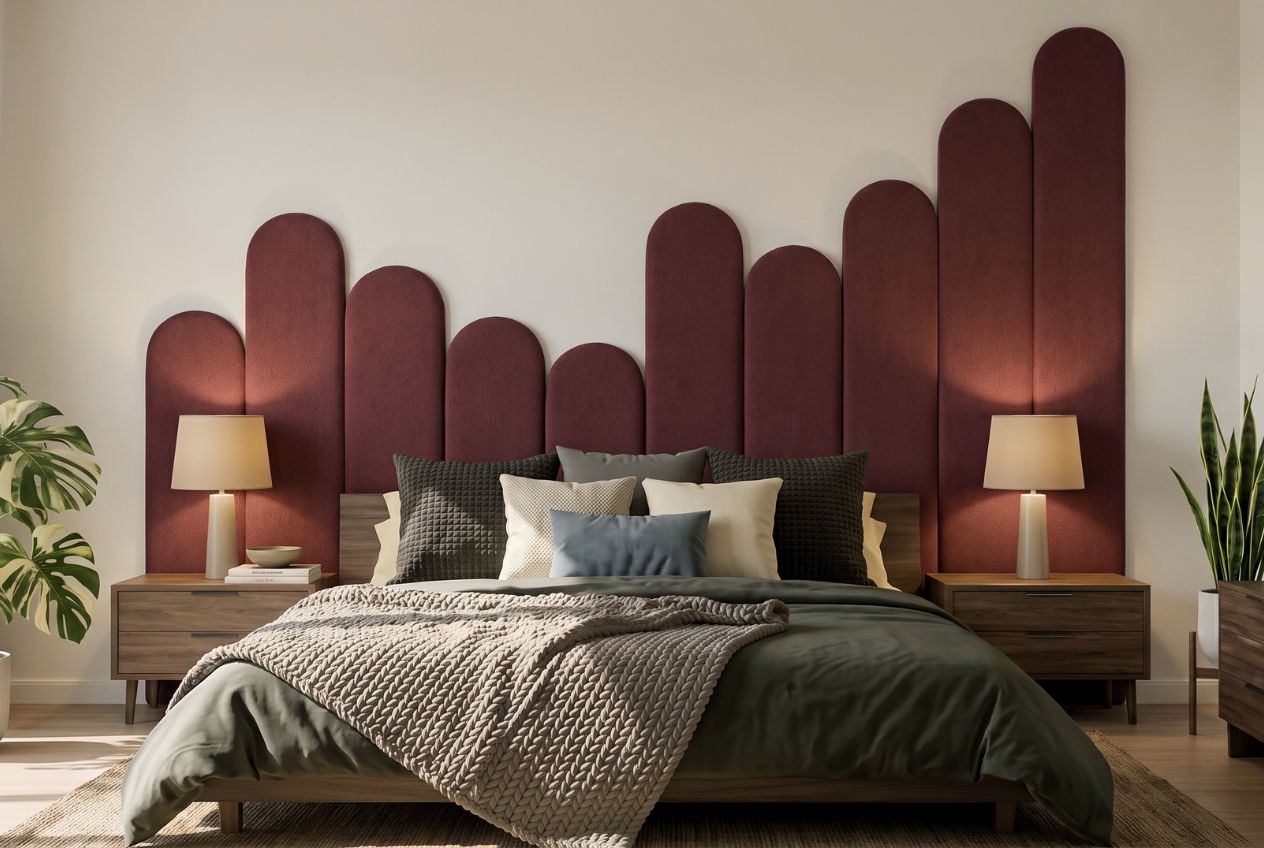
DwellForms™ by Lifted+ is a New Zealand-designed, renter-friendly feature wall system: modular PET felt panels made from 100% recycled plastic, fixed with our tested adhesive pads, with no drilling, paint or wallpaper. Browse the DwellForms™ Core Kits, or order colour samples first and see how they sit in your room.
Working from home? The WFH Backdrop is a good place to begin.
FAQ
Can Command strips hold a felt wall panel?
They are designed for picture frames and light décor with a smooth surface to grip, and the brand advises against sticking strips to fabric surfaces on the back of a frame. Felt is soft and fibrous, so a strip is not a natural match. A purpose-built adhesive, like the pads we selected for DwellForms™, suits that material better.
Will Command strips work on textured walls?
The brand does not recommend them for heavily textured surfaces, wallpaper, brick or rough concrete. Smooth, clean, cured painted walls are the best case. If your wall is textured, test a small area first or read our guide to panels on textured walls.
How long should I wait after painting before using adhesive strips?
The manufacturer says to wait at least 7 days after painting before applying Command products. Paint that has not fully cured is one cause of paint damage on removal. Longer is safer if the room is cool or humid.
How do I take strips off without pulling the paint?
Stretch the strip slowly along the wall, pulling it straight down against the surface for at least 30 cm, not out towards you. Peel the frame or panel away from the bottom corners first. Even then, no adhesive is completely damage-proof, so go slowly.
Can I add more strips for a heavier panel?
Not reliably. The manufacturer warns that extra strips beyond the product instructions do not always increase the weight limit and could cause failure. Choose the pack rated for your item’s weight instead of stacking up extras.
Sources
Command Picture Hanging Strips Technology, 3M
Medium Picture Hanging Strips instruction sheet, 3M
How to Use Command Picture Hanging Strips, Command Australia
Damage-free ways to hang pictures in a rental, Bunnings NZ
Recommended
- Extend Wall Panels Without Drilling: Renter Safe DwellForms™ Kits
- Panels On Concrete Walls: What Works Without Drilling
- Panels On Plasterboard: What Works, And What Doesn’t
- Will Adhesive Wall Panels Damage Paint? What To Know
This article is for general information and inspiration only. Product performance and results may vary depending on individual circumstances, surfaces and installation.
