

TL;DR:
- Modular PET felt wall panels are a renter-friendly, reusable option that requires no drilling or permanent changes.
- Australian tenants should verify lease conditions and seek landlord approval before installing adhesive wall art.
The best movable wall art for Australian renters is a modular, adhesive-installed PET felt kit — specifically DwellForms™ by Liftedplus. No drilling, no painting, no permanent commitment. You get real colour impact and sculptural texture that you can rearrange or take to your next home. If you want to skip straight to installation, jump to the how-to section below. Ready to buy? The DwellForms™ core kits are the logical starting point.
Table of Contents
- What does “movable wall art” actually mean here?
- What do Australian tenancy rules mean for removable wall decor?
- How does the adhesive, no-drill installation work?
- How do you choose colours, patterns and layout for maximum impact?
- How do you measure your wall and choose the right kit?
- What should you expect to pay, and is it worth it?
- How do you remove, store and prepare panels for moving house?
- Why DwellForms™ by Liftedplus is the recommended option for Australia
- Key takeaways
- The wall you live with matters more than you think
- Where to find DwellForms™ and what to order first
- Useful sources
- FAQ
What does “movable wall art” actually mean here?
In this article, movable wall art means one specific thing: modular, removable PET felt wall panel kits that adhere to your wall without screws, nails or construction adhesive, and can be peeled off, repacked and reinstalled in a new home. Not kinetic sculptures. Not rolling gallery partitions. Colour-led, renter-friendly feature walls you build from precision-cut panels.
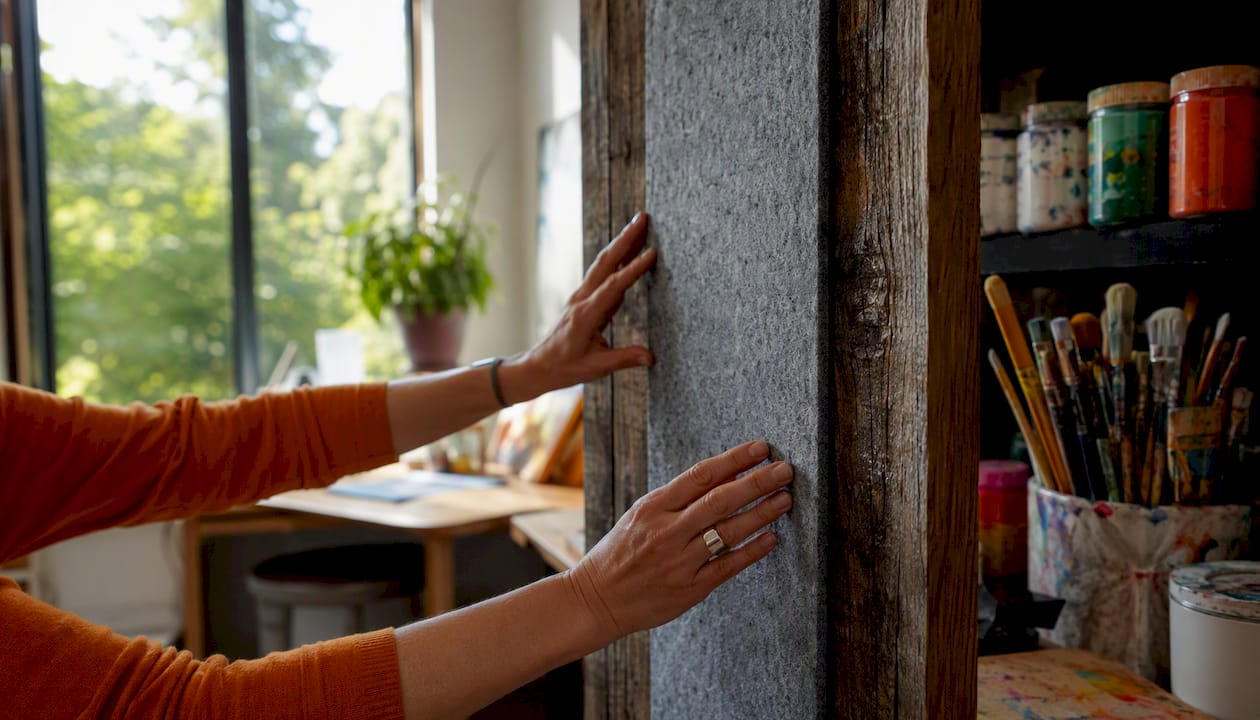
PET felt is made from post-consumer recycled plastic bottles, compressed into a dense, porous material that is lightweight, shape-retentive and CNC-cuttable into geometric patterns. It is non-toxic, colourfast and durable in a way that foam alternatives simply are not. The panels travel well, resist warping, and hold their colour over years of use.
How does it compare with other renter-friendly options?
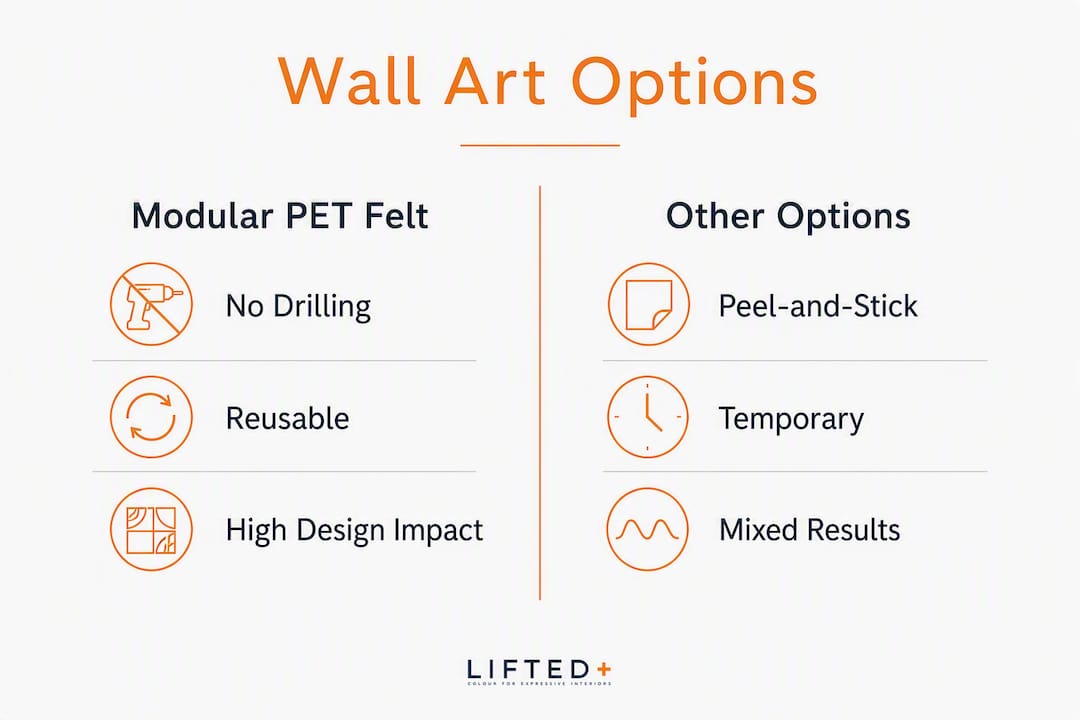
| Option | Installation | Removable | Reusable | Design impact |
|---|---|---|---|---|
| Modular PET felt kits | Adhesive pads, no drill | Yes | Yes, take to next home | High: colour, texture, form |
| Peel-and-stick wallpaper | Self-adhesive | Usually | No | Medium: pattern only |
| Leaning art / mirrors | No fixing needed | Yes | Yes | Low to medium |
| Freestanding screens | Floor-standing | Yes | Yes | Medium: silhouette only |
Peel-and-stick wallpaper and leaning large artworks are genuinely useful, and design press recommends both for rental-friendly refreshes. Neither gives you the sculptural depth or the modular rearrangeability of a felt panel system.
What do Australian tenancy rules mean for removable wall decor?
Australian tenancy law generally requires you to return a rental property in its original condition. Permanent alterations — drilling, painting, fixed cladding — typically need written landlord approval. Adhesive, removable decor sits in a different category, but “removable” is not a legal guarantee of “approved.” Check your lease and your state’s tenancy rules before you install anything.
Pre-install checklist:
- Read your lease for any clause about wall alterations or adhesives.
- Email your landlord or property manager to confirm adhesive panel kits are acceptable. Keep the reply.
- Photograph every wall you plan to use, with timestamps, before you touch it.
- Test one adhesive pad in an inconspicuous spot and leave it for 48 hours before committing to a full install.
- Order a sample kit first so you can test the adhesive on your specific wall surface.
Pro Tip: A two-line email to your property manager (“I plan to use removable adhesive wall panels — no drilling, no paint. Please confirm this is acceptable.”) creates a paper trail that protects your bond. Screenshot the reply and store it with your condition report.
For state-specific guidance, Consumer Affairs Victoria publishes clear renter alteration rules. Your state’s equivalent tenancy authority will have comparable guidance. You can also find practical renter-friendly home decor ideas that work within typical lease conditions.
How does the adhesive, no-drill installation work?
PET felt panels are lightweight and handle quickly, which makes a DwellForms™ install genuinely manageable for one person, though two people makes alignment far easier. A standard feature wall typically takes 60–90 minutes from unboxing to finished.
- Prepare the surface. Wipe the wall with a dry cloth to remove dust. The wall should be smooth, clean and dry. Avoid installing over heavily textured paint or wallpaper.
- Dry-run your layout. Lay panels on the floor in your intended arrangement. This is the step most people skip and later regret.
- Mark your starting point. Use a pencil and a spirit level to mark a horizontal baseline. Every panel you place after this references that line.
- Apply adhesive pads. Press pads firmly to the back of each panel as directed in the kit instructions. Do not rush this step.
- Place panels from the centre out. Working from the middle of your wall outward keeps the layout symmetrical and makes any edge trimming equal on both sides.
- Press and hold. Apply firm, even pressure to each panel for the time specified in the instructions before moving to the next.
Pro Tip: Two people, one holding the panel and one checking alignment, prevents the gap creep that makes a finished wall look amateur. Use a small gap gauge — a folded piece of card cut to your intended spacing — to keep joints consistent.
How do you choose colours, patterns and layout for maximum impact?
Layout and colour choices are what separate a wall that looks decorated from one that looks designed. The panel arrangement carries as much visual weight as the colour itself.
Practical layout ideas to consider:
- Full feature wall: All panels edge to edge across one wall. Works best in bedrooms and living rooms where the wall reads as a single plane.
- Framed accent panel: A rectangular cluster centred on the wall, with breathing room on all sides. Feels considered and architectural.
- Vertical bands: Columns of panels from floor to ceiling. Draws the eye upward and makes low ceilings feel taller.
- Headboard alternative: A horizontal band of panels behind the bed, roughly the width of the mattress plus 30 cm each side.
- Sculptural cluster: An asymmetric grouping, deliberately irregular. Works well in hallways and home offices.
On scale: panels should relate to ceiling height. In a room with 2.4 m ceilings, a feature wall that runs to 1.8 m height reads as intentional. Stopping at 1.2 m can feel unresolved. Negative space is not wasted space — a panel arrangement that covers 60–70% of a wall often reads better than one that fills it entirely.
Pro Tip: Build your colour story around 2–4 palette colours maximum. Anchor the wall colour to a dominant piece of furniture — a sofa, a bedhead, a rug — and let the panels echo or contrast that tone deliberately. Colour without an anchor tends to float.
How do you measure your wall and choose the right kit?
Measure wall width and height, subtract any skirting boards, architraves, power points and light switches from the usable area. That net figure is your coverage target.
Key rules of thumb:
- An accent panel covering 30–60% of a wall creates a focal point without dominating the room.
- A full feature wall covering 80–100% of the usable area makes a bold, architectural statement.
- Count your panels: divide your target coverage area by the area of a single panel to get a minimum panel count, then round up.
- Order extension kits if your wall is wider than a standard core kit covers. It is better to have one spare panel than to fall short mid-install.
- Use the sample kit first. Liftedplus credits sample kit purchases toward a full order, so you test colour and adhesion on your actual wall before committing.
Pro Tip: Before ordering, stick strips of masking tape on your wall in the panel dimensions you are considering. Live with it for a day. The tape mock-up reveals scale problems that no floor plan sketch will show you.
What should you expect to pay, and is it worth it?
DwellForms™ kits are priced to reflect the material quality, the recycled content and the reusability of the system. Sample kits sit at the lower end of the price range and are credited toward a full order. Core kits cover a standard feature wall. Extension packs let you grow coverage without buying a second full kit.
What drives the price of any modular felt kit:
- Panel count and coverage area per kit.
- Thickness and density of the PET felt.
- Complexity of the cut pattern (geometric shapes require more precise CNC work).
- Colour range and whether custom colours are available.
- Whether adhesive pads, layout guides and installation support are included.
Before you buy, check: warranty terms, the returns policy, whether the sample credit applies to your chosen kit, and whether the brand ships to your Australian state with reasonable lead times. Liftedplus ships to Australia and provides installation guides and customer support as part of the purchase.
The reusability argument is real. A one-off peel-and-stick wallpaper panel is a sunk cost when you move. A DwellForms™ kit moves with you, which spreads the cost across multiple homes and multiple years.
How do you remove, store and prepare panels for moving house?
Removal is as important as installation for renters. Done carefully, it protects both your bond and the panels themselves.
Removal steps:
- Peel slowly from one corner. Work at a low angle, pulling the panel back on itself rather than straight off the wall. Slow and steady prevents surface damage.
- Remove adhesive pads separately. Once the panel is off, peel each pad from the wall using your fingers or a plastic scraper. Never use a metal blade.
- Clean any residue. A small amount of isopropyl alcohol on a cloth removes most adhesive residue from painted walls. Test in a hidden spot first.
- Inspect the wall. Check for any paint lift or marks before your landlord inspection. Address minor scuffs with a touch-up pen matched to the wall colour.
Storage checklist:
- Stack panels flat, not on edge, to prevent warping.
- Store in a cool, dry space away from direct sunlight to preserve colour.
- Keep the original packaging if possible — it is designed for the panel dimensions.
- Label panels by layout position if you plan to reinstall the same arrangement.
Landlord handover: bring your pre-install photos, your email permission trail, and a written note of any touch-ups you made. A clean handover with documentation is the difference between a full bond return and a dispute.
Why DwellForms™ by Liftedplus is the recommended option for Australia
DwellForms™ is designed specifically for colour-first, no-drill, renter-friendly feature walls. It is not a commercial acoustic product repurposed for homes. Every element of the system — the adhesive pad method, the modular kit structure, the sample credit policy — is built around the reality of renting and moving.
Key features:
- Modular kits in multiple designs, including the Skyline and Linear ranges.
- Adhesive pad installation: no drilling, no screws, no permanent wall damage.
- Sample kit policy: purchase a sample, apply the cost toward your full kit order.
- Extension packs available so you can grow your wall without starting over.
- Layout templates and styling guides included, not sold separately.
- Recycled PET felt from 100% post-consumer plastic: low-toxicity, colourfast, and designed to last across multiple homes.
DwellForms™ treats your wall as a design system, not a one-time fix. The panels are made to be moved, rearranged and reinstalled — because the people who buy them move too.
This is the distinction that matters for renters. The system is designed around impermanence as a feature, not a limitation.
Key takeaways
Modular PET felt adhesive kits are the most practical movable wall art option for Australian renters: no drilling, reusable across homes, and available with sample credits and layout support from Liftedplus.
| Point | Details |
|---|---|
| Check your lease first | Email your landlord for written confirmation before installing any adhesive panels. |
| Sample kit before full order | Test colour and adhesion on your actual wall; Liftedplus credits the sample cost toward a full kit. |
| Measure net usable area | Subtract skirting, architraves and power points; aim for 30–60% coverage for an accent, 80–100% for a full feature wall. |
| Remove slowly, document everything | Peel at a low angle, clean residue with isopropyl alcohol, and photograph walls before and after. |
| DwellForms™ by Liftedplus | Modular, adhesive-installed PET felt kits designed for colour-first, renter-friendly feature walls in Australia. |
The wall you live with matters more than you think
There is a tendency in rental decorating advice to treat the walls as a problem to manage rather than a surface to design and refresh your space without the renovation headache. The guidance is almost always the same: keep it neutral, keep it reversible, keep it small. That framing is understandable, but it misses something.
The walls of a home are not background. They set the emotional register of every room you spend time in. A blank white rental wall does not feel temporary because it is white. It feels temporary because nothing on it says you live there.
What DwellForms™ gets right is treating colour and form as the starting point, not the afterthought. The adhesive system and the renter-friendly removal process are practical necessities. But the design intent — the sculptural geometry, the considered colour palette, the modularity that lets you rearrange rather than replace — is what makes a rental wall feel like yours. That is not a small thing. It is, in fact, the whole point.
The sample kit policy and the layout templates are worth mentioning here because they lower the risk of getting it wrong. You can test before you commit, and you have a guide when you are not sure where to start.
Where to find DwellForms™ and what to order first
If you are ready to put colour on your walls without picking up a drill, the DwellForms™ Skyline kit is a strong starting point for a bedroom or living room feature wall. The Linear Feature Kit suits hallways and home offices where a clean, rhythmic pattern reads well in a narrower space. Both are available with extension packs if your wall is wider than a standard kit covers.

Start with a sample kit. It ships to Australia, costs a fraction of the full kit price, and the amount is credited toward your order when you are ready to commit. You get to test the colour against your actual wall, check the adhesive on your specific paint finish, and confirm the scale before you buy. Browse the full range of no-drill wall kits and find the layout that fits your space.
Useful sources
- Renters making changes to the property — Consumer Affairs Victoria
- PET Felt Panels vs Acoustic Panels — Carve Materials
- 10 non-permanent ways to personalise your rental home — Home Beautiful
- Recycled PET felt panels for interior design — Liftedplus
- Wall decor ideas for renters without damage — Liftedplus
FAQ
Can renters use adhesive wall panels without landlord permission?
Australian tenancy law generally requires you to return a property in its original condition; while adhesive panels are not a permanent alteration, checking your lease and getting written landlord confirmation is strongly recommended before installing anything.
How long does a DwellForms™ kit take to install?
A standard feature wall typically takes 60–90 minutes for one person; two people working together makes alignment easier and reduces that time.
Will adhesive panels damage painted walls?
Adhesive pads are designed for removal, but no adhesive system is guaranteed damage-free on every surface. Testing one pad on your specific wall finish for 48 hours before a full install is the safest approach.
Can I take DwellForms™ panels to my next rental?
Yes. The panels are designed to be removed, repacked and reinstalled in a new home, which is one of the core advantages of a modular PET felt system over peel-and-stick wallpaper or painted feature walls.
What is the sample kit credit policy?
Liftedplus offers sample kits at a lower price point, with the purchase amount credited toward a full DwellForms™ kit order, so you can test colour and adhesion before committing to the full installation.