
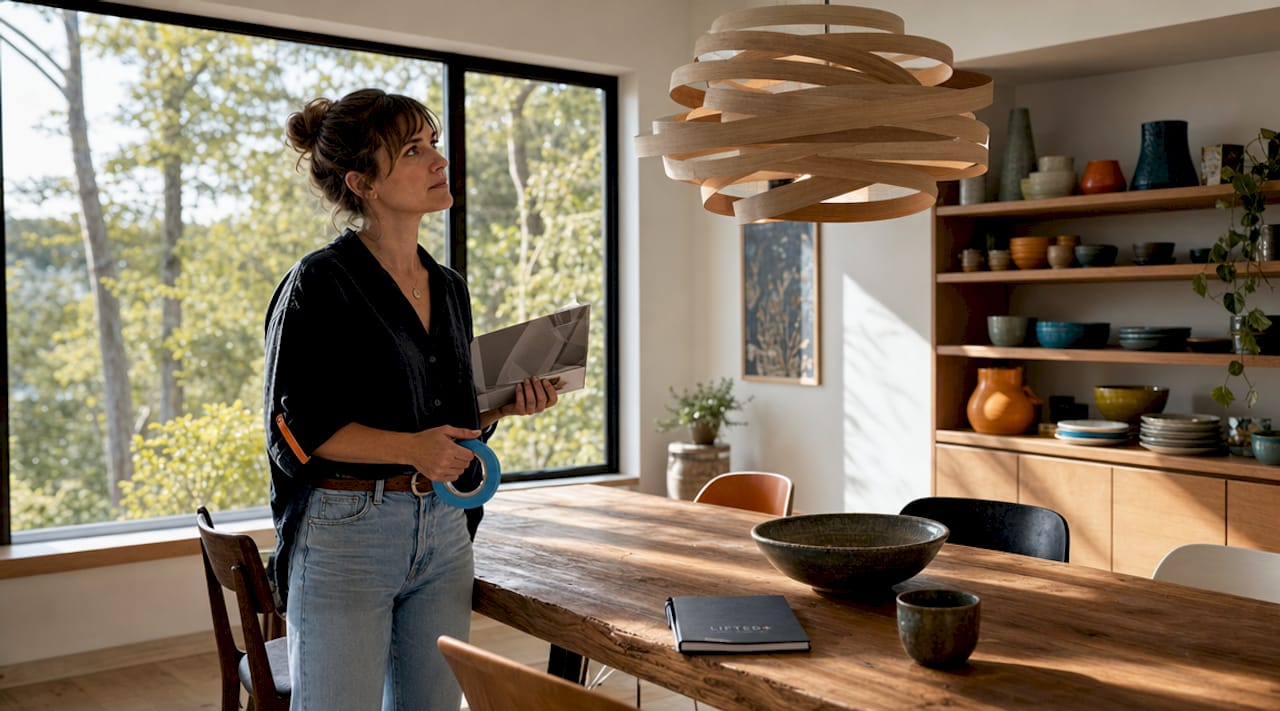
TL;DR:
- Statement lighting serves as a bold focal point that shapes a room’s mood and character beyond mere illumination. Selecting the right fixture requires considering scale, style, finish, and functionality to ensure it holds visual presence from all angles. Proper measurement, thoughtful finish choices, and installation height are essential for achieving a cohesive, impactful statement piece in any space.
Statement lighting is any bold, standout fixture that acts as the focal point of a room, functioning simultaneously as architecture, sculpture, and mood-setter. Think chandeliers that command a dining room, oversized pendants that bring shape to the air above a kitchen island, or sconces placed in unexpected corners to create tension and depth. Knowing how to select statement lighting means understanding that the right fixture does far more than illuminate. It pulls a space out of the safe, polite middle and gives it genuine presence. This guide covers scale, style, colour temperature, and installation so you can choose with confidence.
What are the key factors when selecting statement lighting?

Scale is the first consideration, and it is the one most homeowners get wrong. A fixture that looks commanding in a showroom can disappear entirely in a large living room, or overwhelm a compact hallway. The proportions of your room, your ceiling height, and the visual weight of your existing furniture all determine what size fixture will actually hold the room.
Style and finish come next. Statement lighting works best when it has a clear relationship with the rest of your interior, whether that relationship is harmonious or deliberately contrasting. A raw brass pendant above a linen sofa reads as intentional. The same pendant above a chrome-and-glass dining setting reads as accidental.
Colour temperature shapes how the fixture feels once it is switched on. A sculptural chandelier fitted with the wrong bulb temperature can flatten the mood entirely, regardless of how beautiful the silhouette is. Functionality, including dimmer compatibility and smart controls, determines how much work your statement piece can actually do across different times of day and social settings.
These four factors, scale, style, finish, and function, form the foundation of every good lighting decision. Liftedplus approaches each of these as equally weighted, because a fixture that excels in three but fails in one will never quite hold the room the way it should.
Pro Tip: When browsing fixtures, bring a photo of your room taken from the main seating position. This gives you an immediate sense of how a fixture’s silhouette will read against your ceiling height and wall colour.
How to measure and calculate the right fixture size
Getting the scale right is a practical exercise, not a matter of instinct. The most reliable starting point is a simple sizing formula: add your room’s length and width in feet, then convert that total to inches to get the ideal fixture diameter. A 12 by 14 foot room, for example, suggests a fixture diameter of approximately 26 inches. This formula gives you a working range, not a rigid number.
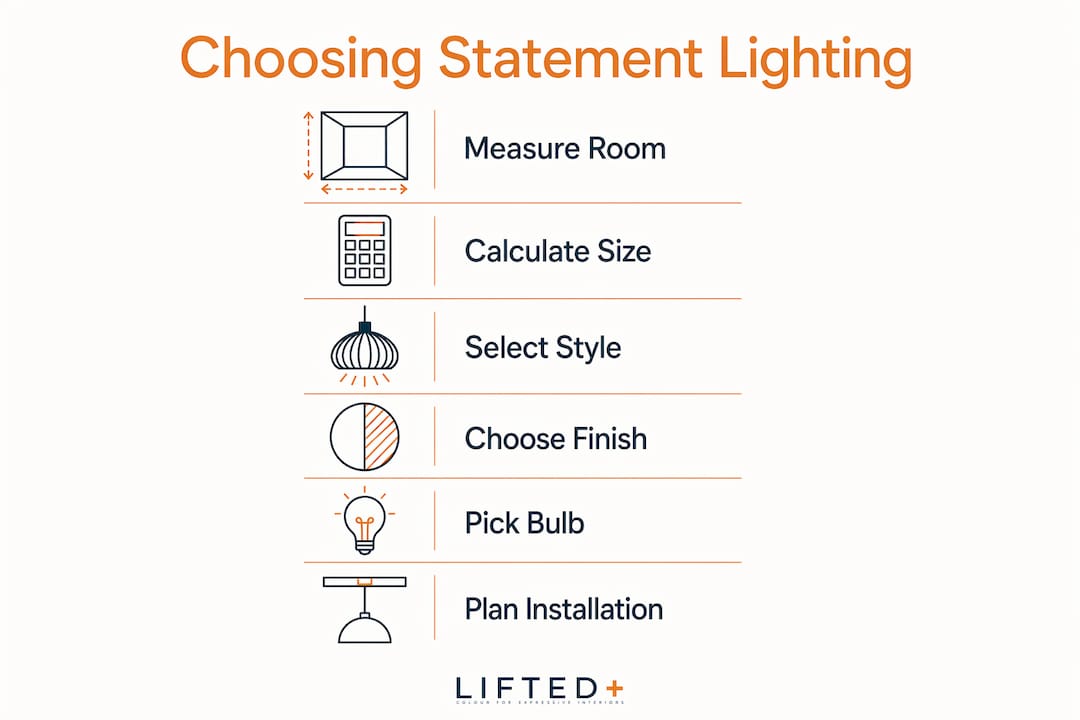
Here is a step-by-step process to measure accurately before you buy:
- Measure your room’s length and width in feet, then add them together.
- Convert that sum to inches. This is your baseline fixture diameter.
- Measure your ceiling height. For ceilings above 2.7 metres, add 2 to 3 inches to your baseline.
- Measure the height of your largest piece of furniture in the room. The fixture should feel proportionate to that mass, not dwarfed by it.
- Note any architectural features such as beams, skylights, or sloped ceilings that will affect visual weight.
One insight that surprises most homeowners: fixtures that appear slightly oversized in an empty room often become perfectly proportioned once furniture and decor are added. The visual mass of a sofa, a dining table, or a rug absorbs what initially reads as excess scale. Favour the larger end of your calculated range when in doubt.
| Room type | Approximate dimensions | Suggested fixture diameter |
|---|---|---|
| Small bedroom | 10 × 10 ft | 20 inches |
| Standard dining room | 12 × 14 ft | 26 inches |
| Open living area | 16 × 18 ft | 34 inches |
| Large open plan space | 20 × 22 ft | 42 inches |
Pro Tip: Before committing to a purchase, cut a circle of kraft paper or newspaper to your target fixture diameter and tape it to the ceiling. Stand at your main viewing point and live with it for a day. This simple mock-up prevents the most common scale mistake in residential lighting.
What style and finish choices best enhance your statement lighting?
Finish is the thread that ties a fixture to the rest of a room. Choose one dominant metal finish for your statement lighting and let other metals appear only as small accents elsewhere in the space. Aged brass as your primary finish, for instance, can be echoed in door hardware or a side table leg without competing with the fixture itself. Mixing finishes without a clear dominant tone risks a look that feels assembled rather than considered.
The shape and material of a fixture carry as much meaning as its finish. A hand-blown glass pendant brings softness and organic form. A geometric black steel chandelier introduces structure and edge. A rattan or woven shade adds warmth and texture. Each of these reads as a design statement before a single bulb is switched on, which is why the industry often describes standout fixtures as the jewellery of a room.
Mixing eras and styles is not only acceptable, it is often what gives a space its character. A mid-century brass pendant above a contemporary concrete dining table creates productive tension. The key is that scale and material tone must align even when style does not. A delicate spun-brass pendant will not hold its own above a heavy reclaimed timber table, regardless of how beautiful it is in isolation.
Consider the fixture’s silhouette from multiple angles. A pendant that looks striking from below may read as flat from across the room. Walk around your space and imagine the fixture at its intended height, viewed from the kitchen, the hallway, and the main seating area. A fixture that holds the room from every angle is worth the investment.
How do colour temperature and controls affect statement lighting?
The bulb inside a beautiful fixture determines whether the room feels alive or flat. Warm white LEDs between 2700K and 3000K are the standard for residential spaces because they create a cosy, calming atmosphere that suits both relaxed evenings and social gatherings. The difference between the two ends of this range is meaningful.
A 2700K bulb produces a warmer, amber-toned light that suits bedrooms, reading nooks, and any space where you want to feel settled and at ease. A 3000K bulb offers a cleaner warm white that works well in living rooms and kitchens, where you need warmth without sacrificing clarity. For bedroom lighting in particular, 2700K is the more considered choice. Colour temperature choice depends less on personal preference and more on the room’s purpose and the existing tones in your palette.
Frosted, dimmable bulbs are the practical choice for most statement fixtures. They diffuse light softly across the room rather than creating harsh pools, and they give you the flexibility to shift mood as the day changes. Pair them with a dimmer or smart control for the full range of effect.
Wi-Fi smart dimmers typically cost between $18 and $40, making them one of the most cost-effective upgrades you can make to a lighting scheme. That modest investment means your statement fixture can move from bright and social to soft and intimate without you changing a single bulb. A layered lighting plan that includes ambient, task, and accent sources gives your statement piece the right backdrop to perform at its best.
What are best practices when installing statement lighting?
Installation decisions shape how a fixture reads in the finished room. The most common mistake is hanging a pendant or chandelier too high, which disconnects it from the furniture below and strips it of its presence. Over a dining table, the base of a pendant should sit roughly 75 to 90 centimetres above the table surface. Over a kitchen island, 65 to 80 centimetres is the working range, depending on ceiling height.
Mock the hang height before installation using painter’s tape on the ceiling and a length of string to simulate the fixture’s drop. Then test the sightline from your main seating position, from the kitchen bench, and from the entry point of the room. Visual comfort from multiple viewpoints prevents the scale and height mistakes that are expensive to correct after the fact.
Grouped pendants deserve particular attention. Three pendants hung in a row above a kitchen island create rhythm and visual weight that a single large fixture cannot replicate. The spacing between them matters as much as their individual size. Too close and they read as cluttered; too far apart and they lose their collective impact.
Sconces placed in unconventional spots, beside a bathroom mirror, flanking a hallway artwork, or at low height beside a bed, add a layer of considered detail that lifts the whole scheme. They do not need to match your primary statement fixture exactly, but their finish should relate to it clearly.
Pro Tip: If you are installing a statement fixture in an open plan space, read Liftedplus’s guide on lighting for open plan spaces before you finalise your choice. Scale calculations shift significantly when walls are removed from the equation.
Key takeaways
Selecting statement lighting that truly holds a room requires balancing scale, finish, colour temperature, and installation height as equally weighted decisions, not afterthoughts.
| Point | Details |
|---|---|
| Use the sizing formula | Add room length and width in feet, convert to inches for your baseline fixture diameter. |
| Favour slightly larger fixtures | Fixtures that read oversized in an empty room often become perfectly proportioned once furniture is in place. |
| Choose one dominant finish | Select a primary metal finish and use other metals only as small accents to keep the look cohesive. |
| Match colour temperature to purpose | Use 2700K for bedrooms and relaxed spaces; use 3000K for living rooms and kitchens. |
| Mock the hang height first | Use string and painter’s tape to test sightlines from multiple viewpoints before committing to installation. |
Lighting as jewellery: my honest observations
I have looked at a lot of lighting decisions in residential interiors, and the pattern that repeats most often is this: homeowners undersize their fixtures and skip the dimmer. Both mistakes are easy to avoid and both are surprisingly hard to undo once the room is furnished and the electrician has gone home.
The concept of lighting as jewellery is one I return to constantly. Jewellery does not just sit on a body; it communicates something about the person wearing it. A statement fixture should do the same for a room. It should feel chosen, not merely placed. That quality of intention is what separates a room that holds together from one that almost does.
What I find most homeowners miss is the relationship between the statement fixture and the layers around it. A chandelier in an otherwise flat, single-source room is like a beautiful necklace worn with no other thought given to the outfit. The layered lighting approach gives the statement piece context and contrast, which is what allows it to genuinely read as a focal point rather than just an expensive ceiling fitting.
My practical advice: do the paper circle test on your ceiling before you buy anything. Spend $30 on a smart dimmer when you install. And choose your finish before you choose your shape, because finish is what connects the fixture to the room, and shape is what makes it memorable.
— Michelle
Bring your space to life with Liftedplus
Choosing the right statement fixture is the beginning of a larger conversation about how your home feels to live in. Liftedplus curates sculptural, colour-led lighting designed for modern New Zealand interiors, with finishes and forms that are chosen for presence and longevity rather than trend.
Whether you are starting from scratch or refining a room that is almost there, the Liftedplus modern sculptural lighting range offers fixtures that hold a room with genuine authority. Pair your lighting choice with guidance from the Liftedplus resource on how decor personalises your space to see how lighting, colour, and form work together to create an interior that feels fully realised.
FAQ
What is statement lighting in interior design?
Statement lighting refers to bold, standout fixtures such as chandeliers, oversized pendants, and sculptural sconces that serve as focal points in a room. They function as both a light source and a design element, shaping the mood and character of a space.
How do I calculate the right size for a statement light fixture?
Add your room’s length and width in feet, then convert that total to inches to get your ideal fixture diameter. A 12 by 14 foot room, for example, suggests a fixture of approximately 26 inches in diameter.
What colour temperature is best for statement lighting at home?
Warm white LEDs between 2700K and 3000K are ideal for residential spaces. Use 2700K for bedrooms and relaxed areas, and 3000K for living rooms and kitchens where clarity matters alongside warmth.
Should I use a dimmer with my statement light fixture?
A dimmer is one of the most worthwhile additions to any statement lighting scheme. Wi-Fi smart dimmers cost between $18 and $40 and allow you to shift the fixture’s mood from bright and social to soft and intimate without changing the bulb.
Can I mix metal finishes with statement lighting?
Mixing finishes works well when one metal is clearly dominant and others appear only as small accents. Without a dominant finish, mixed metals read as unplanned rather than considered.
Recommended
- How To Choose Statement Lighting For Open Plan Spaces – Lifted+ | More Colour. More Mood. More Life.
- Statement Lighting That Holds A Room – Lifted+ | More Colour. More Mood. More Life.
- Guide To Selecting Lighting For Striking New Zealand Homes
- How To Choose A Statement Lamp That Hits – Lifted+ | More Colour. More Mood. More Life.