
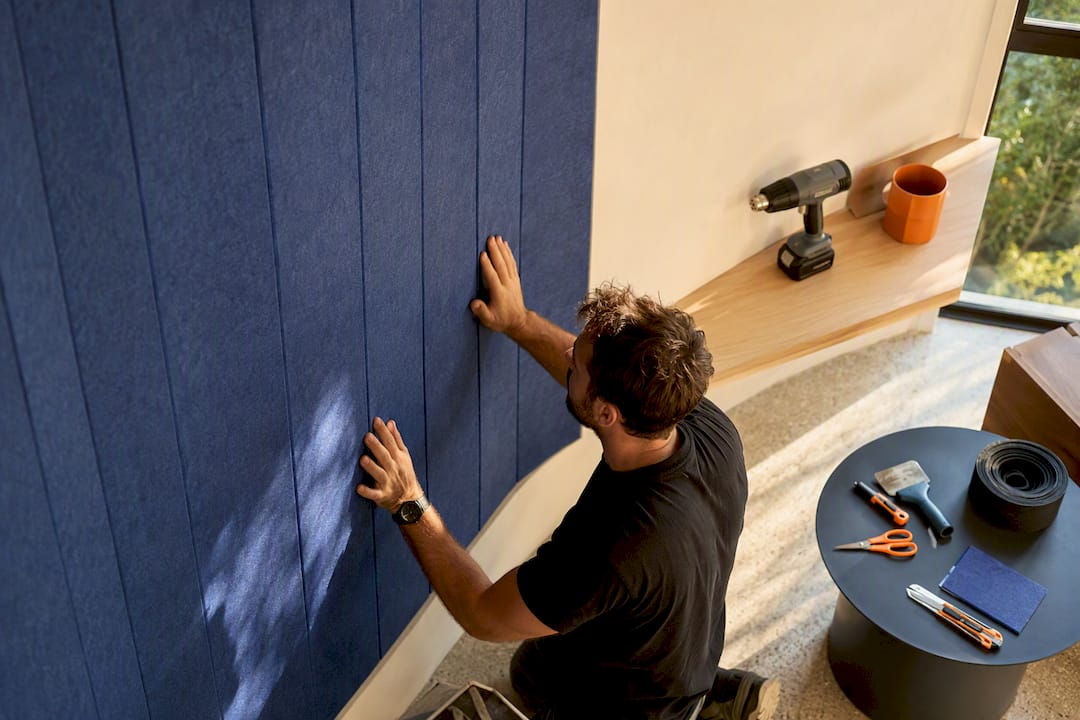
Yes, modular PET felt panels built for no-drill installation can wrap a gentle curve and turn it into the most talked-about wall in the room. DwellForms™ by Liftedplus was designed exactly for this: colour-led, sculptural, and entirely removable. The method that works, every time, is simple. Dry-fit your layout first. Apply adhesive tabs or tape in a hybrid pattern. Press everything down firmly with a roller.
Before you commit to anything, a few small moves save you a lot of frustration later:
- Order a colour sample kit and hold it against the curve in daylight and lamp light.
- Dry-fit the full run of panels with painter’s tape before any adhesive goes near the wall.
- Run your hand along the curve to check for dips, bumps or old paint ridges.
Key Takeaways
Installing panels on curved walls succeeds when you dry-fit the full layout first, use a hybrid adhesive strategy, and press every panel with firm, even pressure.
| Point | Details |
|---|---|
| Dry-fit before adhesive | Lay out the full pattern with painter’s tape to check alignment before committing to glue. |
| Use hybrid mounting on curves | Combine adhesive tabs with mounting tape for reliable hold against material spring-back. |
| Keep adhesive off the edges | Apply glue 2 to 3 centimetres from panel edges to stop seepage onto the felt face. |
| Choose smaller modules for tighter curves | Smaller panels hide seam distortion better than large single sheets on a tight radius. |
| DwellForms™ suits gentle curved installs | Modular PET felt kits from Liftedplus use tested adhesive pads, sized for renter-friendly curved feature walls. |
Table of Contents
- Why panels on curved walls actually work so well
- What you need before installing panels on curved walls
- How do you install panels on a curved wall?
- Designing a curved feature wall that looks intentional
- Fixing common problems and removing panels later
- Which mounting method suits your curved wall?
- Why colour on a curve changes how a rental feels
- DwellForms™ makes curved feature walls simple, not risky
- Sources
- FAQ
Why panels on curved walls actually work so well
Curved walls have a reputation for being difficult, but PET felt panels are one of the few finishes that genuinely suit them. The felt has enough material memory to hold a gentle bend once it’s pressed, but it will always try to spring back toward flat. Even, sustained pressure during installation is what overcomes that tension and lets the panel settle into the curve rather than fight it.
That slight bend does something flat art never can. It catches light differently at each point along the wall, so a single colour reads as three or four subtle tones depending on where you’re standing. On a bay window curve or a rounded hallway corner, that shift gives the wall genuine depth instead of a flat, printed feel.
Pro Tip: Warm the panel slightly with your hands or a hair dryer on a low setting before dry-fitting. Slightly warmer felt flexes more willingly and fights the curve less during placement.
This is the whole idea behind DwellForms™: colour and texture that feel architectural, without a single hole in the plaster. The PET felt panels used in acoustic and design applications are engineered with this flexibility built in, not bolted on as an afterthought.
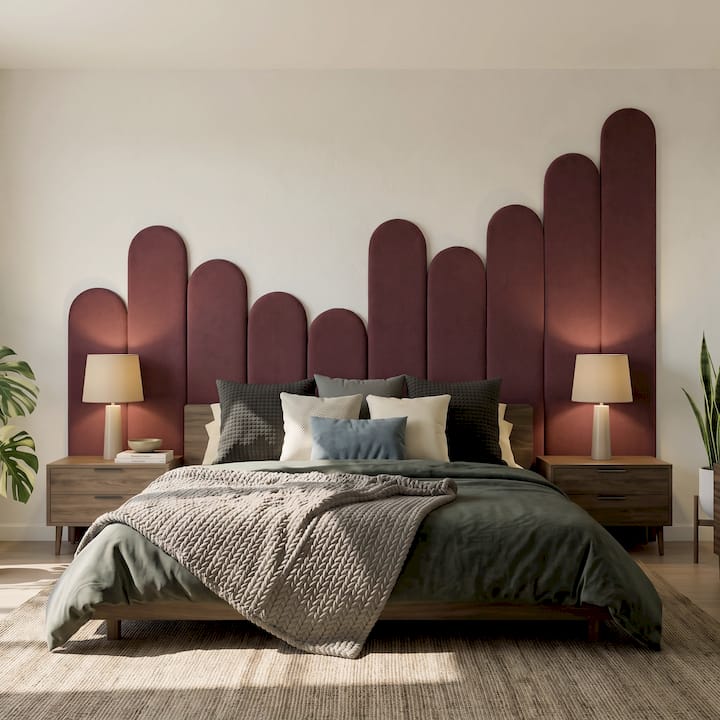
What you need before installing panels on curved walls
Surface preparation is where most curved installs succeed or fail, and it takes less time than people expect.
- Gather your tools. You’ll want a soft cloth, isopropyl alcohol or a mild detergent, a laser level or long straightedge, a felt-wrapped roller, painter’s tape, and your adhesive tabs or mounting tape.
- Clean thoroughly. Wipe the entire curve down to remove dust, grease and any residue from previous decor. Adhesive bonds fail more often because of a dirty surface than a bad product.
- Check for loose paint or moisture. Press firmly along the curve. Any flaking, chalky, or soft patches won’t hold adhesive reliably, curved or flat.
- Test a small area first. Stick a single tab to an inconspicuous section of the curve and leave it for a few hours before committing to the whole wall.
- Talk to your landlord if you’re renting. Most rental agreements are fine with drill-free, adhesive-based decor, but it’s worth a quick message before you start, particularly on a feature wall this visible.
Drill-free mounting is increasingly accepted for exactly this reason. It suits residential walls without structural risk, provided the substrate is sound and the adhesive is matched to it.
How do you install panels on a curved wall?
Once the wall is clean and dry, the actual install is methodical rather than tricky.
- Dry-fit the entire layout first. Lay out every panel with painter’s tape before any adhesive touches the wall. Mark a centre line or a consistent alignment point so the pattern reads deliberately across the curve, not randomly.
- Choose your adhesive strategy. For most gentle curves, a hybrid approach works best: adhesive tabs for the panel’s primary hold, plus a strip of mounting tape along the leading edge for extra contact where the curve pulls hardest.
- Apply adhesive 2 to 3 centimetres from the panel edges. Manufacturer guidance consistently recommends this gap, and it exists for a good reason: adhesive applied too close to the edge tends to seep out when you press the panel down, leaving marks on the felt face.
- Work from one end of the curve to the other. Placing panels in sequence, rather than jumping around, keeps the pattern flowing and stops you from discovering a misalignment three panels too late.
- Press with firm, even pressure. Use a felt-wrapped roller across the whole panel face, working outward from the centre. Hold the edges in place for a few seconds longer, since that’s where curve tension pulls hardest against the bond.
- Trim carefully for mild radii only. If you need to trim a panel to fit a socket or a tight reveal, some PET felt products use factory V-cuts to allow bending, and manufacturers publish a minimum safe curvature radius for this reason. Never force a structural bend beyond what the panel is rated for; it stresses the face layer and shortens its life.
Pro Tip: If a panel keeps lifting at one corner as you work, that’s material memory pulling toward flat, not a bad adhesive. Add a second tab right at that corner rather than re-pressing the whole panel.
Designing a curved feature wall that looks intentional
The difference between a curved wall that looks styled and one that looks accidental usually comes down to three decisions made before a single panel goes up.
- Keep seams flowing with the curve itself, not fighting it, and use a central datum line so every panel aligns from the same reference point.
- Choose smaller modules for tighter curves. A tight radius shows every seam distortion in a large panel, but smaller shapes hide that flex naturally.
- Place your boldest colour on the focal axis, where the eye lands first, and repeat a smaller accent colour at intervals to build rhythm along the curve.
- In a hallway, run the pattern in the direction of foot traffic. In an alcove or bedroom nook, centre it behind the main piece of furniture instead.
Curved corners near a doorway or architectural joinery benefit from this kind of deliberate alignment too, since the eye naturally compares the wall’s rhythm to the lines of the door beside it.
Fixing common problems and removing panels later
Even a well-prepped curve can throw up small issues, and almost all of them are fixable in minutes.
- A panel edge lifts after a day or two. Add a small adhesive tab right at that tension point and press it again with the roller. Don’t remove and reapply the whole panel unless it’s genuinely failed.
- Adhesive residue appears when you reposition a panel. Clean the patch with isopropyl alcohol, let it dry fully, and treat it as a fresh surface before reattaching anything.
- You’re ready to remove the panels entirely. Peel slowly and at a low angle rather than pulling straight off the wall. Test your removal technique in an inconspicuous spot first.
- Some residue remains on painted plaster. A gentle adhesive remover made for painted surfaces will usually lift it without touching the paint underneath, though it pays to check a hidden patch first.
This is where colour without commitment really earns its keep: nothing here involves patching a hole or repainting a section.
Which mounting method suits your curved wall?
Different mounting methods trade off hold strength against how easily they come off later, and the right choice depends on your curve and your wall finish.
| Method | Best suited to | Limitation |
|---|---|---|
| Double-sided mounting tape | Flat sections and gentle curve edges | Needs a clean, smooth painted surface to bond well |
| Industrial Velcro / dual-lock | Panels you’ll reposition or swap often | Best on flat backing points, less effective mid-curve |
| Adhesive tabs | Primary hold across most gentle curves | Needs firm, sustained pressure during bonding |
| Peel-and-stick backing | Light, low-tension flat areas | Not enough hold alone on a curve with real tension |
| Hybrid (tabs plus tape) | Most gentle curves, especially tighter ones | Takes slightly longer to apply than a single method |
For anything beyond the mildest curve, hybrid mounting is worth the extra few minutes. It spreads the load across two adhesive types instead of asking one to do all the work against constant spring-back tension.
Why colour on a curve changes how a rental feels
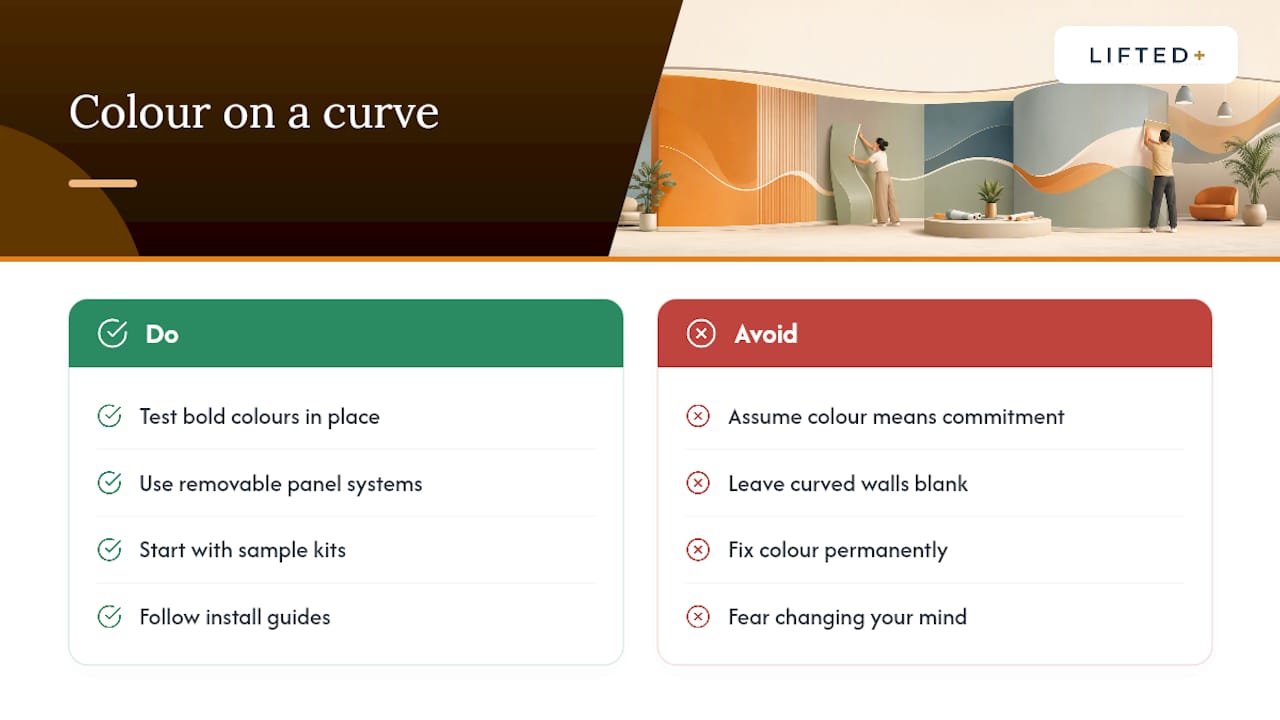
A curved wall left blank is a missed opportunity, and most renters walk past that opportunity for years because they assume colour means commitment. It doesn’t have to. The right panel system lets you test a bold colour against your actual light, your actual furniture, and your actual habits, then change your mind without a trace.
That’s the real value of a removable system: not just avoiding damage, but avoiding regret. Colour confidence comes from being able to try something and undo it, not from getting it perfect on the first attempt. If you want a starting point, DwellForms™ publishes install guides and offers sample kits specifically so you can test before you fully commit.
— Michelle
DwellForms™ makes curved feature walls simple, not risky
Liftedplus built DwellForms™ around exactly the problem this guide covers: a renter with a curved wall, no drill, and a want for real colour. Each kit is modular PET felt made from recycled plastic, designed to install with tested adhesive pads rather than screws or construction glue, and to come apart just as cleanly when you move.

The DwellForms™ Skyline kit is a strong starting point for a curved feature wall, since its module sizing works well on gentle radii without heavy cutting. If you’re still deciding on colour, order a sample kit first and hold it against your wall in real light before you buy the full run. Browse the Skyline kit now and see which colourway suits your curve.
Sources
For deeper technical detail on adhesive placement and drill-free mounting, the Acoufelt installation guide and Felt decor’s guide to drill-free panel mounting are worth a read. On the material side, Liftedplus’s own guide to recycled PET felt panels and layout ideas for no-drill wall panels go further into styling choices.
- Acoufelt acoustic wall panel installation guide
- Felt decor – Felt panel installation without drilling
FAQ
Can PET felt panels bend around a curved wall?
Yes, PET felt panels flex enough to follow a gentle curve when pressed with firm, even pressure. Some ranges include factory V-cuts to safely bend to a specified minimum radius.
Do I need to drill to install panels on curved walls?
No. DwellForms™ and similar renter-friendly systems use adhesive tabs, mounting tape or a hybrid of both, so no drilling or wall damage is needed.
What’s the biggest cause of adhesive failure on a curved wall?
Dust, loose paint or moisture on the wall surface are the most common causes. Clean thoroughly and test a small patch before committing to a full install.
How do I remove panels without damaging a rental wall?
Peel slowly at a low angle rather than pulling straight off, and test your technique on an inconspicuous section first. A painted-surface adhesive remover can lift any residue if needed.
Which adhesive method works best for a gentle curve?
A hybrid approach using adhesive tabs for primary hold plus mounting tape along the leading edge gives the most reliable result on gentle curves.