
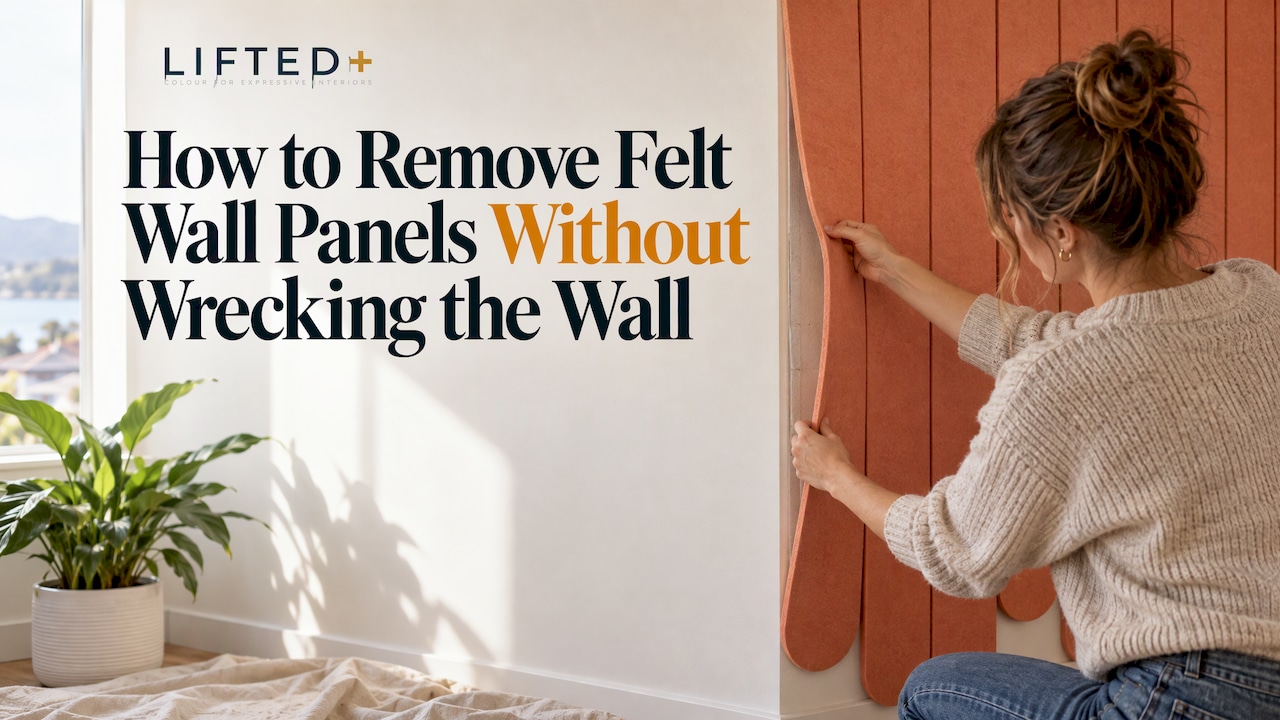
The panels have to come down. Maybe the lease is ending, the colour has run its course, or the room is changing purpose. The method depends almost entirely on one thing: how the panels were fixed. Work that out first. Then ease the panels off slowly, and deal with whatever is left on the wall afterwards.
This guide walks through that order for New Zealand homes, whether you rent, own, or live somewhere in between. It covers identifying the fixing, taking panels down, cleaning and repairing the wall, and keeping the panels for their next wall.
Key Takeaways
- How the panels are fixed decides how you remove them: adhesive pads, double-sided tape, construction adhesive, screws or a clip system each need a different approach.
- Go slowly, test somewhere discreet, and never pull a panel straight off the wall in one tug.
- Removal can still leave marks or residue on any surface, so plan a small wall-cleaning and touch-up step afterwards.
- Felt panels fixed with removable adhesive pads or mechanical fixings are the ones most worth keeping and reusing.
- If you are renting, check your tenancy agreement and talk to your landlord before you repair or repaint.
Table of Contents
- Start by Working Out How Your Panels Are Fixed
- Before You Begin: Tools and a Quick Safety Check
- Removing Panels Held by Adhesive Pads or Tape
- When the Panels Are Screwed, Nailed or Clipped
- When the Panels Were Glued
- Cleaning and Repairing the Wall Afterwards
- Can You Reuse Felt Wall Panels After Removal?
- Our Perspective
- Colour Without Commitment: Where DwellForms™ Fits
- A Simple Plan for Different Homes
- FAQ
- Sources
Start by Working Out How Your Panels Are Fixed
A felt panel is only as difficult to remove as the method that holds it. Two walls that look identical can behave completely differently, so spend five minutes on detective work before you touch anything.
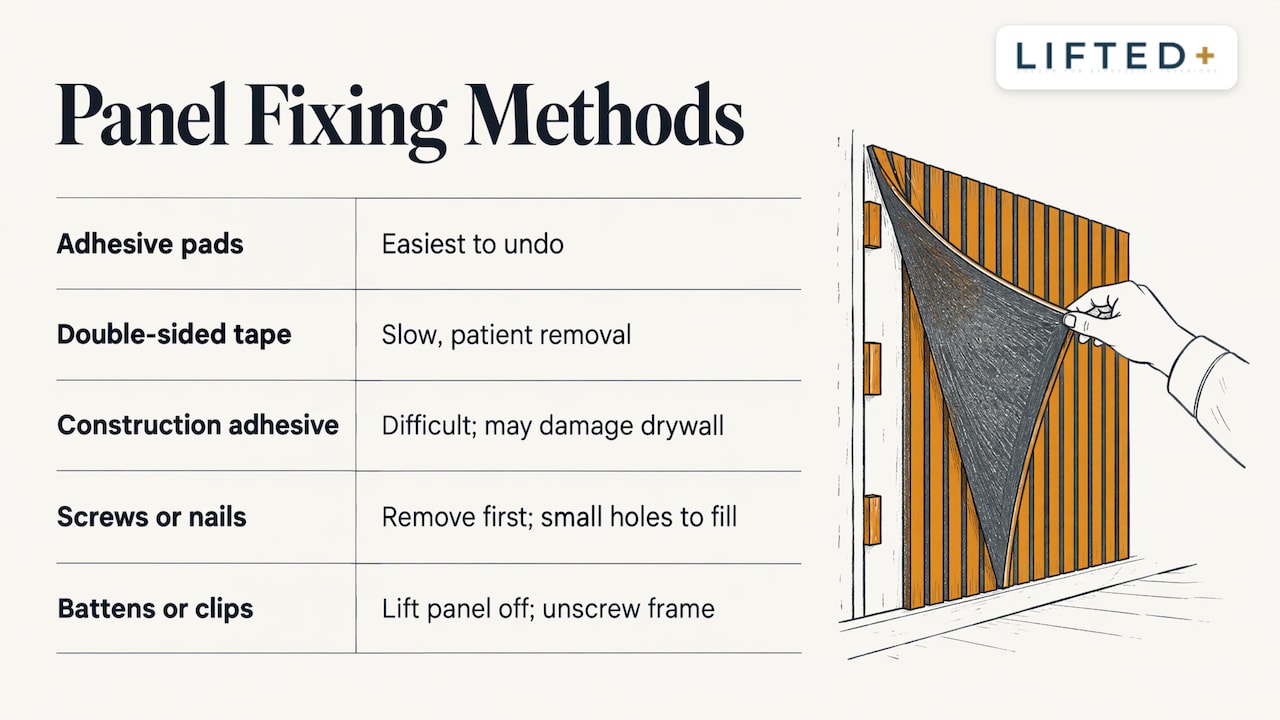
Look at the panel edges and corners. Gently lift one corner a few millimetres, only enough to see underneath. You are looking for one of five things.
Small adhesive pads or tabs. Discrete squares or dots behind the panel, with a lot of bare wall between them. This is the setup used for renter-friendly, no-drill wall decor, and it is the easiest to undo.
Continuous double-sided tape. Long strips along the edges, often with a stronger grip than pads. Slow, patient removal matters more here.
Construction adhesive. Beads or blobs of hard, rubbery glue. This is the difficult case. Panels fixed with construction adhesive can need considerably more effort to remove and may damage drywall, while nails or screws are generally easier to take out with minimal damage. A glued panel usually comes away damaged together with the surface underneath, so be realistic about what you will get back.
Screws or nails. Visible heads through the felt, or heads hidden in a seam. Remove these first and the panel often lifts away cleanly, leaving small holes to fill.
Battens or clip systems. A frame fixed to the wall with the panel clicking onto it. Here the panel lifts off the frame, and the frame is the part that needs to be unscrewed.
If you cannot tell, treat the panel as adhesive-fixed and work as gently as you would on the most delicate case. Slow is never wrong; fast is occasionally very wrong.
Before You Begin: Tools and a Quick Safety Check
You will not need a toolbox of specialist gear. Gather a few things before you start.
A flat plastic scraper or an old gift card, a roll of dental floss or thin fishing line, a soft cloth, a vacuum with a brush attachment, masking tape, a bucket of warm water with a little mild detergent, and a drop sheet for the floor. A step ladder if the panels run high. Keep a small pot of filler handy for later.
Then check the wall itself. If panels are fixed with screws or battens, you may uncover older linings or fixings behind them. Hand tools are a sensible default. If you suspect a lining contains asbestos, stop. Te Whatu Ora advises that any work involving asbestos-containing material calls for a properly fitting P1 or P2 dust respirator, hand tools rather than power tools, wetting the area to reduce dust and a HEPA-filter vacuum for cleanup, and for substantial quantities a WorkSafe-licensed asbestos removalist. The same guidance says to turn off the power at the fuse box before removing plasterboard, because there may be wires in the wall. Felt panels themselves are not the issue here. A surprise behind them is.
Removing Panels Held by Adhesive Pads or Tape
This is the method most renters and apartment dwellers will need, and it rewards patience.
Step 1: Clear and protect
Lay the drop sheet, take down anything near the panels, and vacuum the felt surface so loose dust does not drift onto the floor as you work.
Step 2: Start at a top corner
Pick the corner of the panel that sits highest. Peel it a little way from the wall using your fingertips. If it resists, stop. Forcing a corner is how paint lifts and plasterboard paper tears.
Step 3: Release the adhesive, do not rip it
Slide the floss or fishing line behind the panel and use a gentle sawing motion to cut through the adhesive pad or tape layer. Work with the wall, not against it: keep the line close to the panel back so you separate adhesive from the panel rather than from the paint. Where a pad will not give, hold the panel’s weight with one hand and ease the pad away with the plastic scraper, angling it nearly flat against the wall.
A little warmth can soften some adhesives, but keep it mild and brief, and test on a hidden spot first. Paint finishes vary widely, and a cheap flat paint on a rental wall can mark more easily than you would hope.
Step 4: Lower, do not drop
When the last pad lets go, support the panel with both hands and lower it flat. Felt is forgiving, but a bent corner or crushed edge is hard to coax back.
Step 5: Number the panels as they come off
Write a small number or letter on a piece of masking tape on the back of each panel, matched to the wall layout. This costs ten seconds a panel and saves an afternoon later. Take a photo of the wall before you start too.
Removing adhesive-mounted products always carries some risk to the paint or surface beneath, and no adhesive is completely damage-proof. That is true of any product on any wall. Our own guide to removing adhesive wall panels without wrecking the wall goes deeper into pad release and surface care.
When the Panels Are Screwed, Nailed or Clipped
Mechanical fixings are a different job. Locate each fixing, often a visible head or a small dimple in the felt. Back out screws with a hand driver, supporting the panel as the last one comes free. Nails can be eased out with a small pry bar, with a flat piece of timber or card under the tool to protect the felt and the wall.
For clip and batten systems, the panel usually lifts away from the frame by hand because nothing bonds the panel to the wall. Once the panels are off, you can decide whether the frame stays for the next panel installation or comes down too.
If you are choosing fixings for a future project and want access later, this decorative wall panels guide is worth a read before you commit to a method. Thinking about removal at the start is the cheapest renovation planning you will ever do.
When the Panels Were Glued
Sometimes there is no gentle route. If the felt was fixed with construction adhesive, you are choosing between salvaging the panel and protecting the wall, and usually you cannot have both. Cut the panel into manageable sections with a sharp utility knife before you lever anything, working carefully so the blade does not score the wall behind. Peel the felt backing away in strips and scrape off what you can.
Expect to repair the wall afterwards. This is also the moment to be honest with yourself about the lease. If the panels were installed by a previous tenant or owner, take photos before you start so the wall’s condition is on record.
Cleaning and Repairing the Wall Afterwards
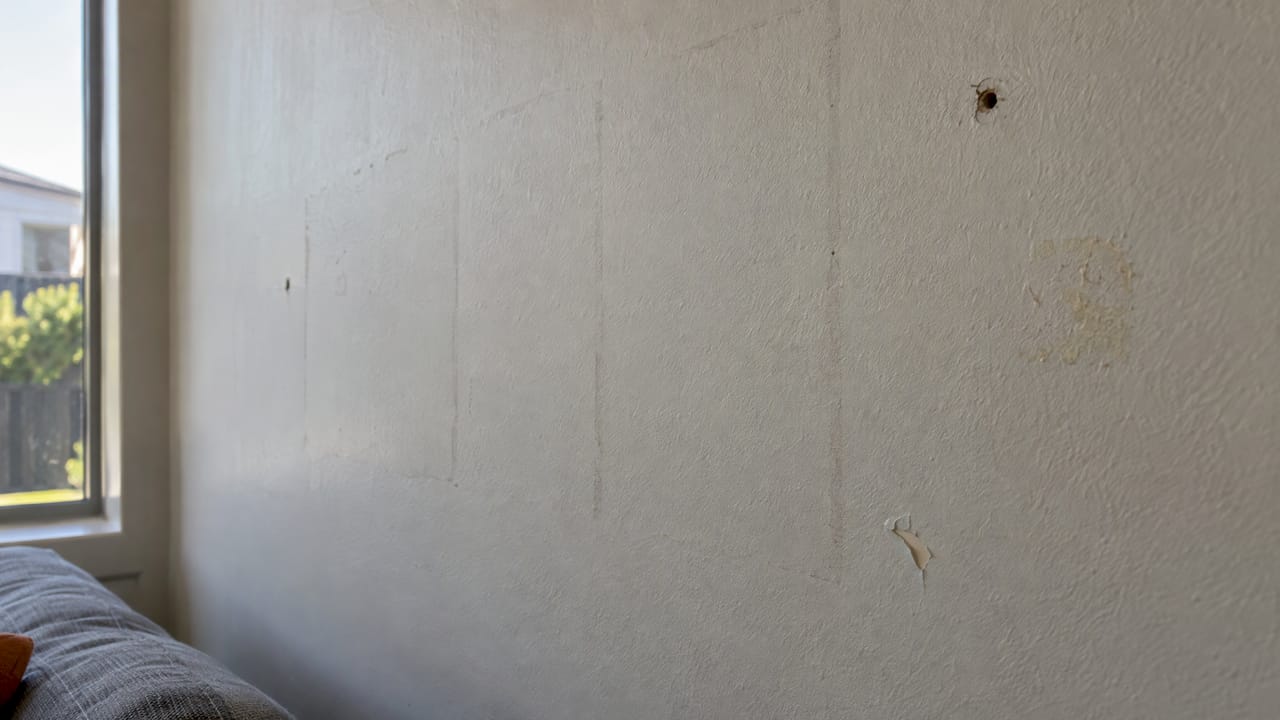
Once the panels are down, look at the wall in good side-light. You might find a clean surface with faint outlines, tacky patches of residue, small paint lifts or fixing holes. Each has a simple answer.
Residue
Start with the gentlest option: a soft cloth with warm soapy water, wiped in small sections. Resene advises that walls should be thoroughly washed with its Interior Paint Cleaner to remove dirt, dust and contaminants, with grease and oils wiped off using a sugar soap mix. Let the wall dry fully before judging the result.
Stubborn adhesive can be rolled off with your fingertip or lifted with the plastic scraper. Avoid strong solvents on painted plasterboard unless a paint specialist has confirmed they suit your finish, because they can lift paint just as readily as they lift glue.
Holes and dents
For fixing holes, fill, let dry and sand smooth. Resene’s technical guidance, written for stripped wallpaper, is a useful model: wash off as much adhesive as possible, lightly sand, then seal with a coat of solventborne Resene Sureseal, and fill holes with Tradeset. The sealer step matters if you are repainting over residue.
Repainting
Sealing before painting helps. Resene recommends Sureseal after wallpaper stripping to hold back paste residue or stains from the wallboard. If you are renting, do not repaint or patch beyond minor touch-ups without your landlord’s agreement. A short, polite message with photos usually settles this quickly.
Older homes are worth a quick caution. If sanding is on the cards and you think the wall or lining could contain asbestos, stop and read the Te Whatu Ora guidance linked above before you disturb it.
Can You Reuse Felt Wall Panels After Removal?
Often, yes, when the way they were fixed was gentle. Felt itself is flexible and tolerant, which makes a good reuse candidate, but the panel’s condition depends on the fixing and the removal.
Check each panel for crushed edges, adhesive transfer on the back, and any dirt on the surface. Vacuum the felt with a soft brush, spot-clean marks gently, and let everything dry flat. Store panels flat or upright in a dry spot, never squashed under a heavy box, and keep your number tags in place.
Panels that were glued or screwed through the face are harder to reuse, because the damage is built into them. Panels held by purpose-made adhesive pads, on the other hand, are designed to come off and go up again. When you are ready to hang them in the next place, our guides on reusing wall panels without drilling and reusing modular wall panels in your next home cover refreshing the adhesive and planning the new layout.
A new wall is also a chance to rearrange. Modular kits suit this beautifully, because the shapes can be reconfigured to fit an awkward hallway, a shorter bedroom wall or a corner in a home office.
Our Perspective
Most people think about putting a feature wall up and almost nobody thinks about taking it down. That is a design flaw, not a user flaw.
When we developed DwellForms™, removal was part of the brief from the beginning. We designed the kits for people who rent, for people who move often, and for people who simply like to change their minds. So we tested several adhesive options and deliberately set aside one popular pull-tab brand, because our selected nano-adhesive pads performed significantly better in our own testing at minimising damage to walls. We never say any adhesive is completely damage-proof, and we do not say it of ours. What we say is that we chose the option that gave the best results in our tests.
Colour should not be a long-term commitment. A renter in a flat with beige walls deserves a room that feels like theirs, and an owner who tires of a wall deserves an easy way to move on. Felt made from 100% recycled PET gives texture and sculptural shape without a drill, a paint tin or a conversation with a tradesperson.
So when you do take the panels down, treat it as the middle of the story, not the end. Number them, store them, and give them another wall.
Michelle
Colour Without Commitment: Where DwellForms™ Fits
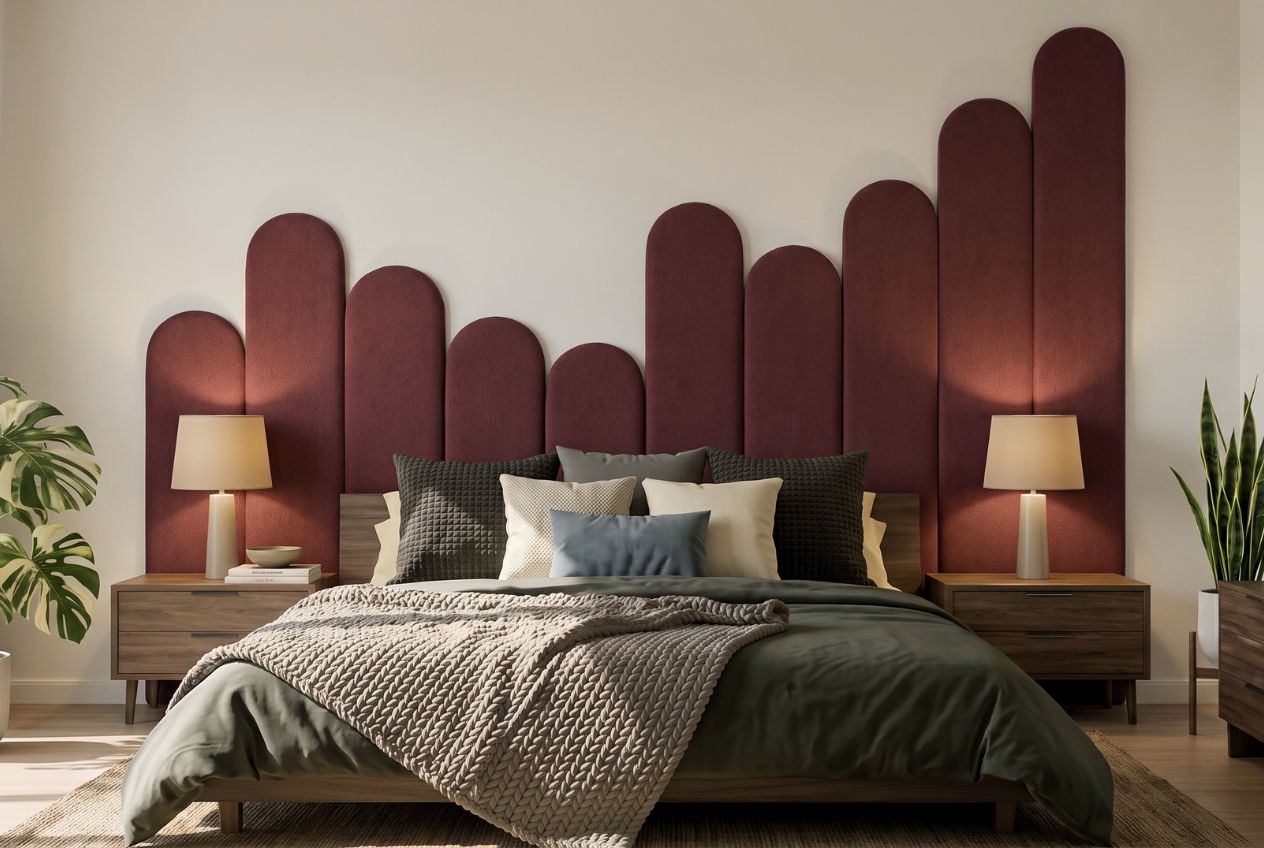
If you are taking panels down because the wall was never quite right, or because you are heading to a new place, this is a good moment to think about what comes next. DwellForms™ are modular, removable wall panel kits made from precision-cut PET felt produced from 100% recycled plastic, designed for texture without renovation and colour without commitment. They are fixed with adhesive pads rather than screws, battens or nails, so there is no drilling and no paint.
Not sure which colour will sit well with your walls and lighting? Start with the DwellForms™ Colour Samples, and the sample purchase is credited towards a full kit order. When you are ready, browse the DwellForms™ Core Kits, then extend the design later with an extension kit if the wall or the home gets bigger.
We cannot promise every wall will suit every kit, and results depend on your paint and surface. Our guides on damage-free wall panels and fitting temporary wall panels in apartments explain how to judge your wall before you start.
A Simple Plan for Different Homes
The approach changes slightly depending on where you live.
Renters should photograph the wall before and after, keep the lease handy, and be conservative with cleaning products. Apartment dwellers should be mindful of body corporate rules about wall finishes, and of neighbours when working at height with a ladder. Homeowners have more freedom to repair and repaint but face the same sequence: identify, release, clean, repair. Home-office workers often want to rearrange a wall for video calls and can use the same removal method to shift a panel layout in an afternoon. Anyone in temporary or changing housing benefits most from choosing removable fixings in the first place.
If you want ideas for what to put up next, our roundup of removable wall panel ideas for NZ renters is a good starting point, and the removable wall panels cost guide helps you plan a budget.
FAQ
Are felt wall panels easy to remove?
That depends on the fixing. Panels held by small adhesive pads or mechanical fixings generally come off with patience and the right technique, while panels glued on with construction adhesive are far harder and may damage the wall. Always lift a corner first to see what you are dealing with.
How do I remove adhesive left on the wall?
Start with a soft cloth and warm soapy water, working in small sections, and lift stubborn bits with a plastic scraper. Let the wall dry and look at it again before doing more. If you plan to repaint, sealing the area first helps hold back any remaining residue.
Will removing felt panels damage my paint?
It can, with any adhesive-mounted product, because paint quality and wall condition vary. Release the adhesive slowly with floss or a flat scraper rather than pulling, and take photos before and after. No adhesive is completely damage-proof, so plan a small touch-up.
Can I put felt wall panels back up in a new home?
Often yes, if the panels are clean, undamaged and were not fixed through the face. Number them as you take them down, store them flat and dry, and refresh the fixing method on the new wall. Planning the layout again is a chance to change the arrangement.
Sources
- How to Install Wall Panels: Sonolok Installation Guide
- Designing for Disassembly: Why removable interior panels are becoming more important
- Te Whatu Ora: Removing Asbestos from the Home
- Resene: SIPDS No 1 Interior Wallboards
- Resene: How to Remove, Prep and Hang Wallpaper Q&As
- Resene: Painting Interior Walls
- Decorative Wall Panels: A Complete Homeowner’s Guide
Recommended
- Felt Wall Panels Installation: A Renter-Friendly Guide
- How To Remove Adhesive Wall Panels Without Wrecking The Wall
- 7 Ways To Install Felt Wall Panels On Textured Walls
- How To Reuse Modular Wall Panels In Your Next Home
This article is for general information and inspiration only. Product performance and results may vary depending on individual circumstances, surfaces and installation.
