
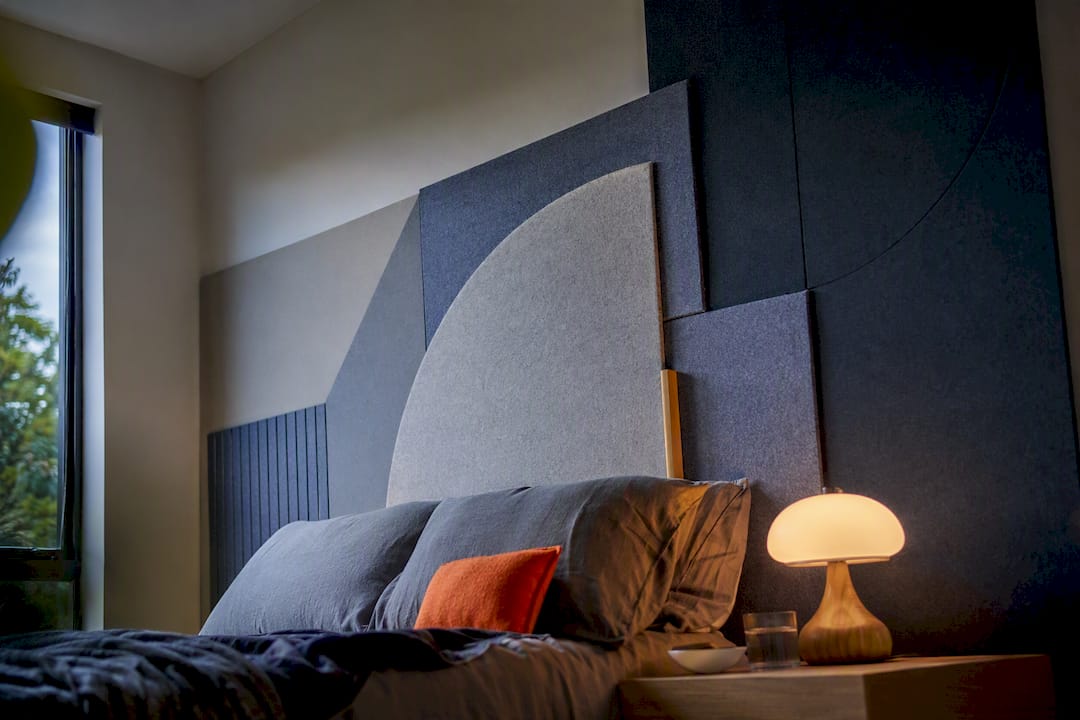
The best modular headboard ideas fall into four camps: prefab panel kits, DIY upholstered panels, timber slat modules and channel or fluted textured panels. Renters should lean toward adhesive-mounted kits or freestanding builds, since none of these require touching the wall permanently. Every approach below covers sizing and mounting, so you can match the method to your bed size, your landlord’s rules and how much of a weekend you want to lose.
TL;DR:
- Modular panel kits are quick to install and suitable for renters, requiring less than an hour and no wall damage using adhesive-backed or Velcro mounts.
- DIY upholstered panels offer full customization of size, fabric, and channel effects, typically completed over a weekend for under $80 in materials for a queen-size panel.
- Wood slat modules create a furniture-like appearance, with spacing accuracy and mounting options like French cleats or freestanding supports ideal for lease restrictions.
- Textured and fluted panels use foam or felt for a high-end look, with even channel spacing essential to avoid a homemade appearance.
- Mounting methods must match the panel weight, with adhesive strips suitable for lightweight panels and French cleats or bed-frame mounts recommended for heavier timber slats.
Table of Contents
- Modular panel kits: fast, colour-led headboard solutions
- DIY upholstered modular panels: build-by-panel for a plush look
- Wood slat modular panels: architectural rhythm without a permanent wall
- Channel, fluted and textured modular approaches for a designer finish
- Installation and renter-friendly mounting: adhesives, cleats and freestanding fixes
- Materials, sizing and quick specs for twin/full/queen/king heads
- Styling and colour combos that lift a modular headboard
- DwellForms™: the fastest route to a colour-led, no-drill headboard
- Get your no-drill feature wall sorted this weekend
- What’s the most memorable thing about this trend?
- Sources
- FAQ
Modular panel kits: fast, colour-led headboard solutions
Prefab modular panels are the shortcut version of a custom headboard. You buy a set of pre-upholstered or textured panels, usually sold in packs of two to six, and arrange them behind the bed in whatever configuration suits your wall. Products like the EasyMount wall-mounted upholstered panels use adhesive-backed or Velcro mounting, which means no tools and no wall damage.
This is the fastest route to a finished look, and it suits renters who want colour without committing to a full DIY build.
- Time to install: Under an hour for a full arrangement, once the wall is clean and dry.
- Cost: Mid-range compared with custom upholstery, since you’re paying for finished panels rather than raw materials.
- Pros: No sewing, no cutting, easy to rearrange or take with you when you move.
- Cons: Less control over exact dimensions than a DIY build, and panel packs may limit your colour options.
DIY upholstered modular panels: build-by-panel for a plush look
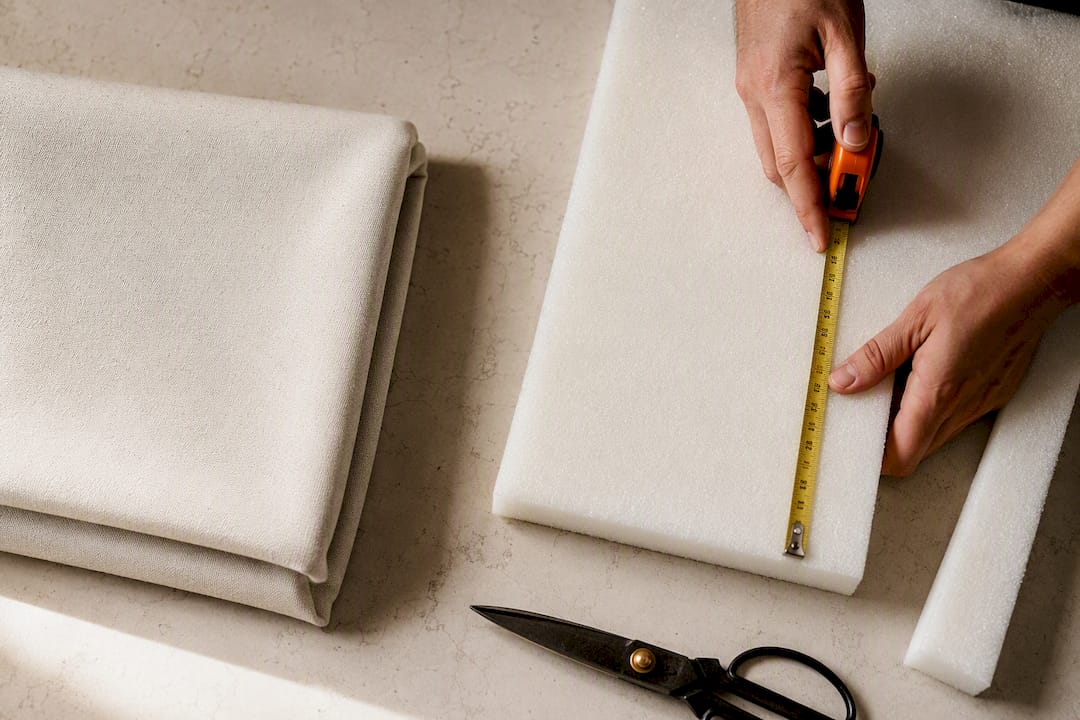
Building your own upholstered panels gives you full control over fabric, size and channel detail, and it’s genuinely one of the more satisfying weekend projects going. The basic recipe, drawn from detailed tutorials on DIY headboard ideas, stays the same whether you’re making one large panel or three smaller ones.
- Cut a plywood or MDF backing board to your target panel size.
- Layer on 2-inch high-density upholstery foam, which holds its shape and feels solid when you lean back into it.
- Wrap with batting first, then your fabric, stapling tight and even around the back.
- For a channelled effect without sewing, use the zip-tie method: loop ties around the foam at marked intervals, tighten to form grooves, then cover with batting and fabric so the ties disappear.
- Mount using heavy-duty adhesive strips rated for the panel’s weight, giving the adhesive full cure time before you lean on it.
Pro Tip: Build two or three smaller panels instead of one giant board. They’re easier to carry through a doorway, easier to align evenly, and far easier to pack up when you move flats.
This is a moderate-skill project, typically a full weekend from cutting to hanging, and budget builds for a queen-size panel often land under US$80 in materials, according to budget breakdowns from Crafty Twisty.
Wood slat modular panels: architectural rhythm without a permanent wall
Slat headboards read as furniture, not decoration, which is exactly why they photograph so well. Vertical slats stretch the wall visually and make a low bed feel taller, while horizontal slats widen a narrow room. Either way, consistent spacing is what separates a slick build from an amateur one.
- Use spacer blocks between each slat while assembling, so gaps stay identical from top to bottom.
- Build slats onto a back rail (two horizontal battens screwed across the rear of the slats) so the whole module moves as one rigid panel.
- Mount with a French cleat: two bevelled rail pieces, one fixed to the panel and one to the wall, giving a strong hold that lifts cleanly off when you want to take it down.
- Freestanding leg mounts or a bracket that clips to the bed frame skip wall fixings altogether, which matters if your lease bans wall hardware entirely.
- Oiled timber or a matte black finish both read as considered rather than improvised.
Channel, fluted and textured modular approaches for a designer finish
Channel and fluted designs earn their high-end look because they play with light and shadow, and the zip-tie and scored-foam methods make that effect achievable without an industrial sewing machine. Odd numbers of channels, three, five or seven, tend to read as more deliberate than even counts.
- Score foam along marked lines or use zip ties cinched tight, then cover with fabric so the mechanism disappears.
- Wider panels handle more channels; a queen-width panel typically holds five to seven comfortably.
- Fluted MDF or a textured PET felt panel can stand in for stitched channels entirely, giving a similar depth without foam or fabric at all.
Pro Tip: Keep channel width consistent across the whole panel; uneven spacing is the fastest way to make a channelled headboard look homemade instead of designed.
Installation and renter-friendly mounting: adhesives, cleats and freestanding fixes
Match the mounting method to the panel’s weight, not the other way around. Getting this wrong is the single most common reason a DIY headboard ends up on the floor.
- Adhesive strips suit lightweight panels (foam-and-fabric builds under a few kilograms per panel). Use multiple adhesive pairs across a wider panel to spread the load evenly, and always let the adhesive cure fully before hanging any weight, a step DIY guides consistently flag as the difference between a panel that holds and one that peels off overnight.
- French cleats suit heavier timber slat panels. The wall-side rail can stay in place permanently (it’s small and low-profile), while the panel itself lifts off cleanly whenever you need to patch or repaint.
- Freestanding or bed-frame mounts skip the wall entirely. Legs or brackets that clip to the bed frame carry the panel’s full weight, which is the safest option if your lease has strict no-hardware rules.
Before you commit to any method, run through a quick checklist: confirm the wall finish (textured or painted plaster behaves differently to smooth drywall), estimate the panel’s total weight, check it’s level before the adhesive sets, and mark spacing with a straightedge rather than eyeballing it.
Materials, sizing and quick specs for twin/full/queen/king heads
Sizing runs off your mattress width plus a margin either side, and height is a style choice as much as a technical one.
- Add roughly 3 to 6 inches of width beyond the mattress edge on each side for visual balance.
- Two-inch high-density foam is the standard for upholstered builds; anything thinner tends to feel hollow when you lean back.
- Rigid backing (plywood or MDF over particleboard) keeps panels flat over time, especially for wider queen and king builds.
- Slat and felt panel builds skip foam entirely, which keeps them lighter and easier to mount with adhesive.
Styling and colour combos that lift a modular headboard
A modular headboard reads as designed, not just decorated, when the colour and texture choices work together rather than competing.
- Pick one feature colour for the panels, then keep bedding and walls a shade or two lighter so the headboard stays the visual anchor.
- Layer tonal cushions in two or three related shades rather than matching everything exactly.
- Add a bedside lamp with a warm, low glow. It does more for a feature wall than any extra cushion.
- Scandi rooms favour oatmeal boucle and pale timber; boho leans into rust, terracotta and mixed textures; hotel-glam wants a single saturated colour with metallic trims.
Pro Tip: Swap cushion covers seasonally instead of rebuilding the headboard. It’s the cheapest way to refresh the whole bed without touching the panels.
DwellForms™: the fastest route to a colour-led, no-drill headboard
If cutting foam and scoring channels isn’t how you want to spend a Saturday, DwellForms™ offers a wall panel solution that requires no tools.
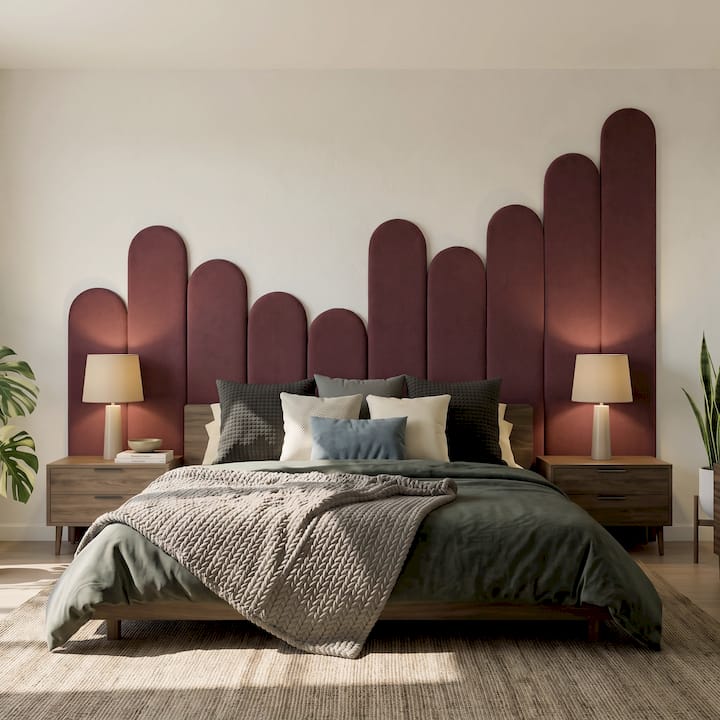
That makes it a strong fit for renters who want a sculptural, colourful feature wall behind the bed without touching drywall, and for anyone who likes rearranging their layout every so often rather than committing to one fixed design. Because the panels are modular, you can start with a smaller arrangement and expand it later, or take the whole kit with you when you move.
For layout inspiration and colour combinations, the vibrant wall art styling guide is worth a browse before you order.
Get your no-drill feature wall sorted this weekend
This system provides an alternative to a full DIY build for anyone who wants the finished look of a modular headboard without a weekend of cutting foam and stapling fabric. DwellForms™ kits ship ready to arrange, mount with adhesive pads instead of screws, and come apart just as easily when you’re ready for a new layout or a new address.

It suits renters facing landlord limits on wall damage, apartment dwellers who want colour without committing to paint, and anyone who’d rather spend an afternoon styling than sanding. Because the kits are modular, you can start with a compact arrangement behind a single bed and extend it later if you move to a queen or king.
Browse the DwellForms™ Skyline modular wall panels to see sizing and colour options, or check the removable wall panel budget guide if you’re comparing costs against a DIY build first.
What’s the most memorable thing about this trend?
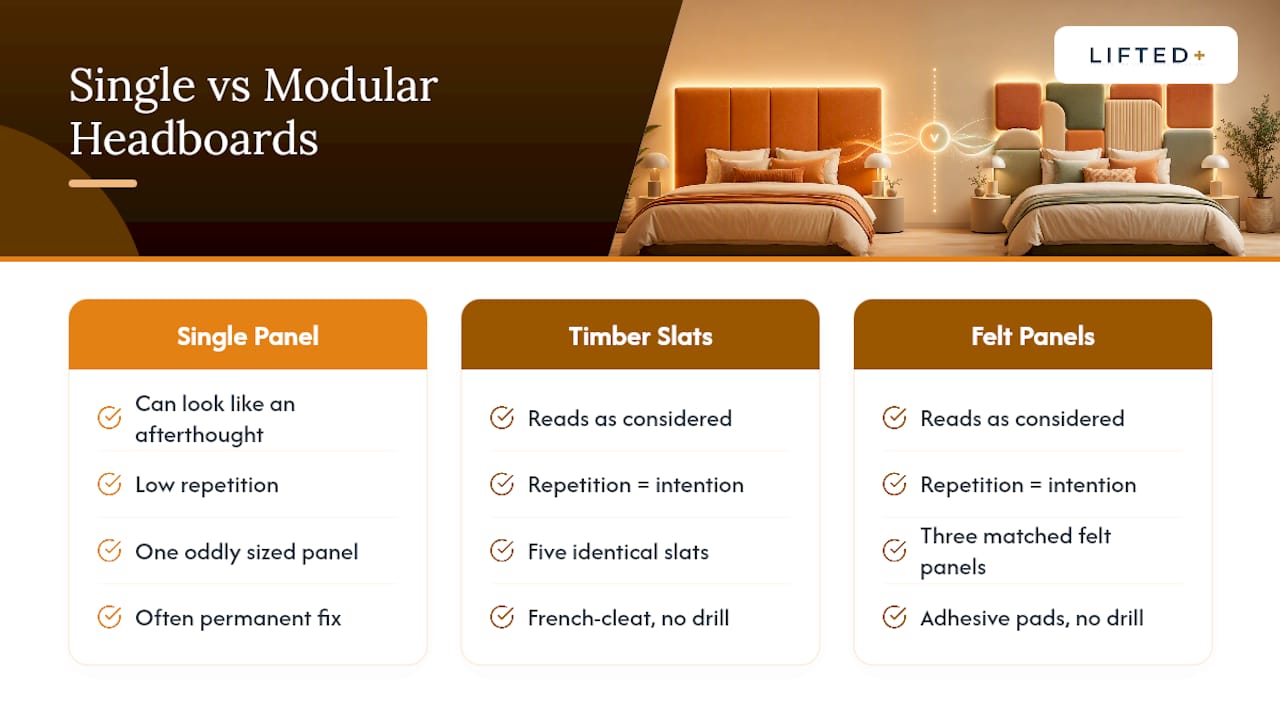
Most people assume “modular” means compromise, a cheaper, flimsier stand-in for a proper headboard. That’s backwards. The panels I’d point to first, whether they’re timber slats on a French cleat or a felt kit on adhesive pads, tend to look more considered than a single upholstered board precisely because they’re built from repeated units. Repetition reads as intention. A single oddly-sized panel can look like an afterthought; five identical slats or three matched felt panels look like a decision.
The bigger shift worth noting is that renters have stopped treating “temporary” as a downgrade. A few years ago, renter-friendly meant tolerating whatever the landlord left on the walls. Now it means choosing a system precisely because it’s flexible, colour one year, a different arrangement the next, without ever touching a drill. That’s not a workaround anymore. It’s just how people who move every couple of years have decided to decorate.
Where I’d push back on the DIY-forever crowd: not every household wants to own a staple gun. If your weekend is better spent elsewhere, a kit-based system isn’t cutting corners, it’s just a different tool for the same goal.
— Michelle
FAQ
What’s the latest trend in headboards for 2026?
Modular and mixed-texture headboards are leading, particularly channel or fluted panels paired with tactile materials like boucle or felt rather than a single flat upholstered board.
What can I use instead of a traditional headboard?
Modular wall panels, slat panels or a textured PET felt arrangement all work as headboard substitutes, and each can be mounted with adhesive rather than screws for a fully removable setup.
What headboard trends should renters expect heading into 2026?
Expect more no-drill, adhesive-mounted panel systems as renters prioritise colour and texture they can take with them, alongside continued interest in channel and slat detailing for a furniture-like finish.
What are some cool DIY headboard ideas to try?
A zip-tie channel panel, a vertical timber slat module mounted on a French cleat, and a modular felt panel arrangement are three genuinely different looks, ranging from a weekend sewing-free project to a no-tools kit setup.
How do I mount a modular headboard without damaging a rental wall?
Adhesive strips work for lighter panels if you use enough pairs and let them cure fully before hanging weight, while heavier timber panels suit a French cleat or a freestanding bed-frame mount that skips the wall altogether.