
Last Updated: November 1, 2026
Quick Summary
Installing felt wall panels on textured walls requires matching the fixing to the texture: mounting strips suit smooth or fine plaster, high-strength grab adhesive works on light orange-peel, and brick, block or rough concrete need grab adhesive plus a mechanical fixing or batten. Always run a 24-hour adhesion test on a spare offcut before committing to the full install.
- Texture reduces contact area, so adhesive that holds on plasterboard can let go on brick or concrete.
- Press each panel firmly for 30 seconds, then hold it with painter’s tape while it cures.
- Cut a 150 mm square test piece, fix it, leave it 24 hours, then peel it back at 90 degrees.
- Check panels at 24 hours, 7 days and 30 days, watching corners and top edges for lifting.
- If a test piece fails twice on the same wall, switch to a batten or rail system.
Table of Contents
- Why Textured Walls Change the Installation Game
- Tools and Materials You Need Before You Start
- How to Prepare a Textured Wall Surface Without Damage
- Choosing the Right Felt Wall Panel Adhesive for Your Texture
- No-Drill Methods for Acoustic Panels on Textured Walls
- Removable Acoustic Wall Panels: Testing Adhesion and Preventing Failure
- How to Arrange Acoustic Panels for Looks and Sound
- Explore DwellForms™ Kits for Your Textured Walls
- Frequently Asked Questions
Why Textured Walls Change the Installation Game
Installing felt wall panels on texture is a different job from sticking felt wall panels to smooth plasterboard.
That gap is where most failed installs begin.
Modular, 100% recycled PET felt panels can be fixed without paint or drilling, but the wall still decides how they go up.
Texture comes in degrees. If your wall is concrete, panels on concrete walls without drilling compares permanent and removable fixing options. For brick specifically, see panels on brick walls in NZ to check your brick and choose a fixing.
Tools and Materials You Need Before You Start
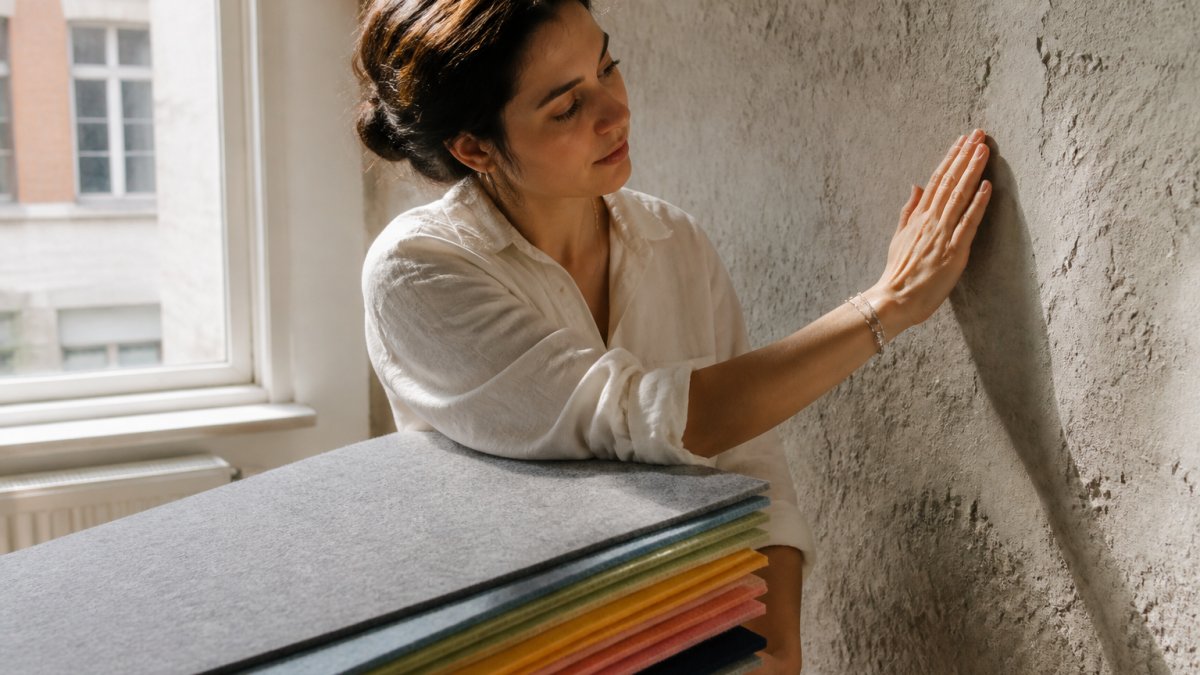
Gather everything first. Stopping mid-install to hunt for a level is how panels end up crooked.
- Measuring tape and a pencil
- A spirit level, plus a straight edge
- A utility knife with spare blades
Two things catch people out. First, blunt blades. Felt needs a sharp blade to cut cleanly, and a dull one drags the fibres. Second, cheap adhesive. A grab adhesive rated for the panel’s weight is worth the extra cost.
How to Prepare a Textured Wall Surface Without Damage
Preparation on a textured wall is not the same as preparation on plasterboard. Texture introduces high points, low points, and often a layer of loose material that adhesive cannot grip.
Start by grading your wall. Run a dry cloth across it. If fibres or grit come away, the surface is friable and needs stabilising before any fixing. If the cloth stays clean, move to the next check.
Step 1: Assess paint condition
Press a strip of low-tack painter’s tape onto the wall, smooth it down, and peel it back slowly. If paint lifts with the tape, the coating is poorly bonded and will likely fail under a panel’s weight. In that case, either spot-prime the area with a compatible primer or choose a mechanical fixing that bypasses the paint layer entirely. Do not sand the texture to fix this, you will create a larger repair job.
Step 2: Remove loose material only
Use a soft brush or a dry microfibre cloth to lift dust, grit, and any flaking texture. Never use a scraper, sanding block, or wire brush on texture you want to keep. On brick or rough concrete, a stiff nylon brush is enough to dislodge loose mortar dust without altering the profile.
Step 3: Clean and degrease
Wipe the wall with isopropyl alcohol on a clean cloth, working in overlapping passes. Alcohol removes oils, cooking residue, and hand grease that stop adhesive from wetting out. Let it flash off fully, usually a few minutes in a ventilated room. Proper surface preparation remains the most critical step for any permanent installation, just as it serves as the foundation for hanging wall decor without damaging the underlying plaster.
Step 4: Fill only what needs filling
Deep holes, cracks, and gouges should be filled with a lightweight filler and sanded flush. Do not attempt to fill the texture itself. Small pits and valleys are fine, adhesive needs somewhere to key into. If a hollow is deeper than about 3 mm, note it: that spot will need extra adhesive or a mechanical fixing.
Step 5: Check moisture and temperature
Damp walls stop adhesive from bonding. Press a square of clear plastic film against the wall, seal the edges with tape, and leave it for 24 hours. If condensation forms on the inside of the film, the wall is releasing moisture and you should not install until it is resolved. Work within the adhesive manufacturer’s stated temperature range.
Step 6: Mark layout without marking the wall
Use painter’s tape and a pencil for layout lines. Pencil wipes off most painted surfaces; pen and marker often do not. Mark outlet positions and corner clearances before you commit to a panel grid.
Never sand, scrape, or skim-coat texture off a rental wall to improve adhesion. It is a damage event, not a preparation step. If the texture is too severe for adhesive, switch to a mechanical or batten-based method instead.
Choosing the Right Felt Wall Panel Adhesive for Your Texture
Felt wall panel adhesive should match your texture severity. There is no single best product for every wall.
| Texture | Best Fixing | Why |
|---|---|---|
| Smooth or fine plaster | Mounting strips | Enough flat contact |
| Light orange-peel | High-strength grab adhesive | Fills small gaps |
| Brick or block | Grab adhesive plus mechanical fixing | Texture needs backup |
| Rough concrete | Mechanical fixing or batten | Adhesive alone fails |
| Delicate or painted | Removable adhesive strips | No damage on removal |
Apply adhesive in a zigzag or dot pattern, not a solid bead. This lets the adhesive press into the texture and grip the high points.
Press firmly for 30 seconds per panel, then hold with painter’s tape while it cures. Humidity affects how well removable adhesive holds, so follow these renter-first steps to keep removable adhesive sticking.
No-Drill Methods for Acoustic Panels on Textured Walls
No-drill methods work on textured walls if you choose the right one. Mounting strips, grab adhesive, and magnetic mounting systems all avoid screws.
Here is how the main options compare:
- Mounting strips: fast, removable, best on light texture.
- Grab adhesive: strong hold, permanent, suits brick and block.
- Magnetic mounting: flexible and reconfigurable, needs a metal base plate.
For renters, removable strips and magnetic systems are the safer bet. They come down without marks when removed slowly and correctly.
The trade-off is weight. Heavier panels need more strips or a stronger adhesive. Check the strip’s rated load before you commit.
Removable Acoustic Wall Panels: Testing Adhesion and Preventing Failure
Removable acoustic wall panels fail on textured walls for reasons that are predictable and testable. The difference between a panel that stays up and one that sags is usually decided before the first full panel goes on. Our wall diary of adhesive test failures shows what went wrong on real walls.
Run a staged adhesion test
Do not test on a hidden corner and assume the result applies everywhere. Texture varies across a wall, especially near edges, corners, and previously repaired areas.
- Cut a test piece roughly 150 mm square from an offcut or spare panel.
- Fix it using the method you plan to use for the full install.
- Press firmly for the full recommended time, typically 30 seconds for grab adhesive, longer for mounting strips.
- Leave it for 24 hours at normal room temperature.
- Peel it back slowly at 90 degrees to the wall and observe where the failure occurs.
Read the failure point carefully:
- Adhesive peels cleanly off the wall: the wall surface is the weak link, likely dusty, damp, or painted with a low-bond coating.
- Adhesive stays on the wall but releases from the felt: the adhesive is incompatible with the panel backing. Switch product or add mechanical support.
- Panel backing tears or delaminates: the fixing is stronger than the panel. Use a lower-tack removable strip or distribute the load across more fixing points.
Match the fixing to texture severity
Use the test result to choose a method rather than guessing from the wall’s appearance.
| Test result | Likely cause | Recommended response |
|---|---|---|
| Clean peel from wall | Dust, grease, or damp | Re-clean, dry, and re-test; if it repeats, switch to mechanical fixing |
| Partial peel at edges | Insufficient adhesive coverage | Increase adhesive pattern density and press longer |
| Panel-side failure | Adhesive incompatible with felt backing | Use a felt-rated adhesive or add a mounting strip |
| Holds on flat areas, fails on high points | Texture too severe for contact adhesive | Add a thin backing board or use battens |
Diagnose lifting before it becomes a fall
Check panels at 24 hours, 7 days, and 30 days. Early lifting usually appears at corners and along the top edge, where peel forces concentrate.
Common causes and fixes:
- Dust or damp at install: remove the panel, clean and dry the wall, and re-fix with fresh adhesive. Do not reuse cured adhesive.
- Too little adhesive: remove, clean both surfaces, and reapply with a denser zigzag or dot pattern.
- Pressed too lightly: most grab adhesives need firm pressure across the whole panel, not just the centre. Use a felt-covered roller or smoothing tool.
Keep a simple wall diary: date, wall type, fixing method, test result, and outcome at 7 and 30 days. Patterns emerge quickly, and you will stop repeating the same mistake on the next wall.
Know when to abandon adhesive
Adhesive is the wrong choice when the test piece fails twice on the same wall, when the texture profile is deeper than the adhesive can bridge, or when the paint layer lifts under tape. In those cases, a batten fixed to the studs or a rail-based fast-mount system gives you a flat mounting surface that ignores the texture entirely. It is more work upfront and less reversible, but it is the only reliable route on heavily textured or friable walls.
How to Arrange Acoustic Panels for Looks and Sound
How to arrange acoustic panels comes down to two goals: sound and sight. For echo reduction, cover the flat areas where sound bounces.
For looks, start with a plan on paper:
- Measure wall height and width first
- Mark outlets and corners so panels avoid them
- Choose a grid, staggered, or geometric layout
Alignment matters more than pattern. A slightly off-centre panel is more noticeable than a bold layout done cleanly.
Felt panels also absorb sound, softening echo in hard rooms. Place them where you sit, not just where they look good.
Explore DwellForms™ Kits for Your Textured Walls
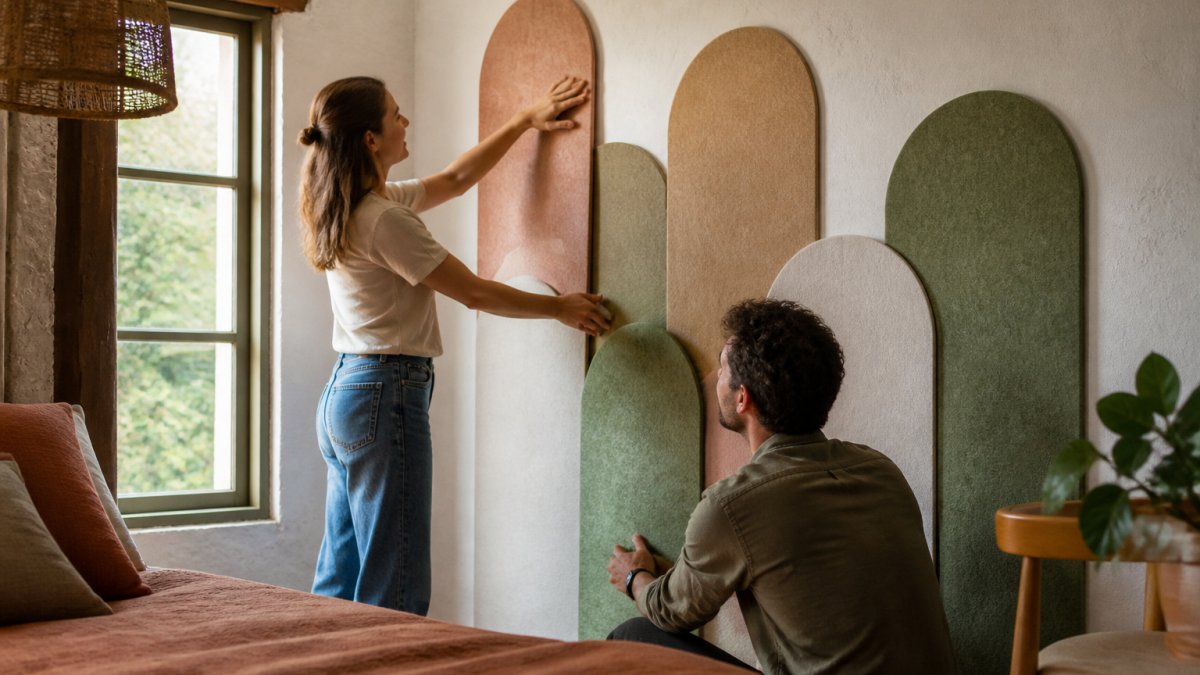
DwellForms™ kits give you a no-drill route to colour and texture on tricky walls. The panels are modular, made from 100% recycled PET felt, and built to move with you. Browse the full DwellForms™ kit range to find a no-drill solution for your textured wall.
You can reconfigure a layout in a new room without buying again. For renters, that means personalising a space without drilling into walls.
Pricing depends on quantity, dates, and delivery, so check our website for current prices or a quote.
Best for: renters and frequent movers with textured or awkward walls.
Skip if: you want a fully permanent, screwed-in fixture.
Frequently Asked Questions
Can felt wall panels be installed on a textured wall?
Yes, felt wall panels can go on textured walls, but the method matters. Heavy textures like popcorn or deep stucco need a different approach than light orange-peel finishes. For light texture, a high-strength grab adhesive applied in a zigzag pattern usually works. For heavier texture, mounting strips or a thin backing mat help create a flatter contact surface. Always test a small area first and press firmly for 30 seconds to check adhesion before committing to a full layout.
Will adhesive hold felt panels on a rough or uneven surface?
Adhesive grip drops on rough surfaces because less of the panel backing touches the wall. A high-strength grab adhesive works on light texture, but deep grooves need a bridging layer. Try a thin backing mat or magnetic mounting system to create surface contact. Test by pressing a panel in place for a minute, then gently pulling a corner. If it lifts easily, switch to mechanical fasteners or mounting strips. Avoid standard double-sided tape on textured walls, as it rarely holds.
Can removable acoustic wall panels come off without damaging the wall?
Removable acoustic wall panels are designed to lift away cleanly, but the adhesive matters. Use a low-tack or removable-grade adhesive and warm the panel slightly with a hairdryer before peeling it back slowly at a 45-degree angle. This reduces the chance of pulling paint or texture. On painted walls, test one panel in a hidden corner first. If you rent, keep the original adhesive strips and store panels flat between moves so they stay reusable.
How do you arrange acoustic panels to improve a room’s sound?
Start by placing panels at ear height on the wall facing your seating or desk area, since that is where sound waves hit first. For echo reduction, cover 20 to 30 percent of a wall rather than clustering all panels in one corner. Stagger heights and mix colours to create visual rhythm. In a home office, a symmetrical grid behind the desk works well; in a living room, an offset arrangement adds movement. Use a level and measuring tape to keep gaps even.
Textured walls do not have to mean bare walls. The right fixing, a clean surface, and a quick adhesion test get you a finish that holds. Lifted Plus makes DwellForms™ kits with modular, 100% recycled PET felt panels designed to go up without paint or drilling and move with you when you do. Explore the kits, plan your layout, and test one panel first. Get started with Lifted Plus and turn that textured wall into a feature.

